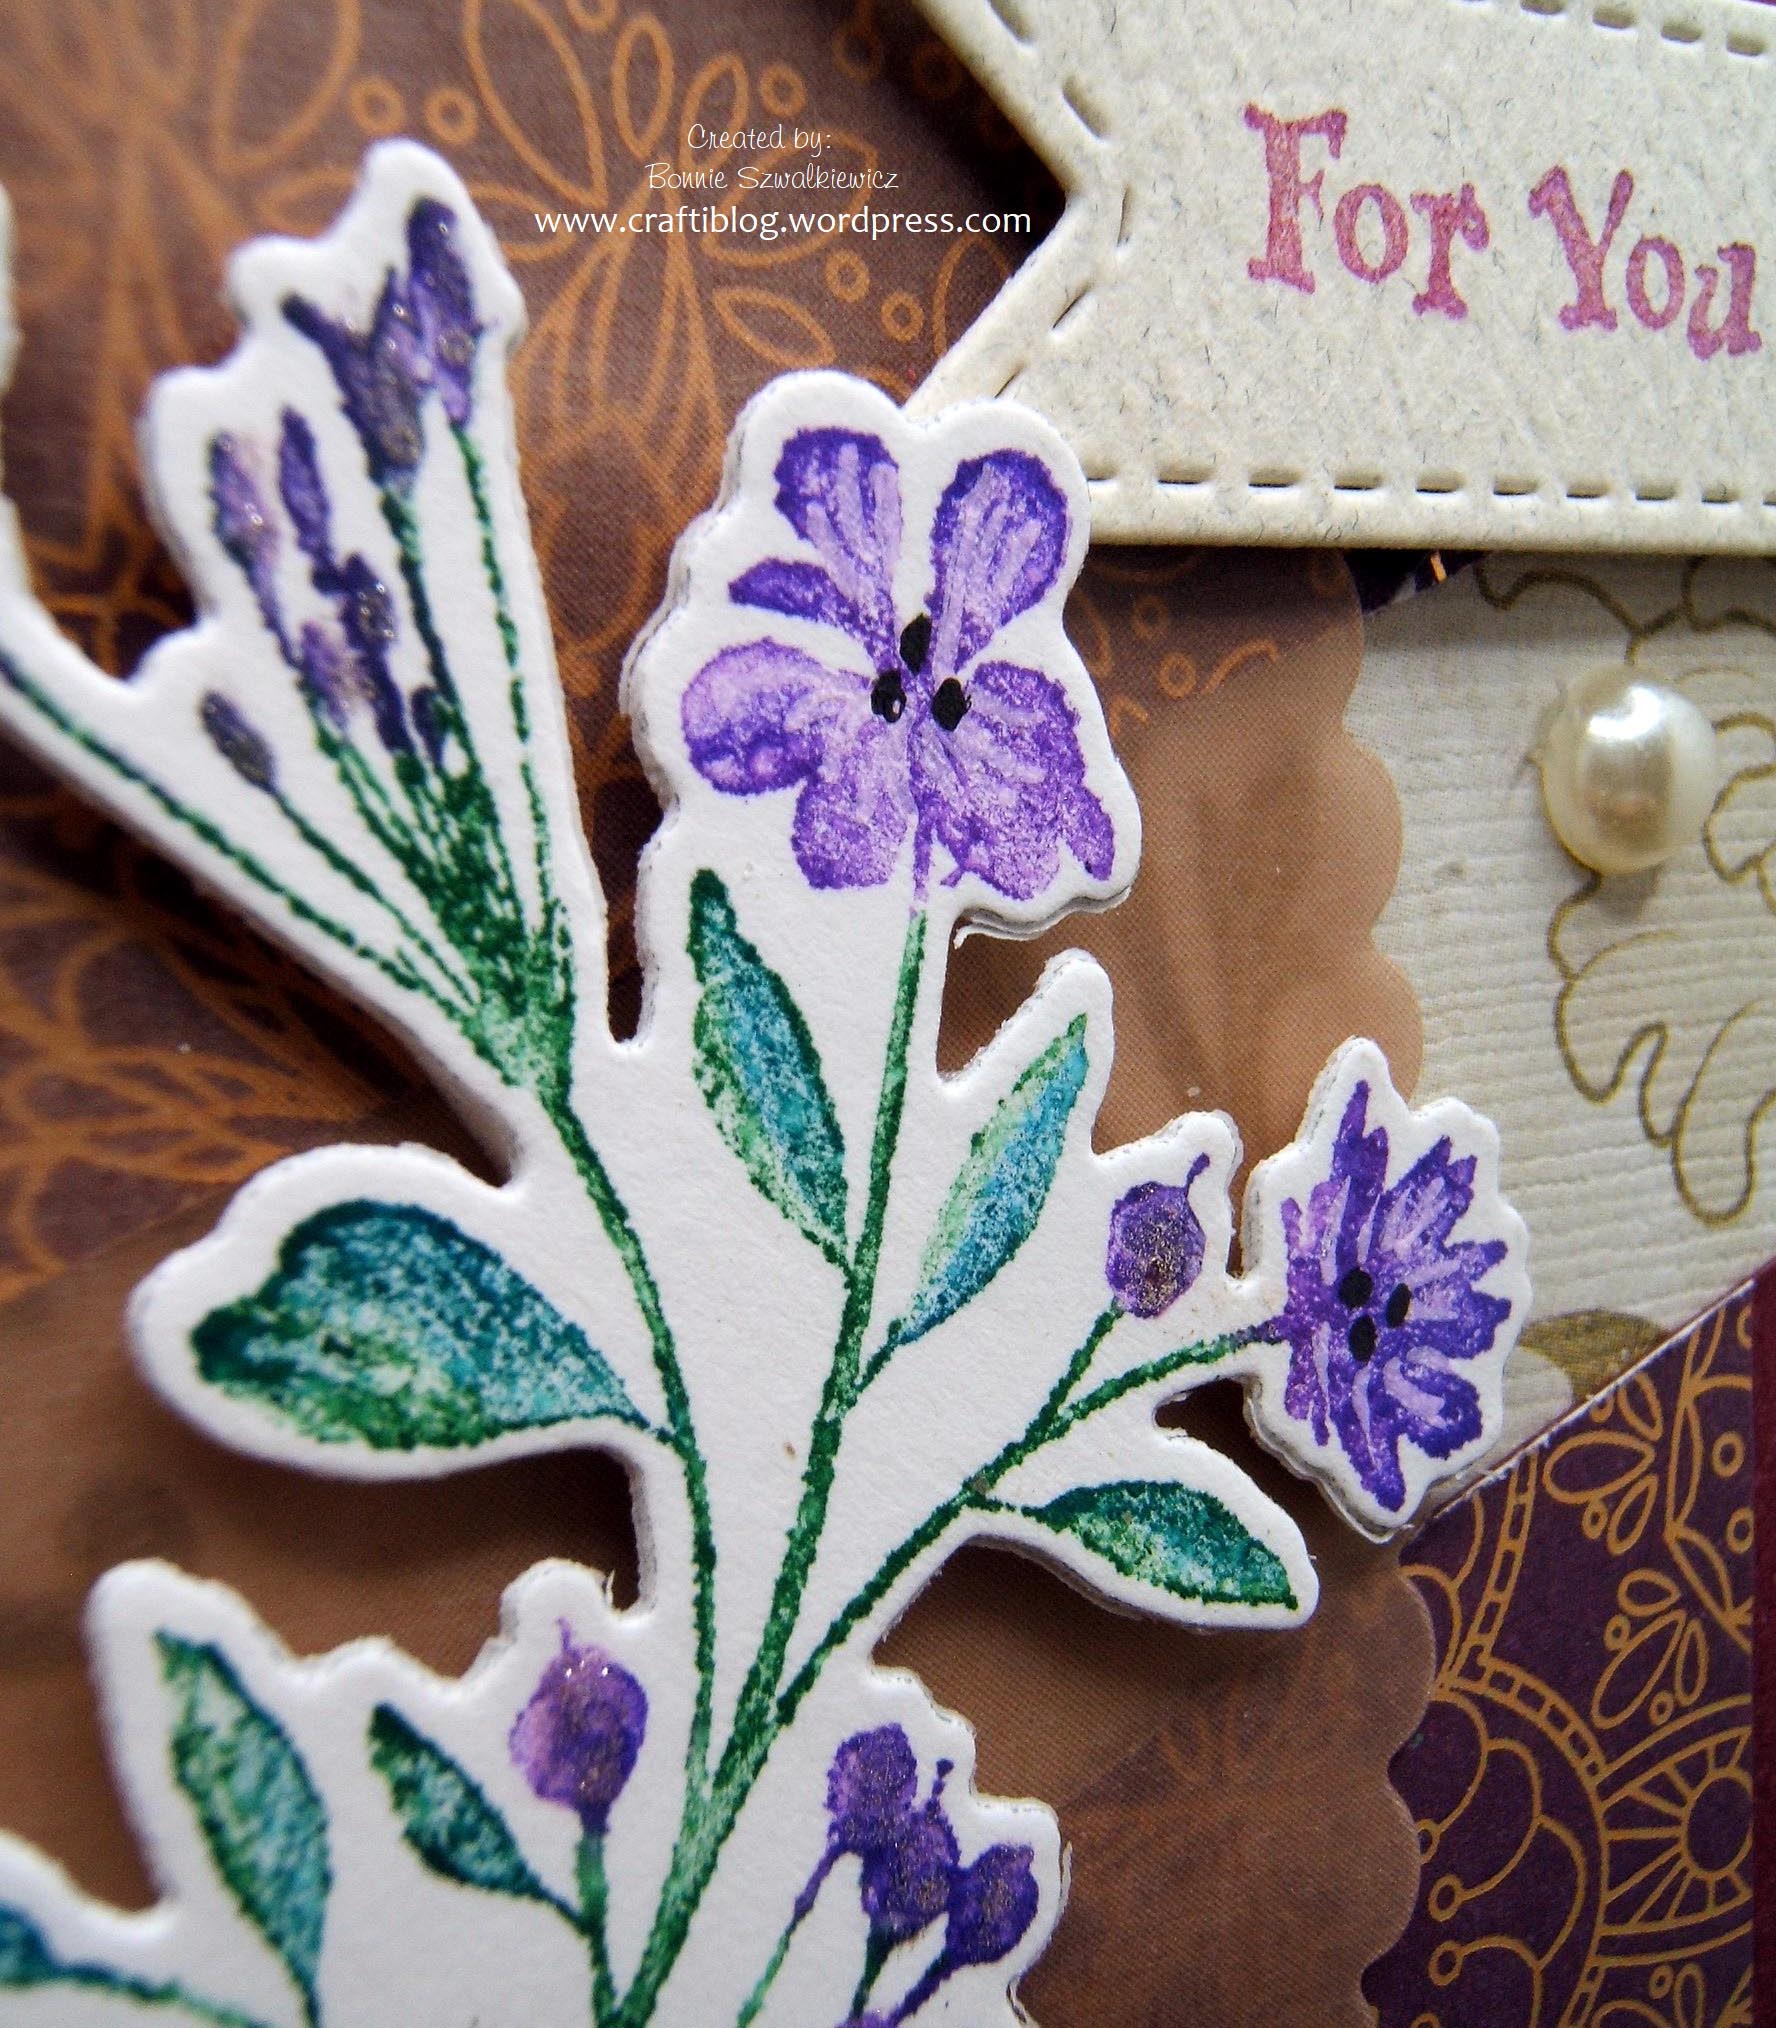
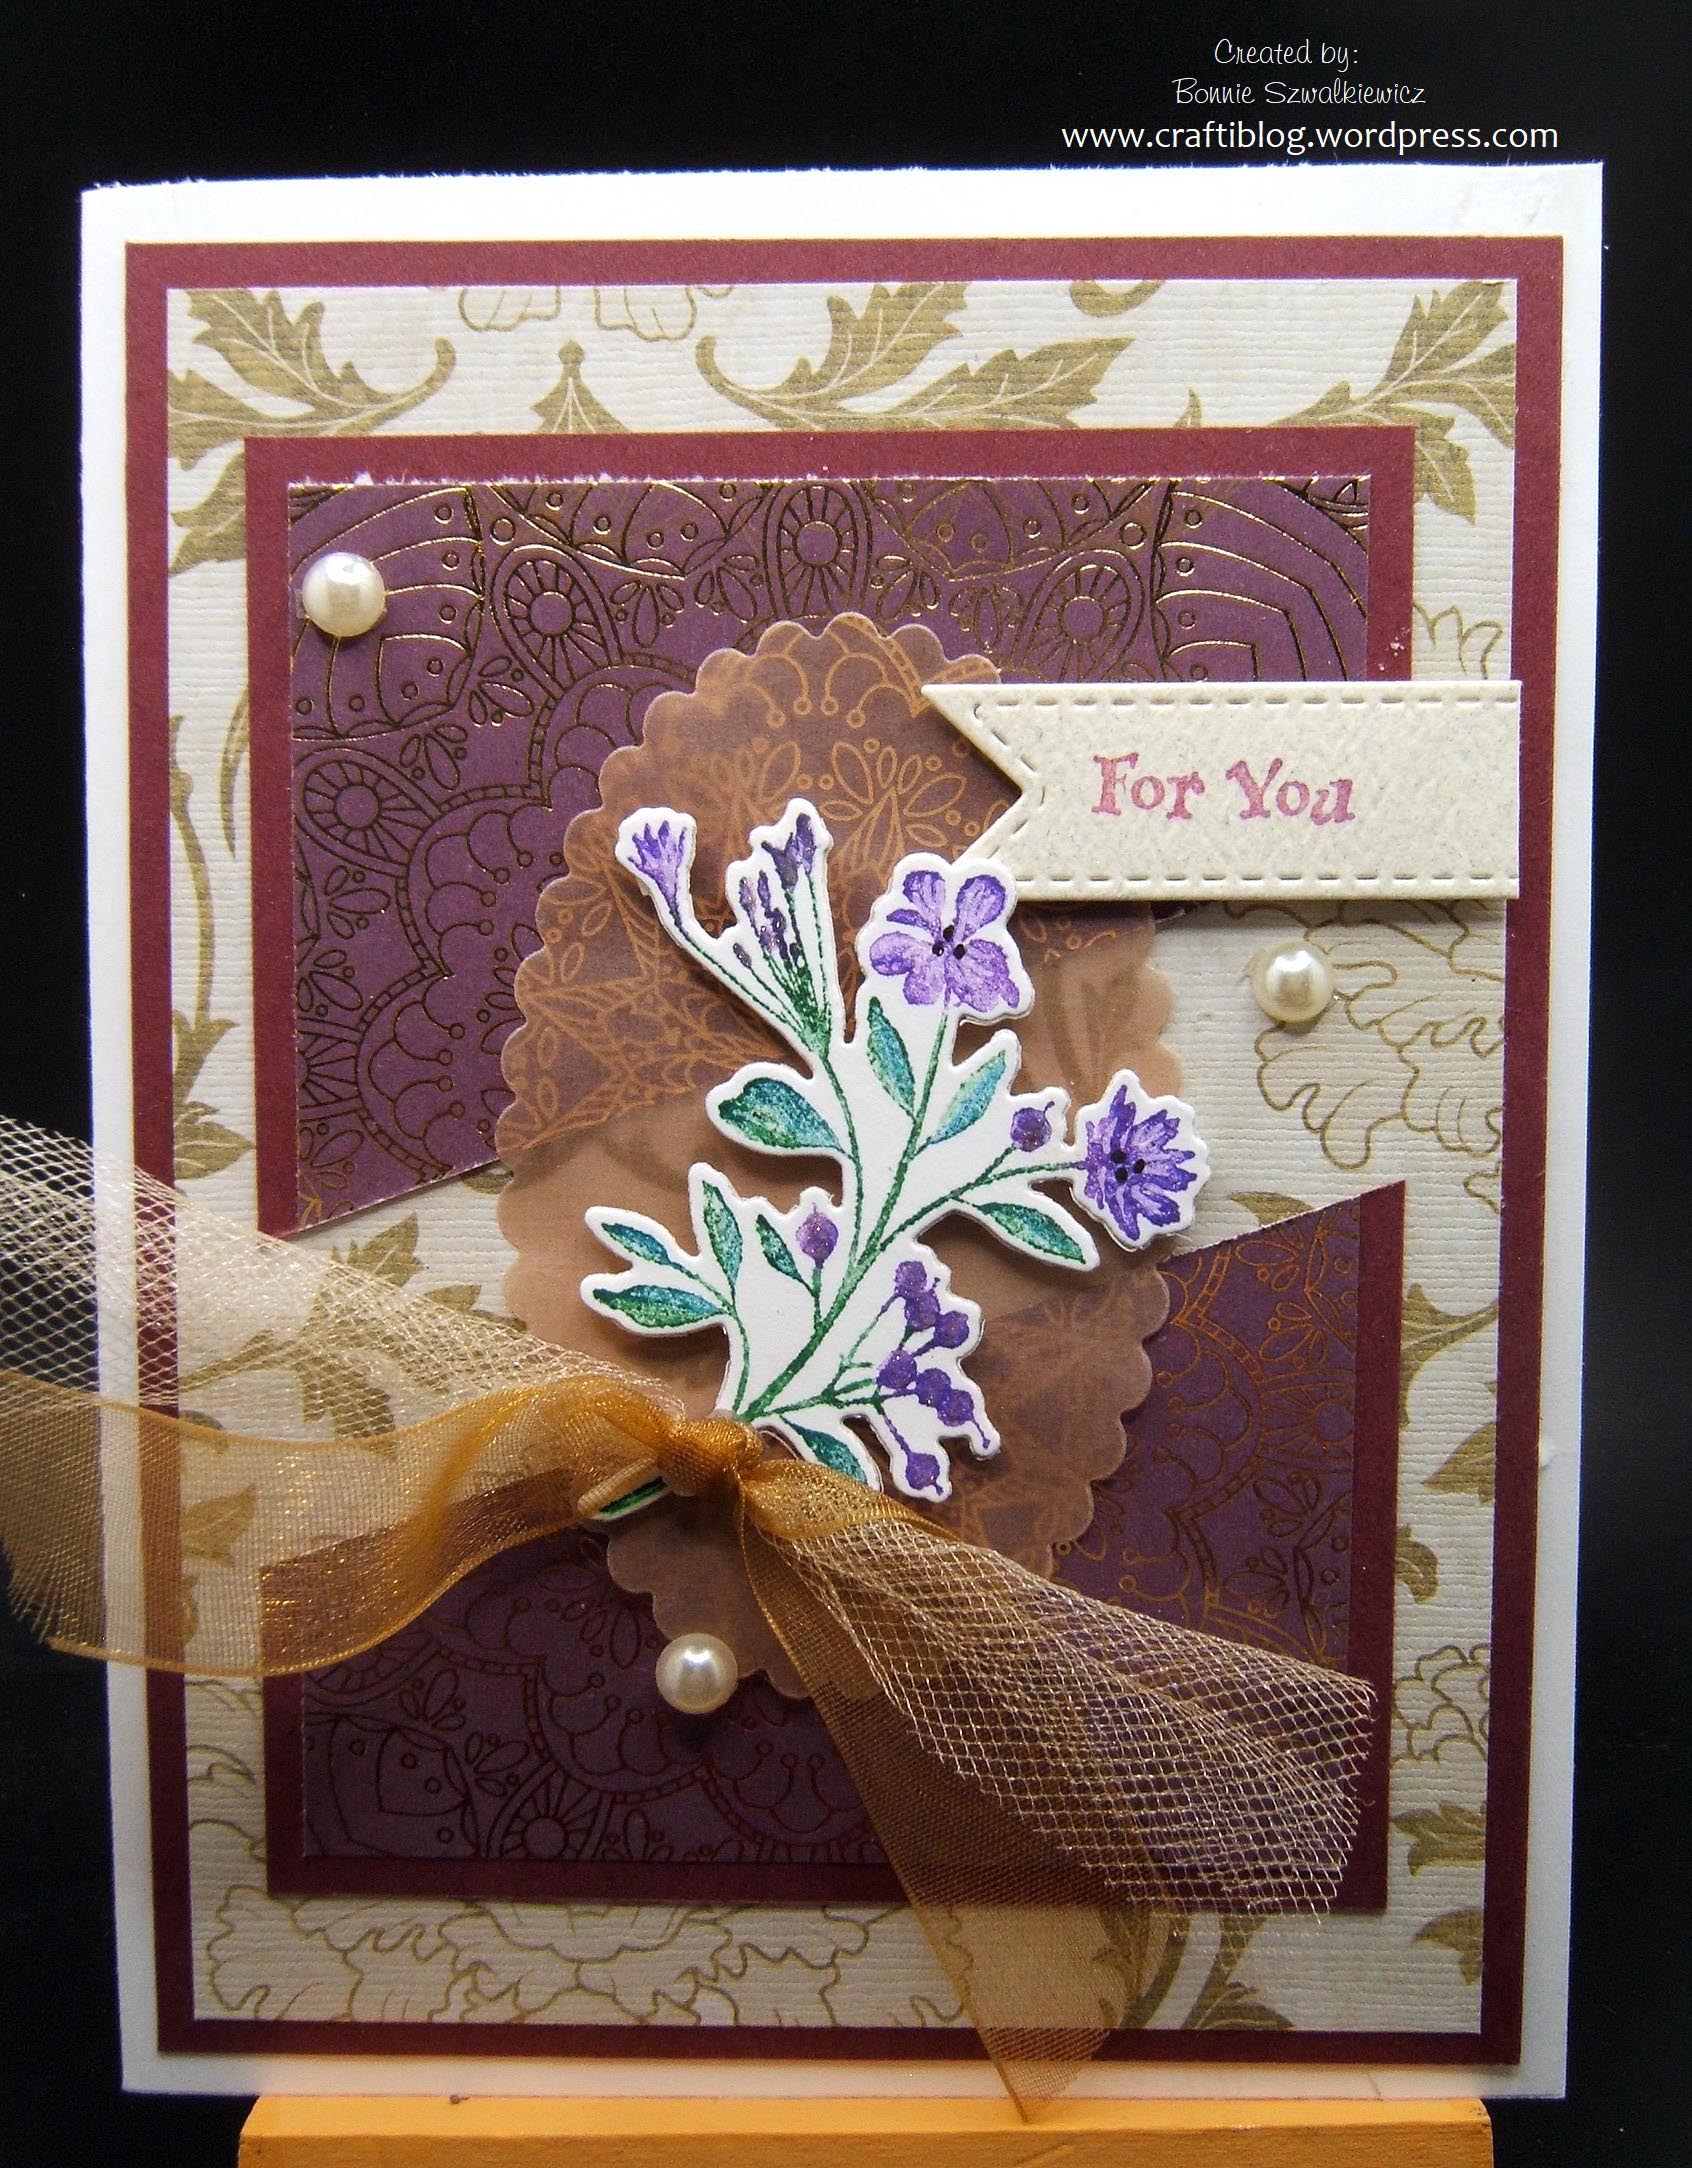
2024-04-27; Using the last of the rose DSP
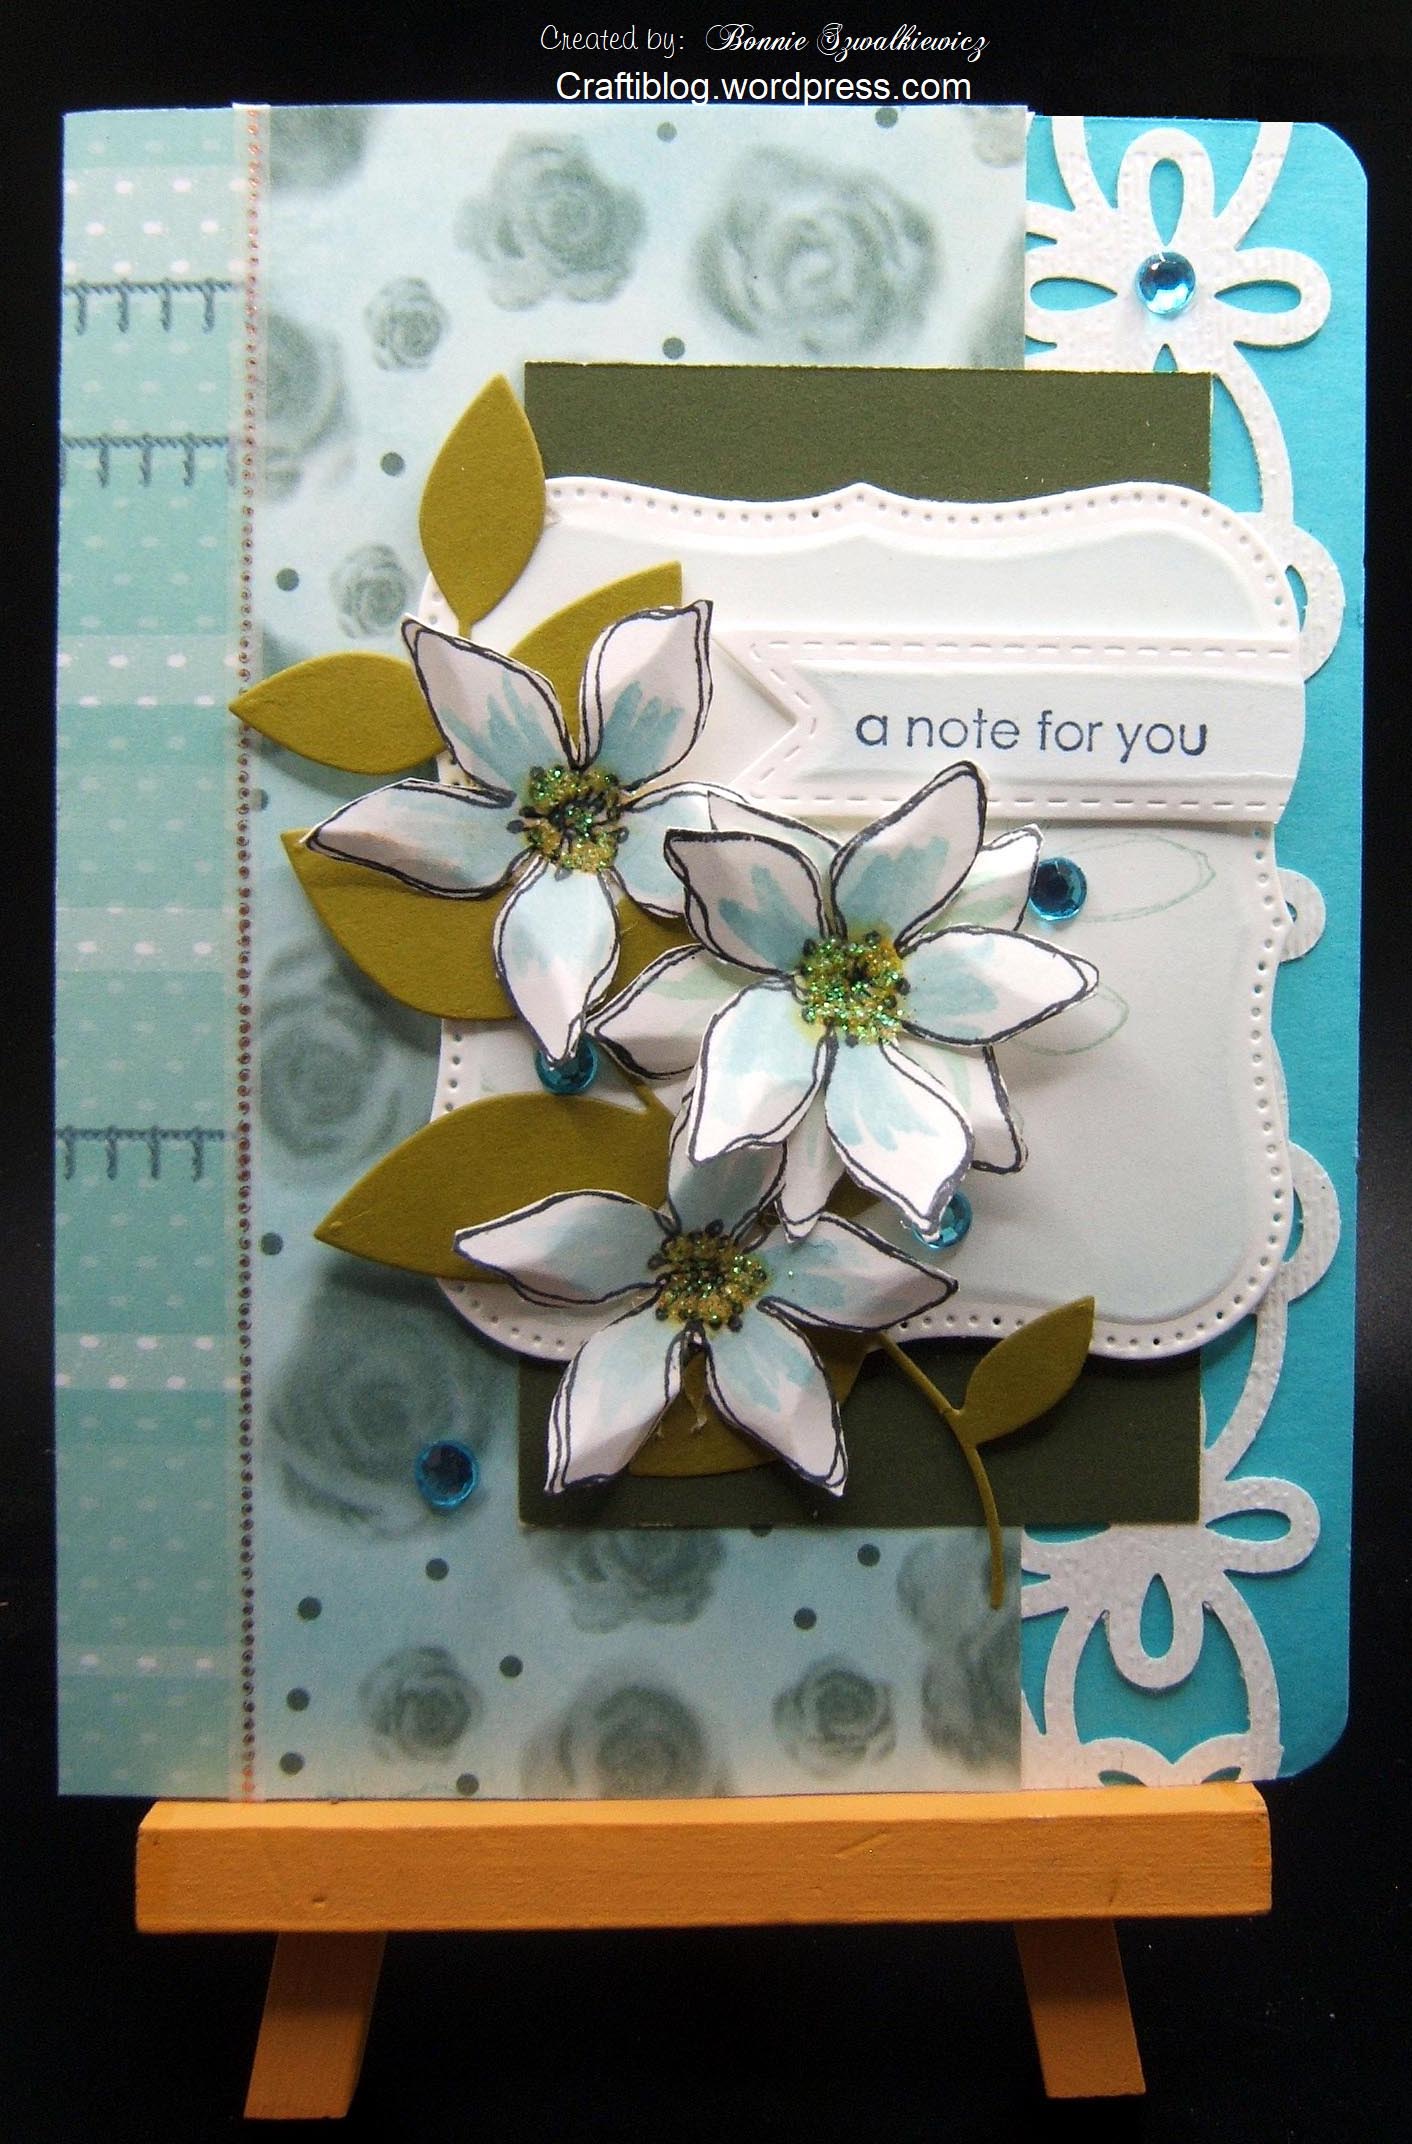
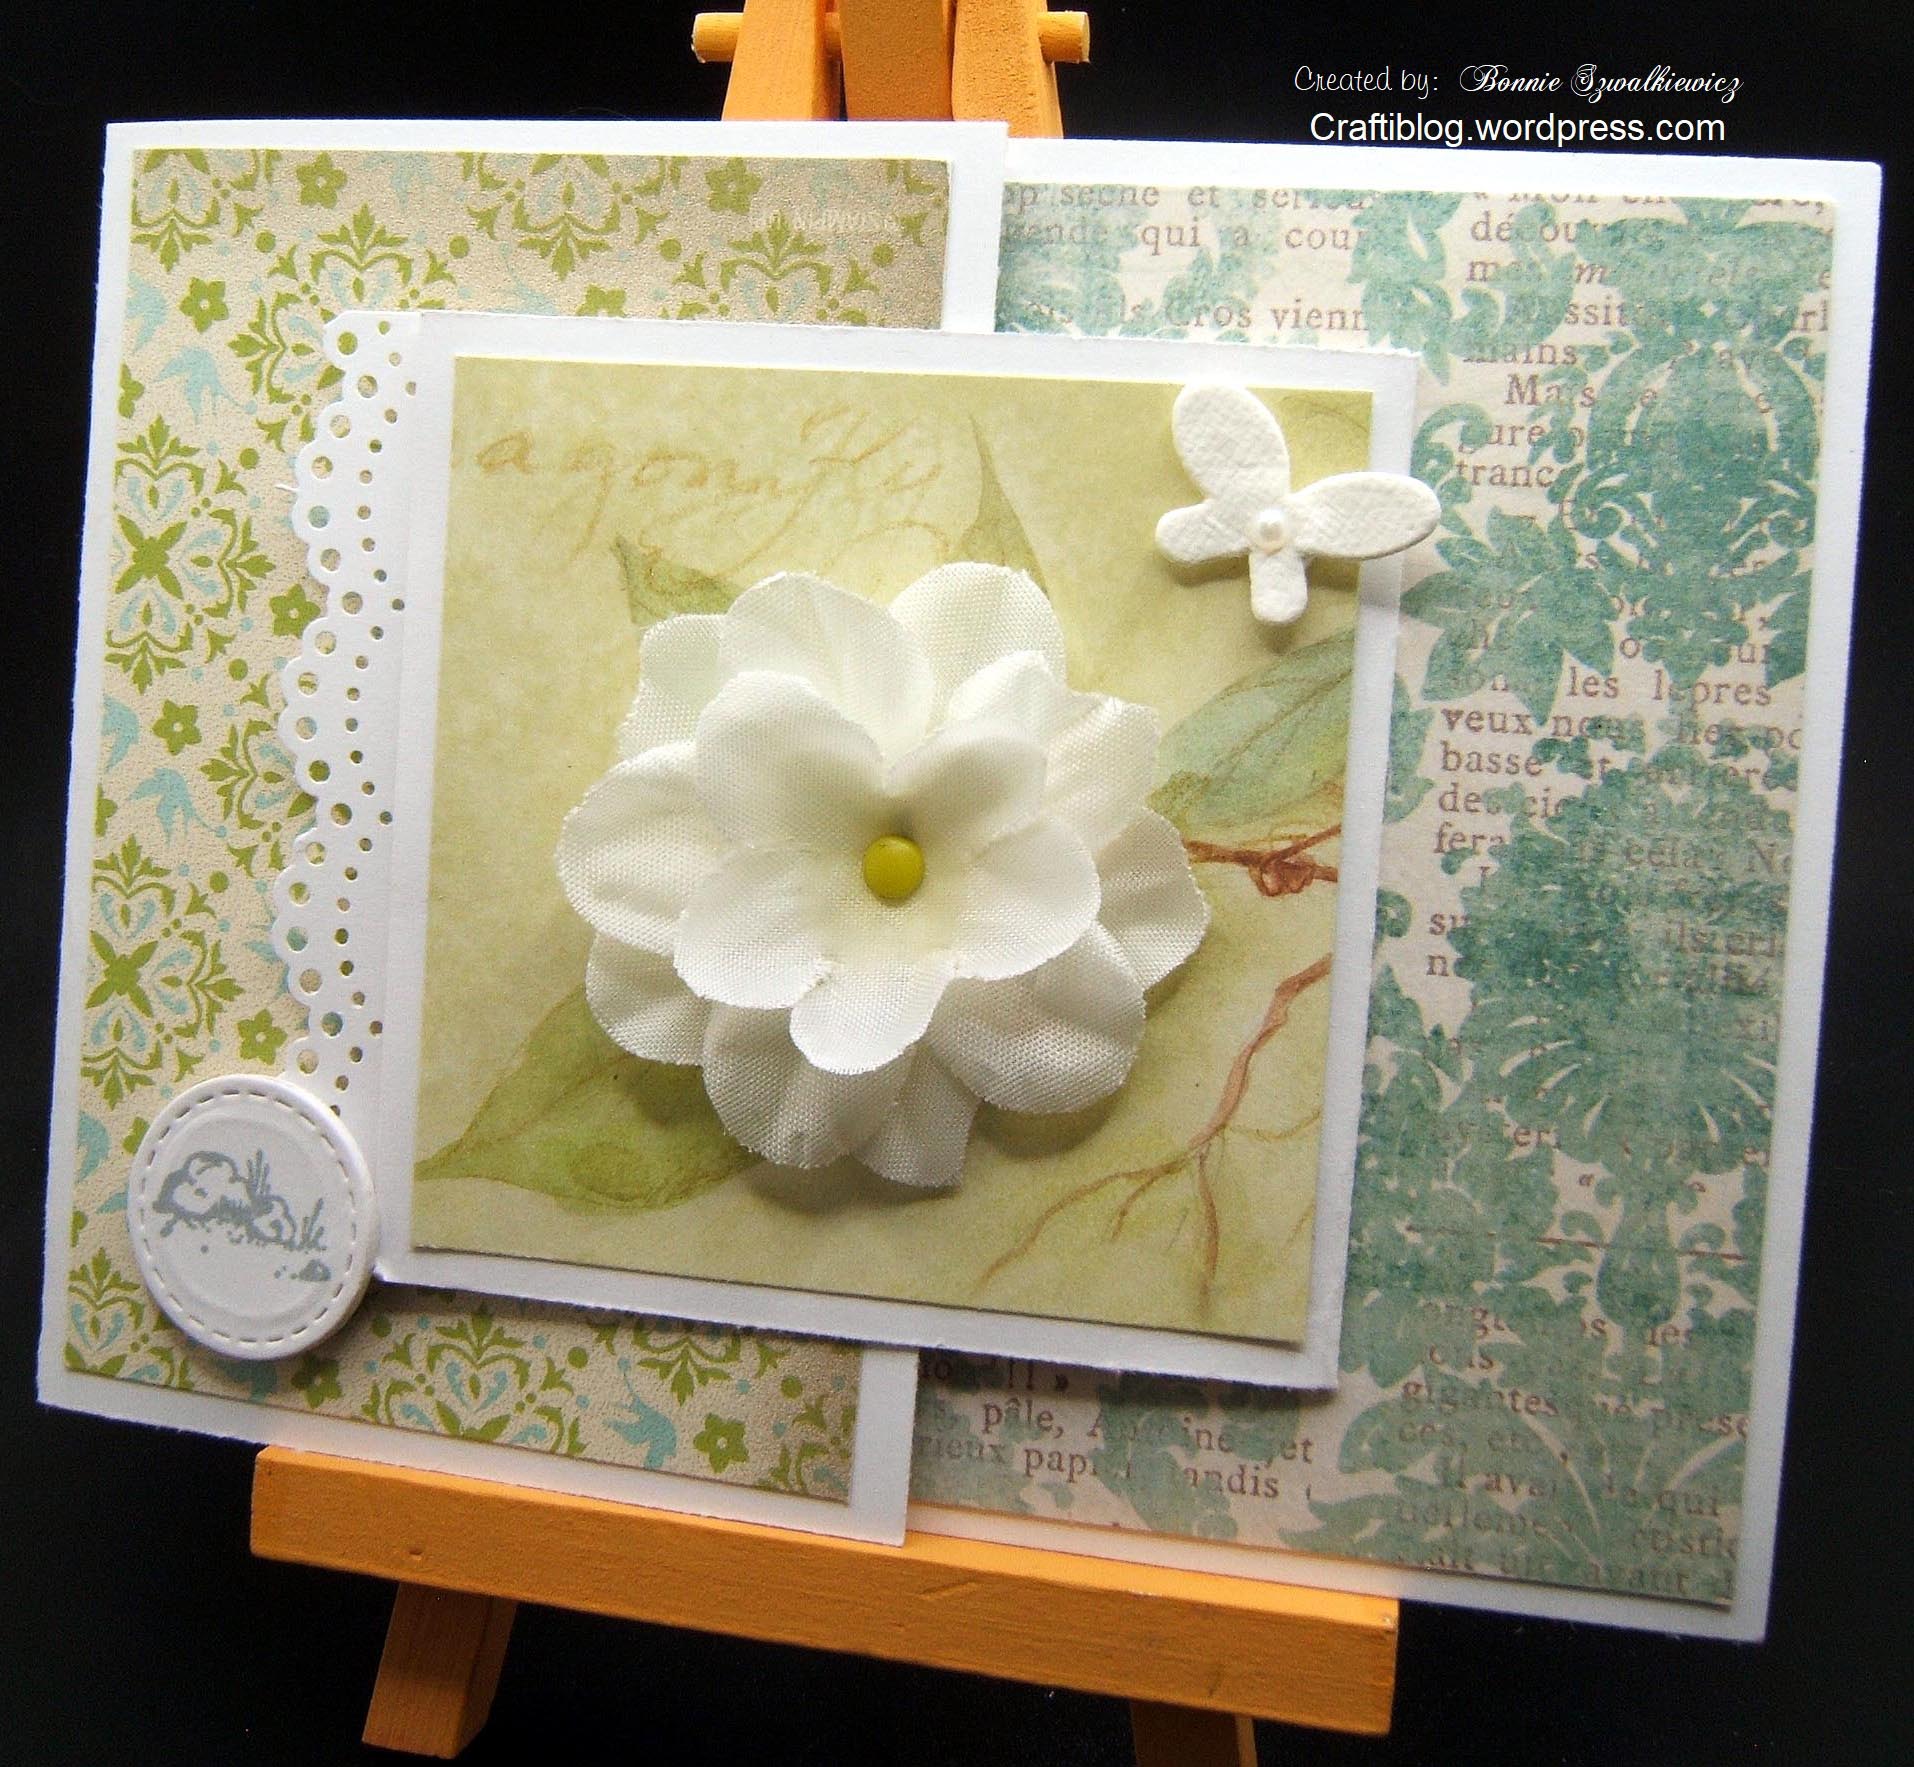
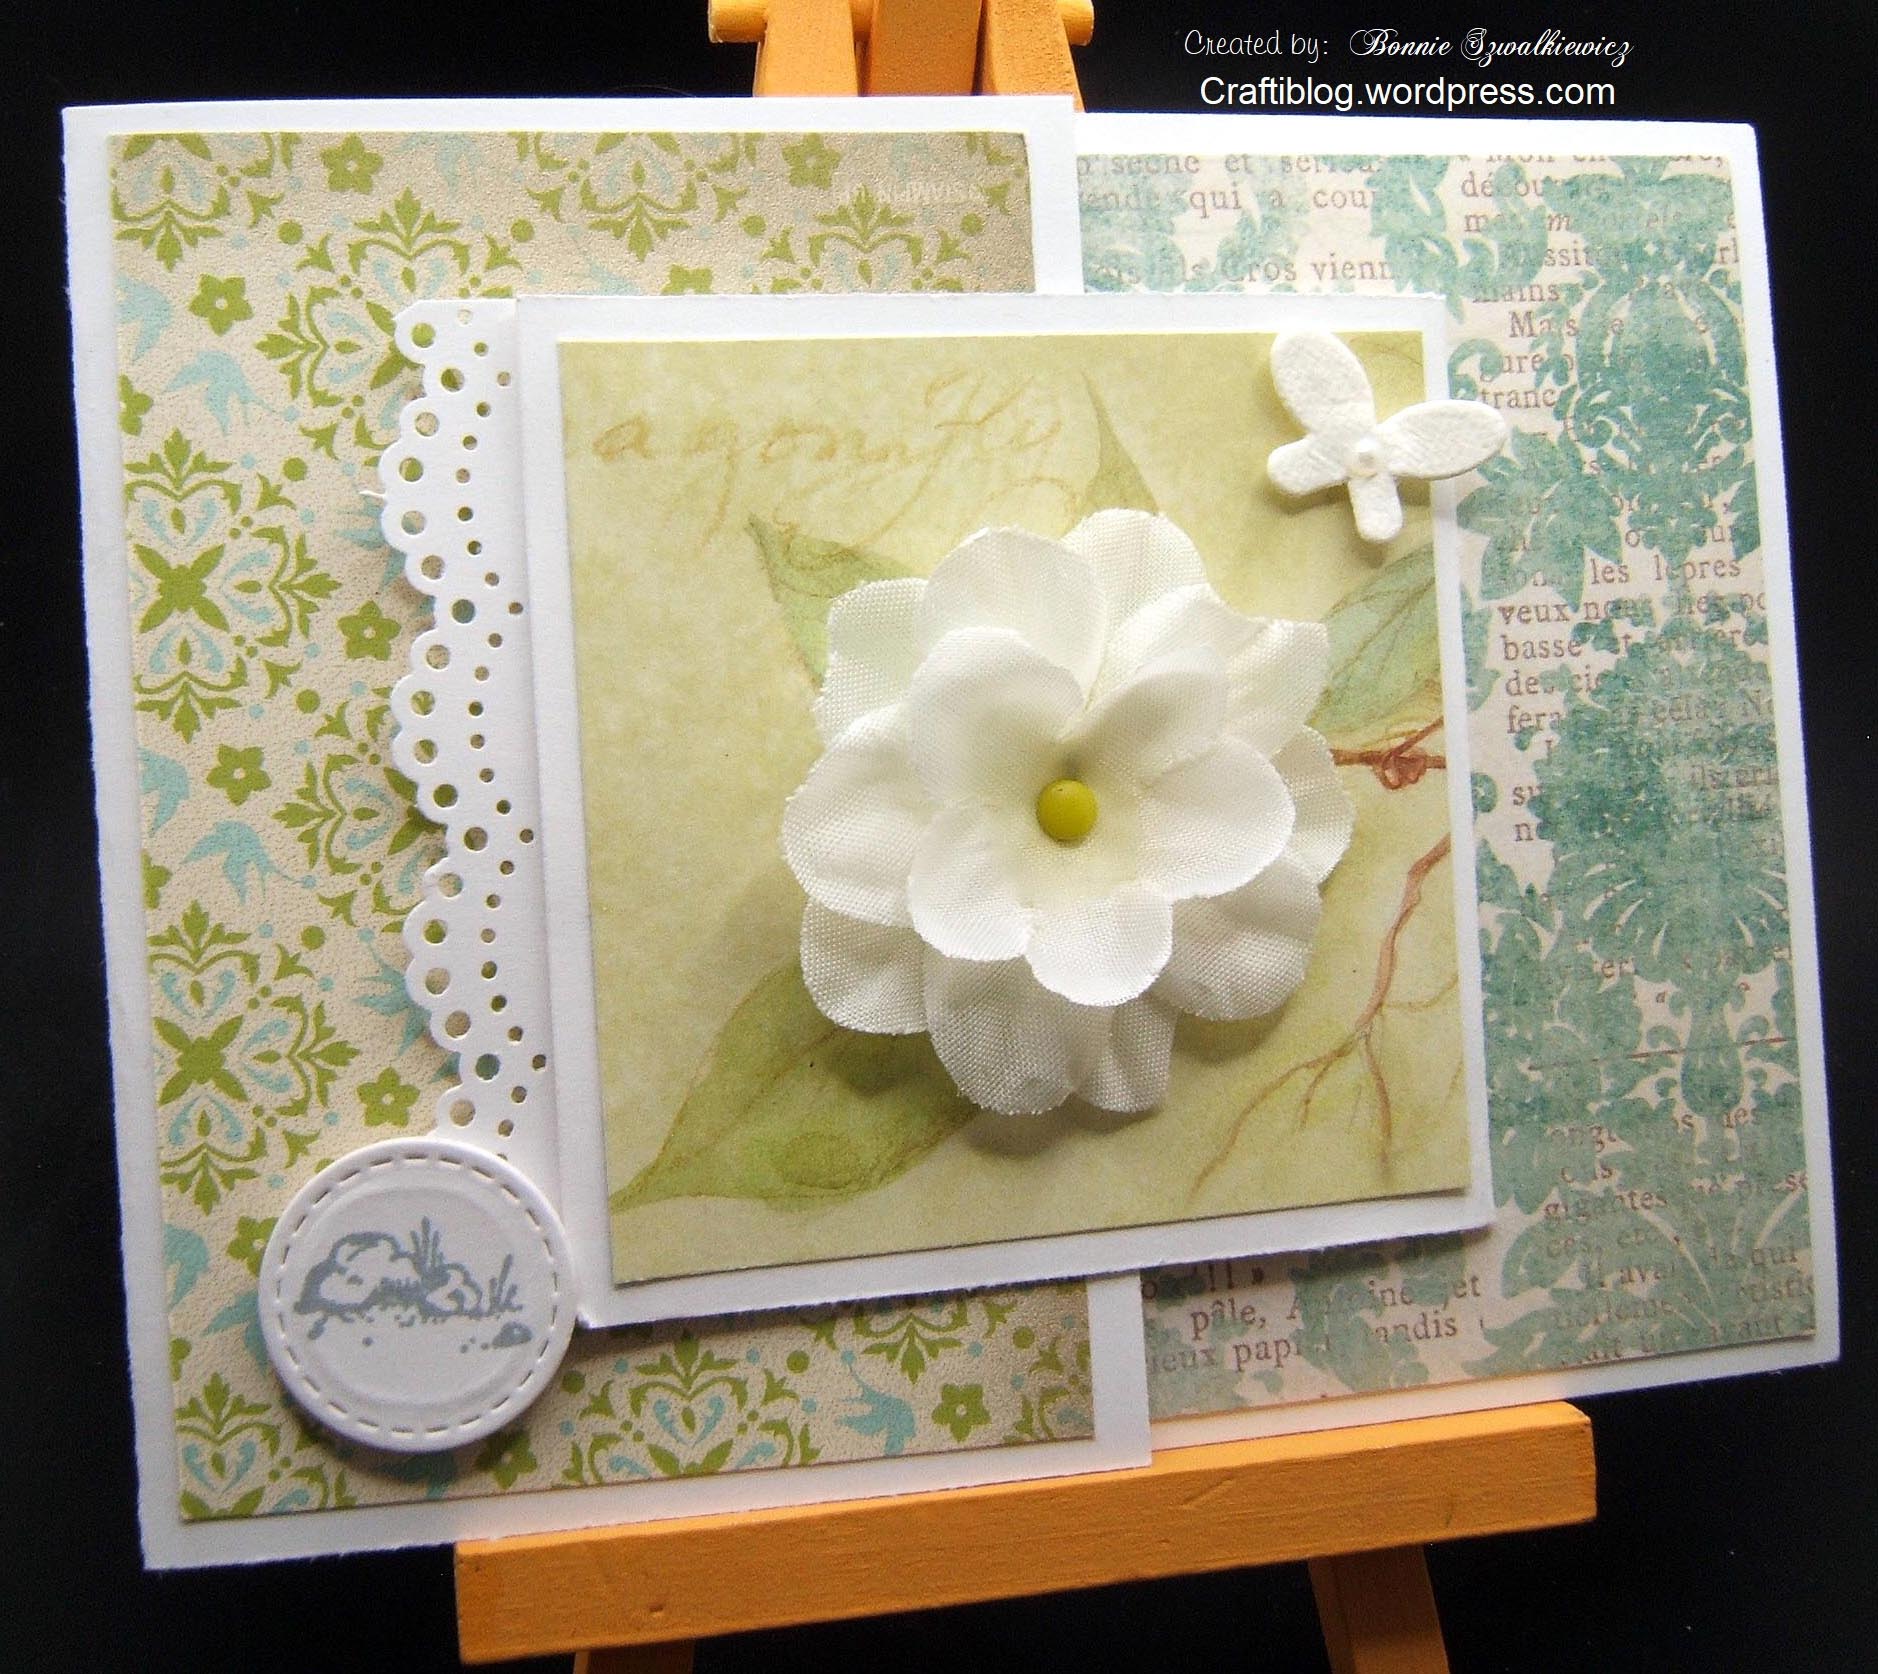
I’ve been working on using the rose decorative scrapbook paper (DSP) that a friend sent me. This is the final scrap of that piece. I should have taken a photo of what the DSP looked like prior to my sponging on more color…it was originally kind of a gray.
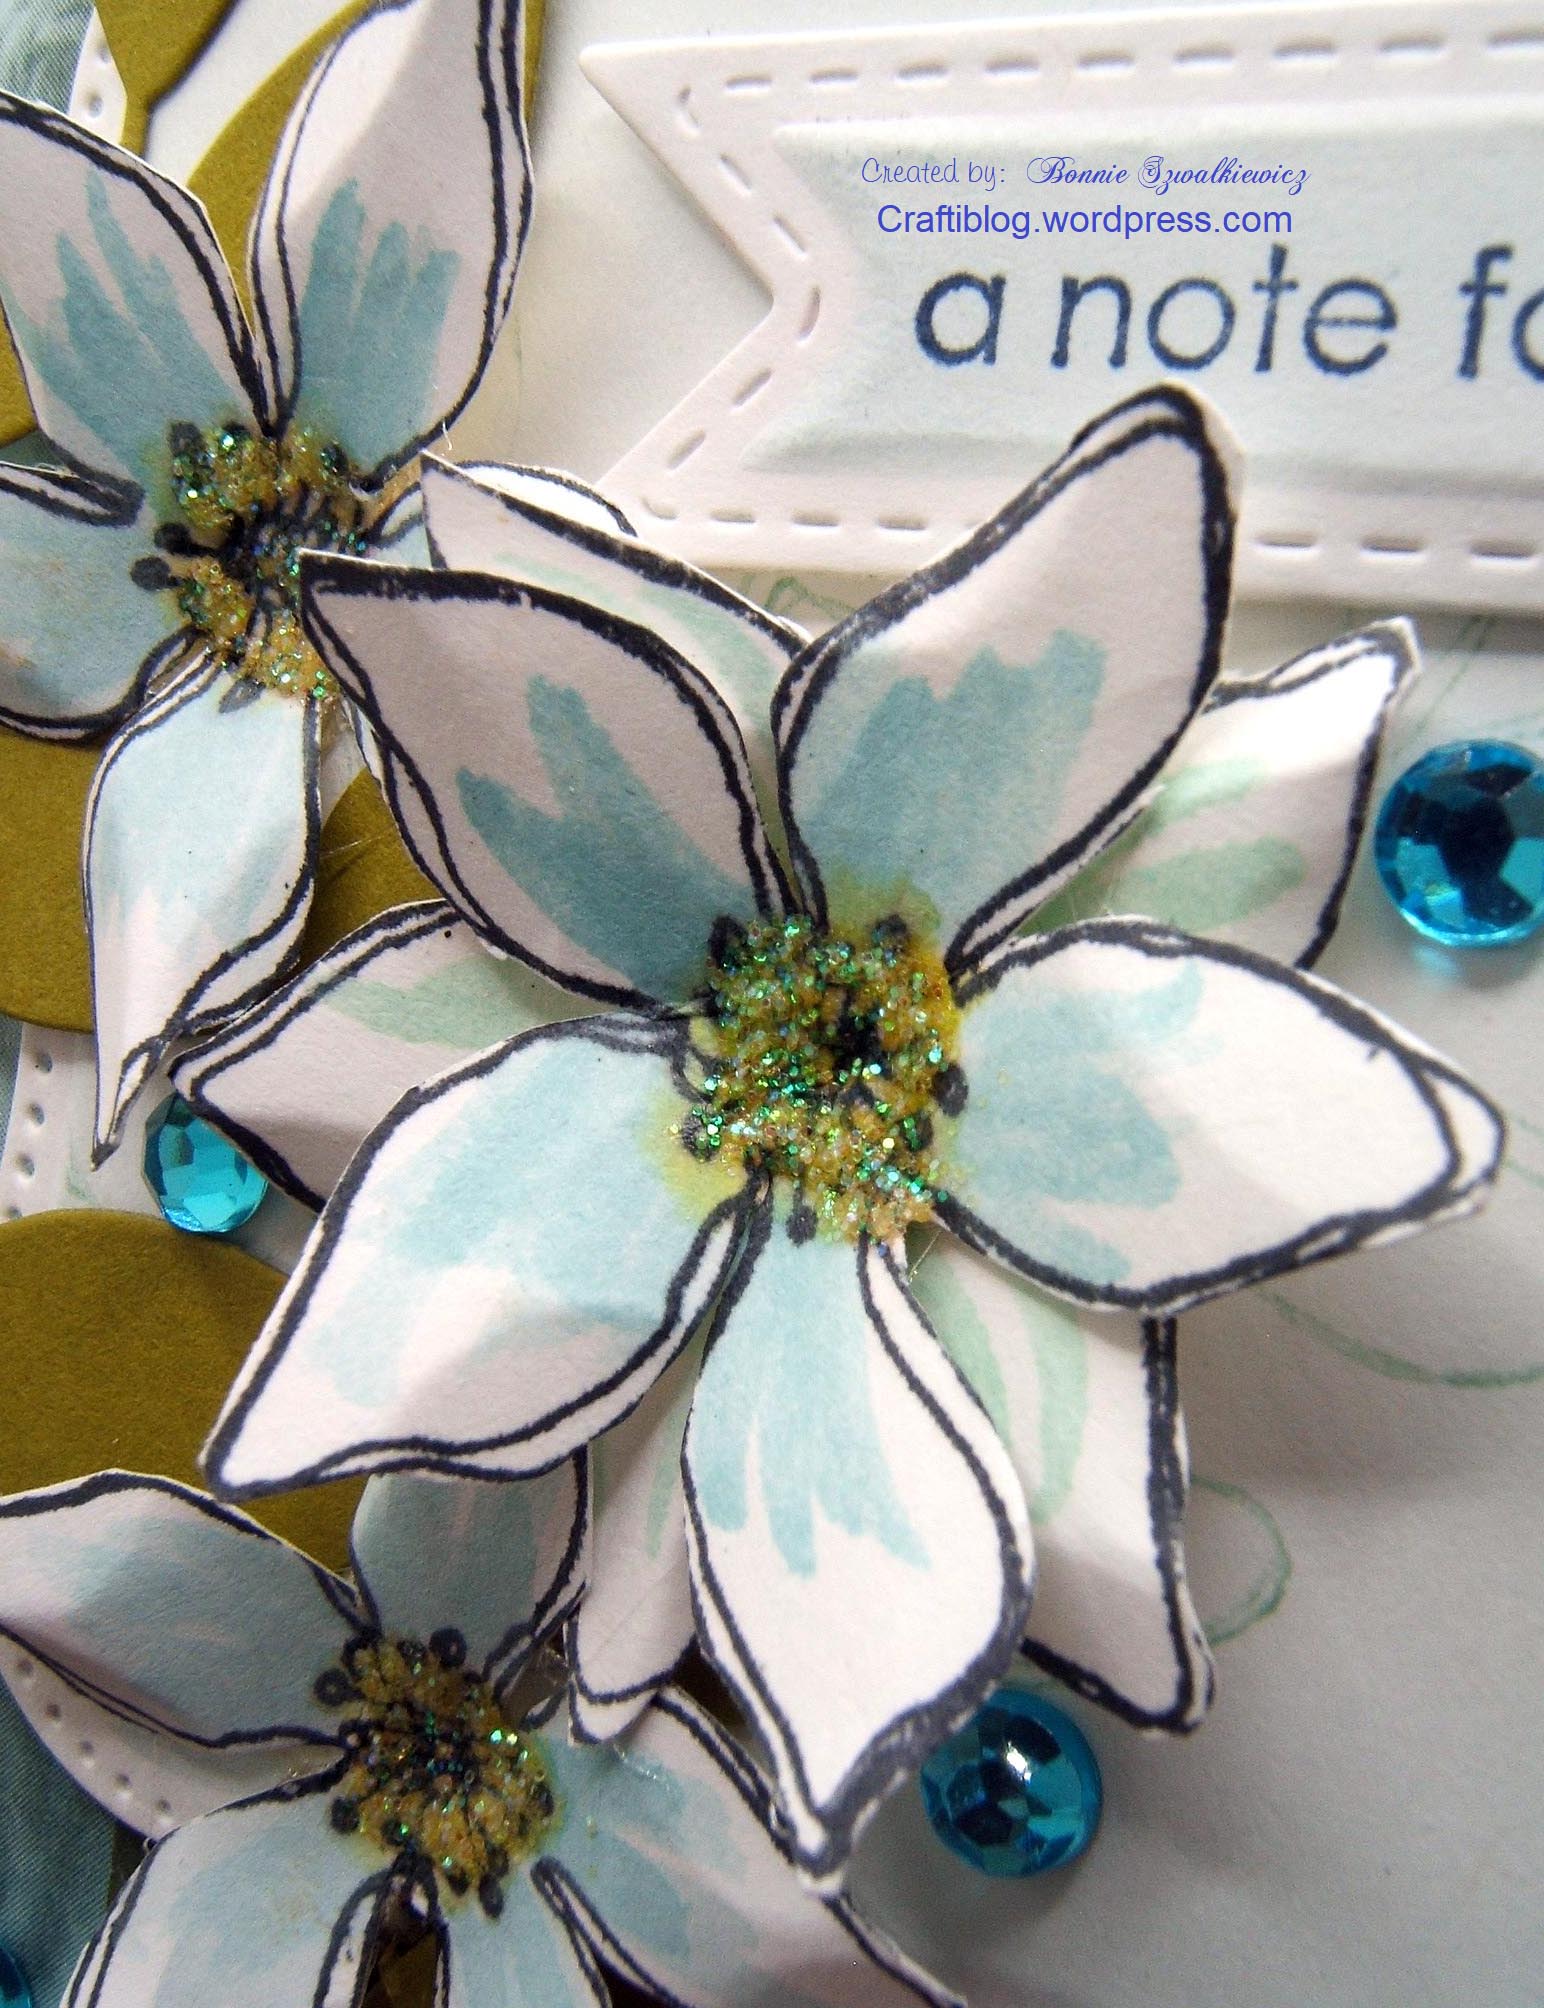
I pulled out the long retired Stampin’ Up set* called Wonderful You for the flowers. The sentiment came from another set called Sweet Little Sentiments.
*all of my stamp sets are long retired. I pick up “new to me sets” from rummage sales.
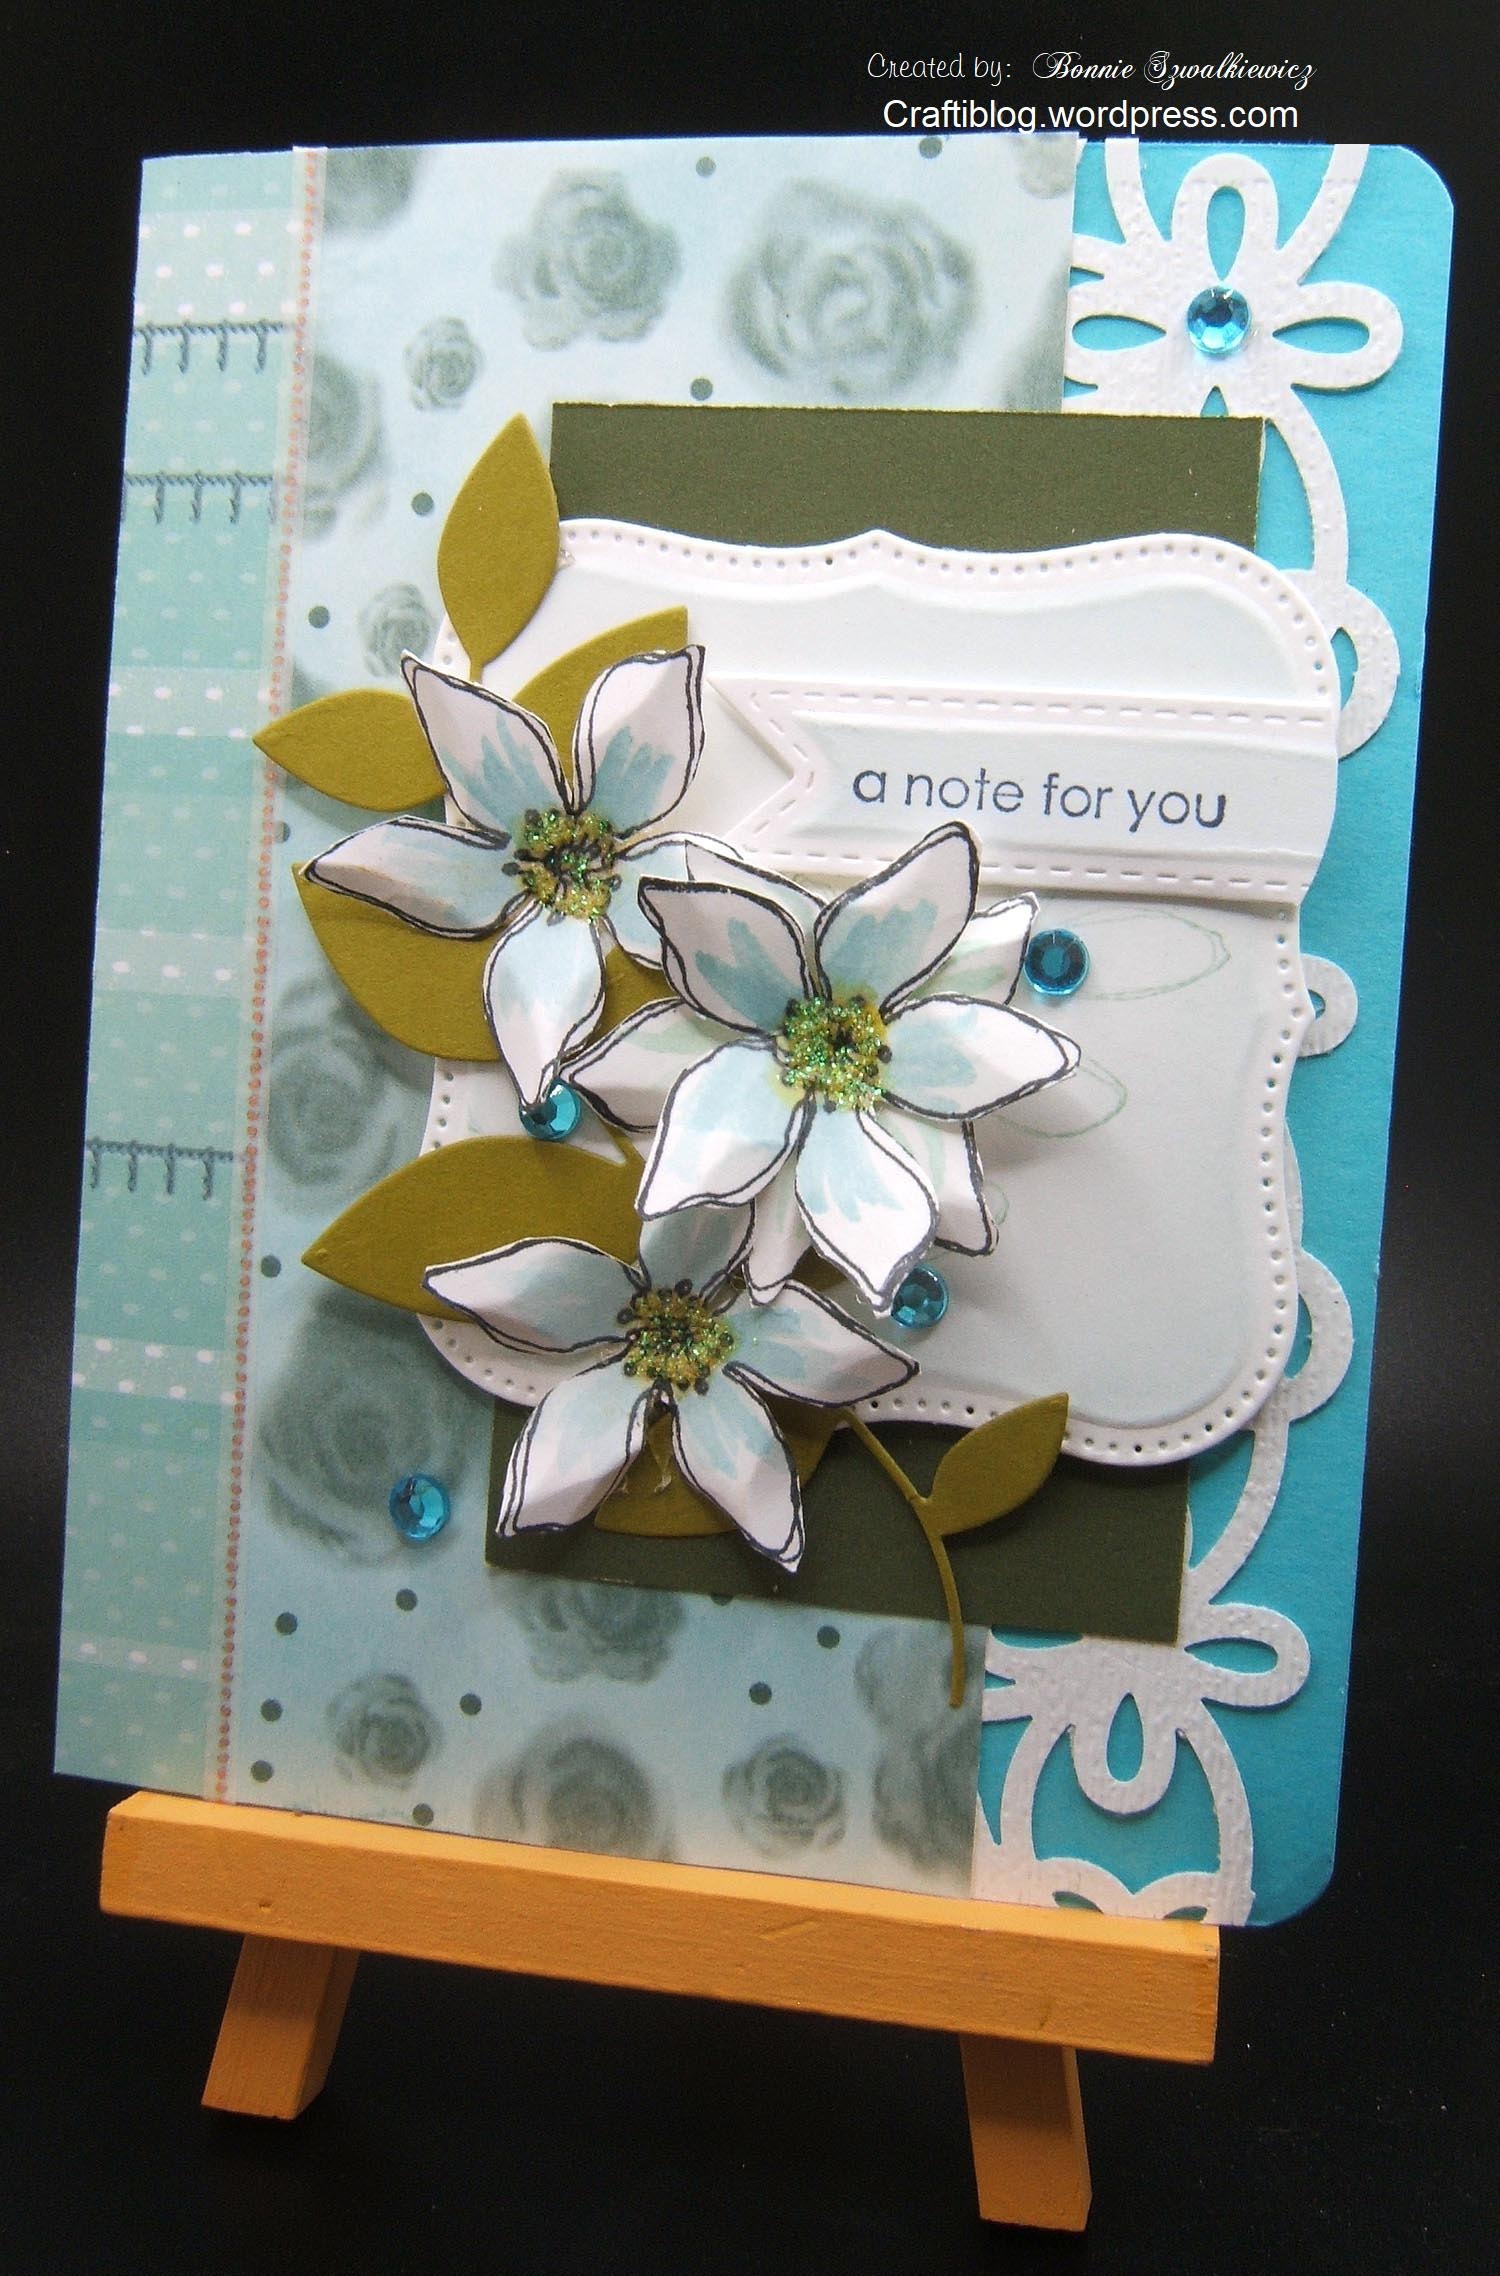
I used an aqua brush and the same ink pad that I had used to sponge and/or stamp the leaves in the background to paint the flowers. The yellow goo in the flower centers is glitter glue. After seeing the results of it, I wish I had used something else lol!
And one last look at the card before you go on about your day…
Thanks for stopping by.
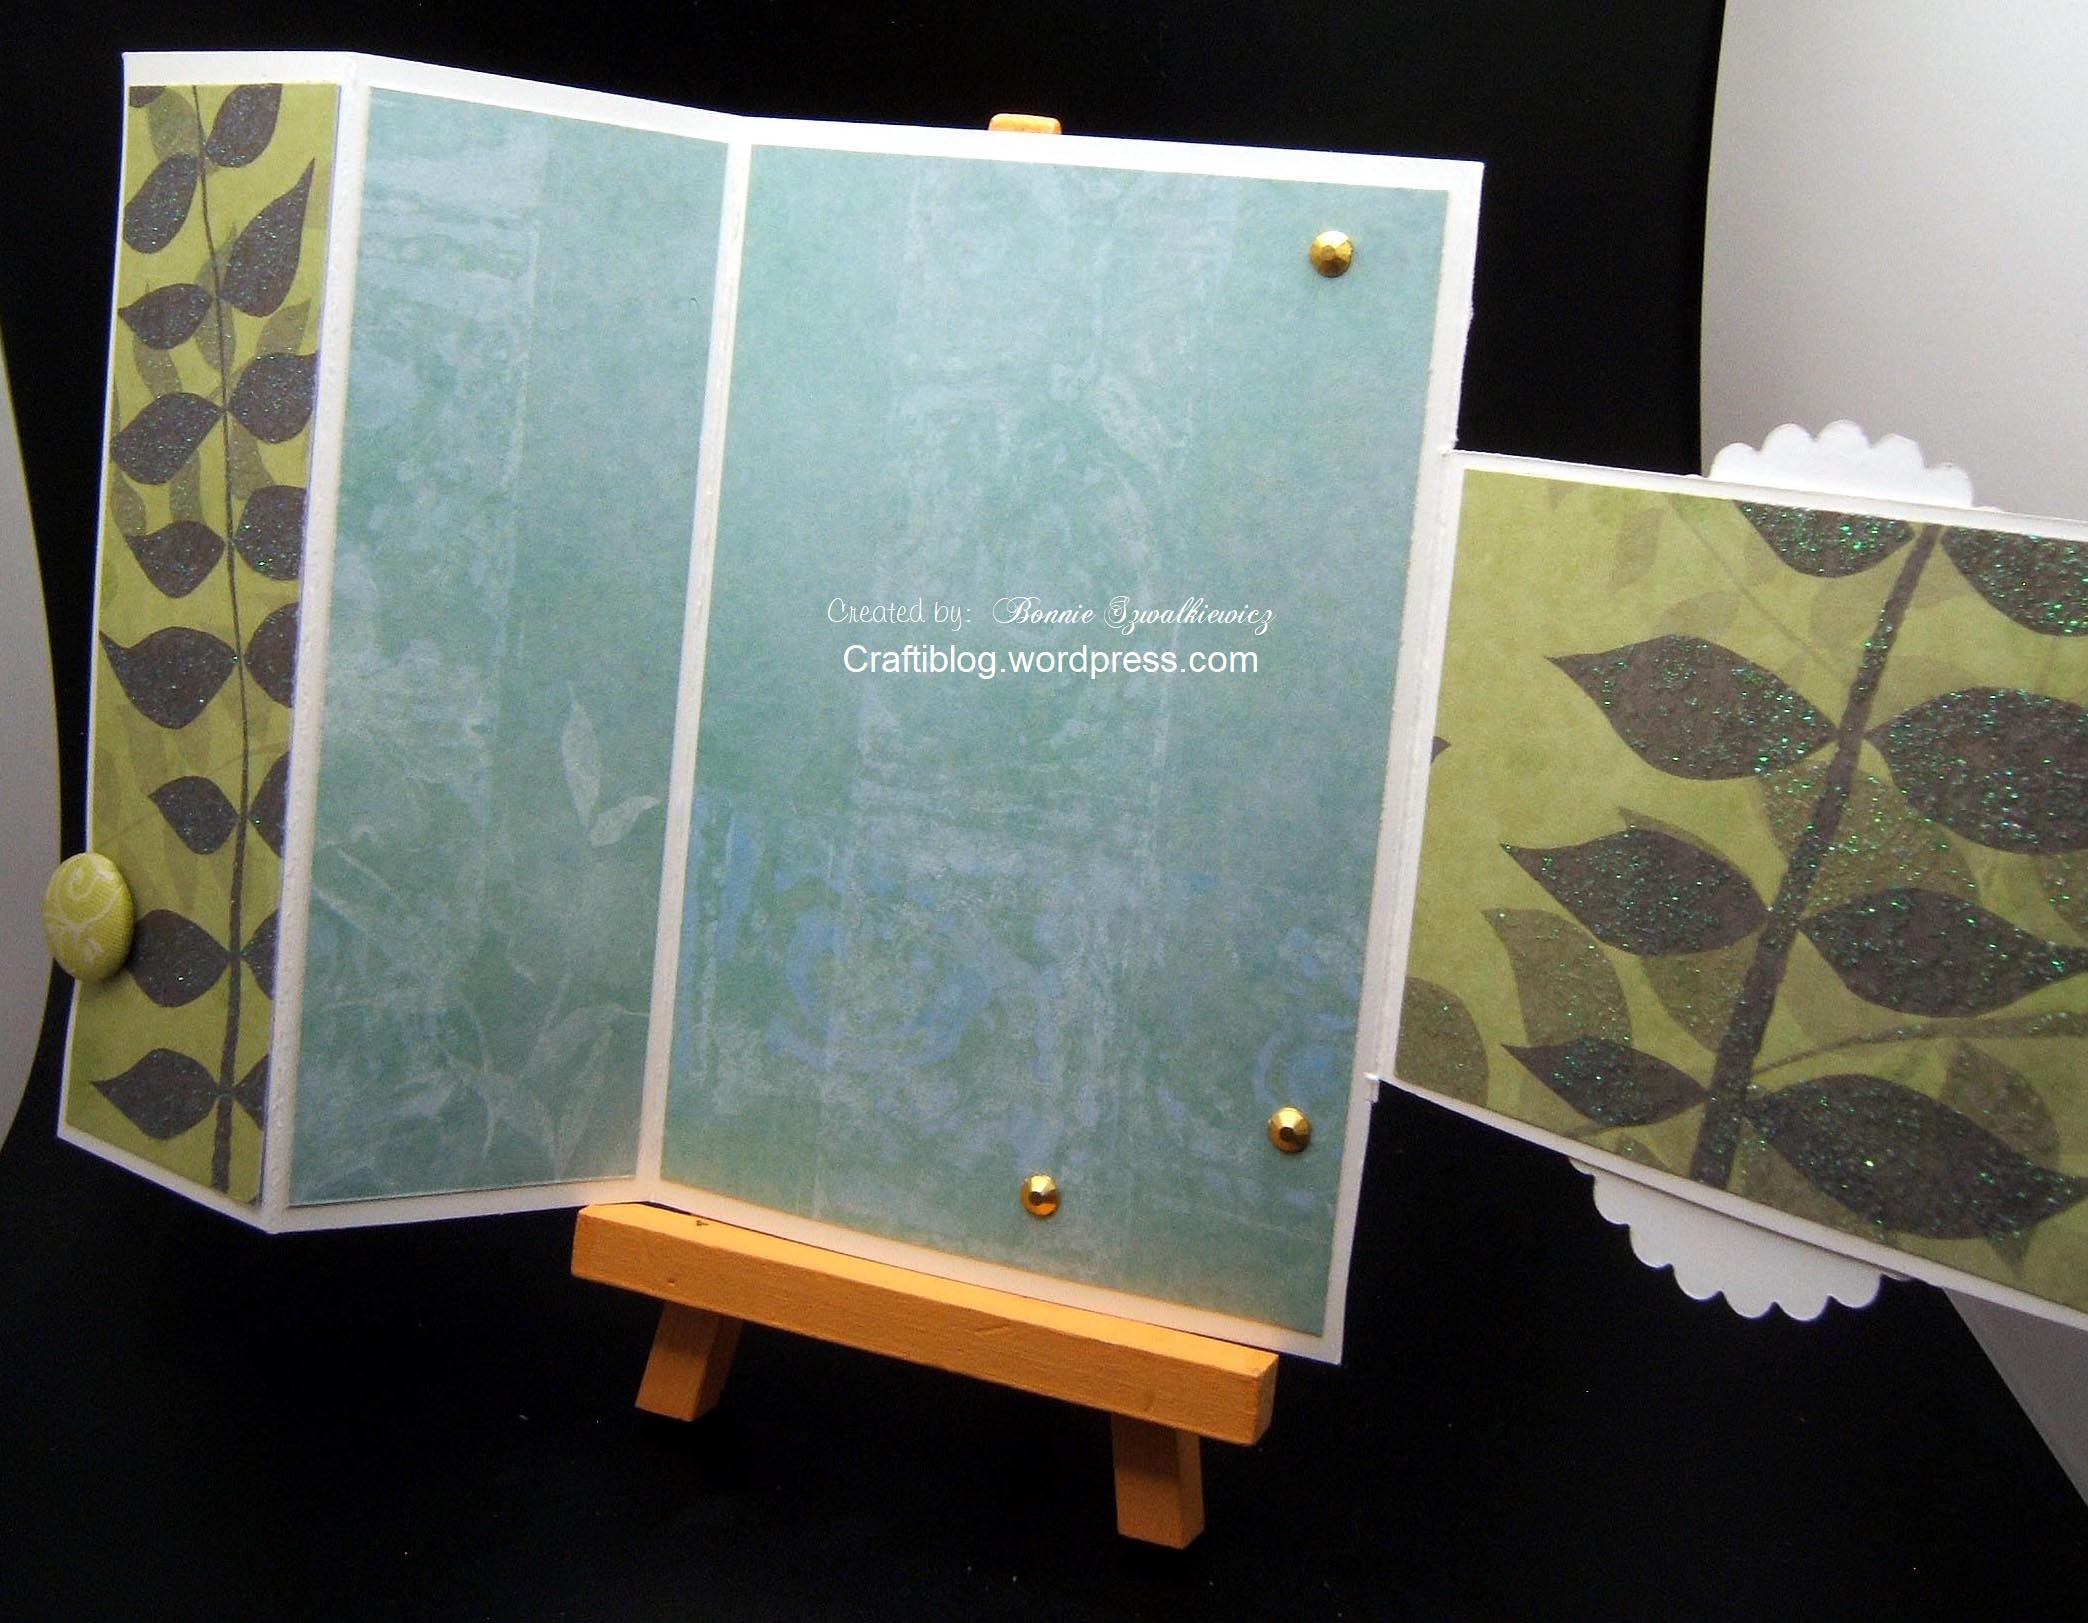
The challenge was to make a card with 3 folds–not a brochure fold, that only has 2 folds. My way to meet that challenge was to add an extra flap. I’ve added a clip to secure the card for the photograph.
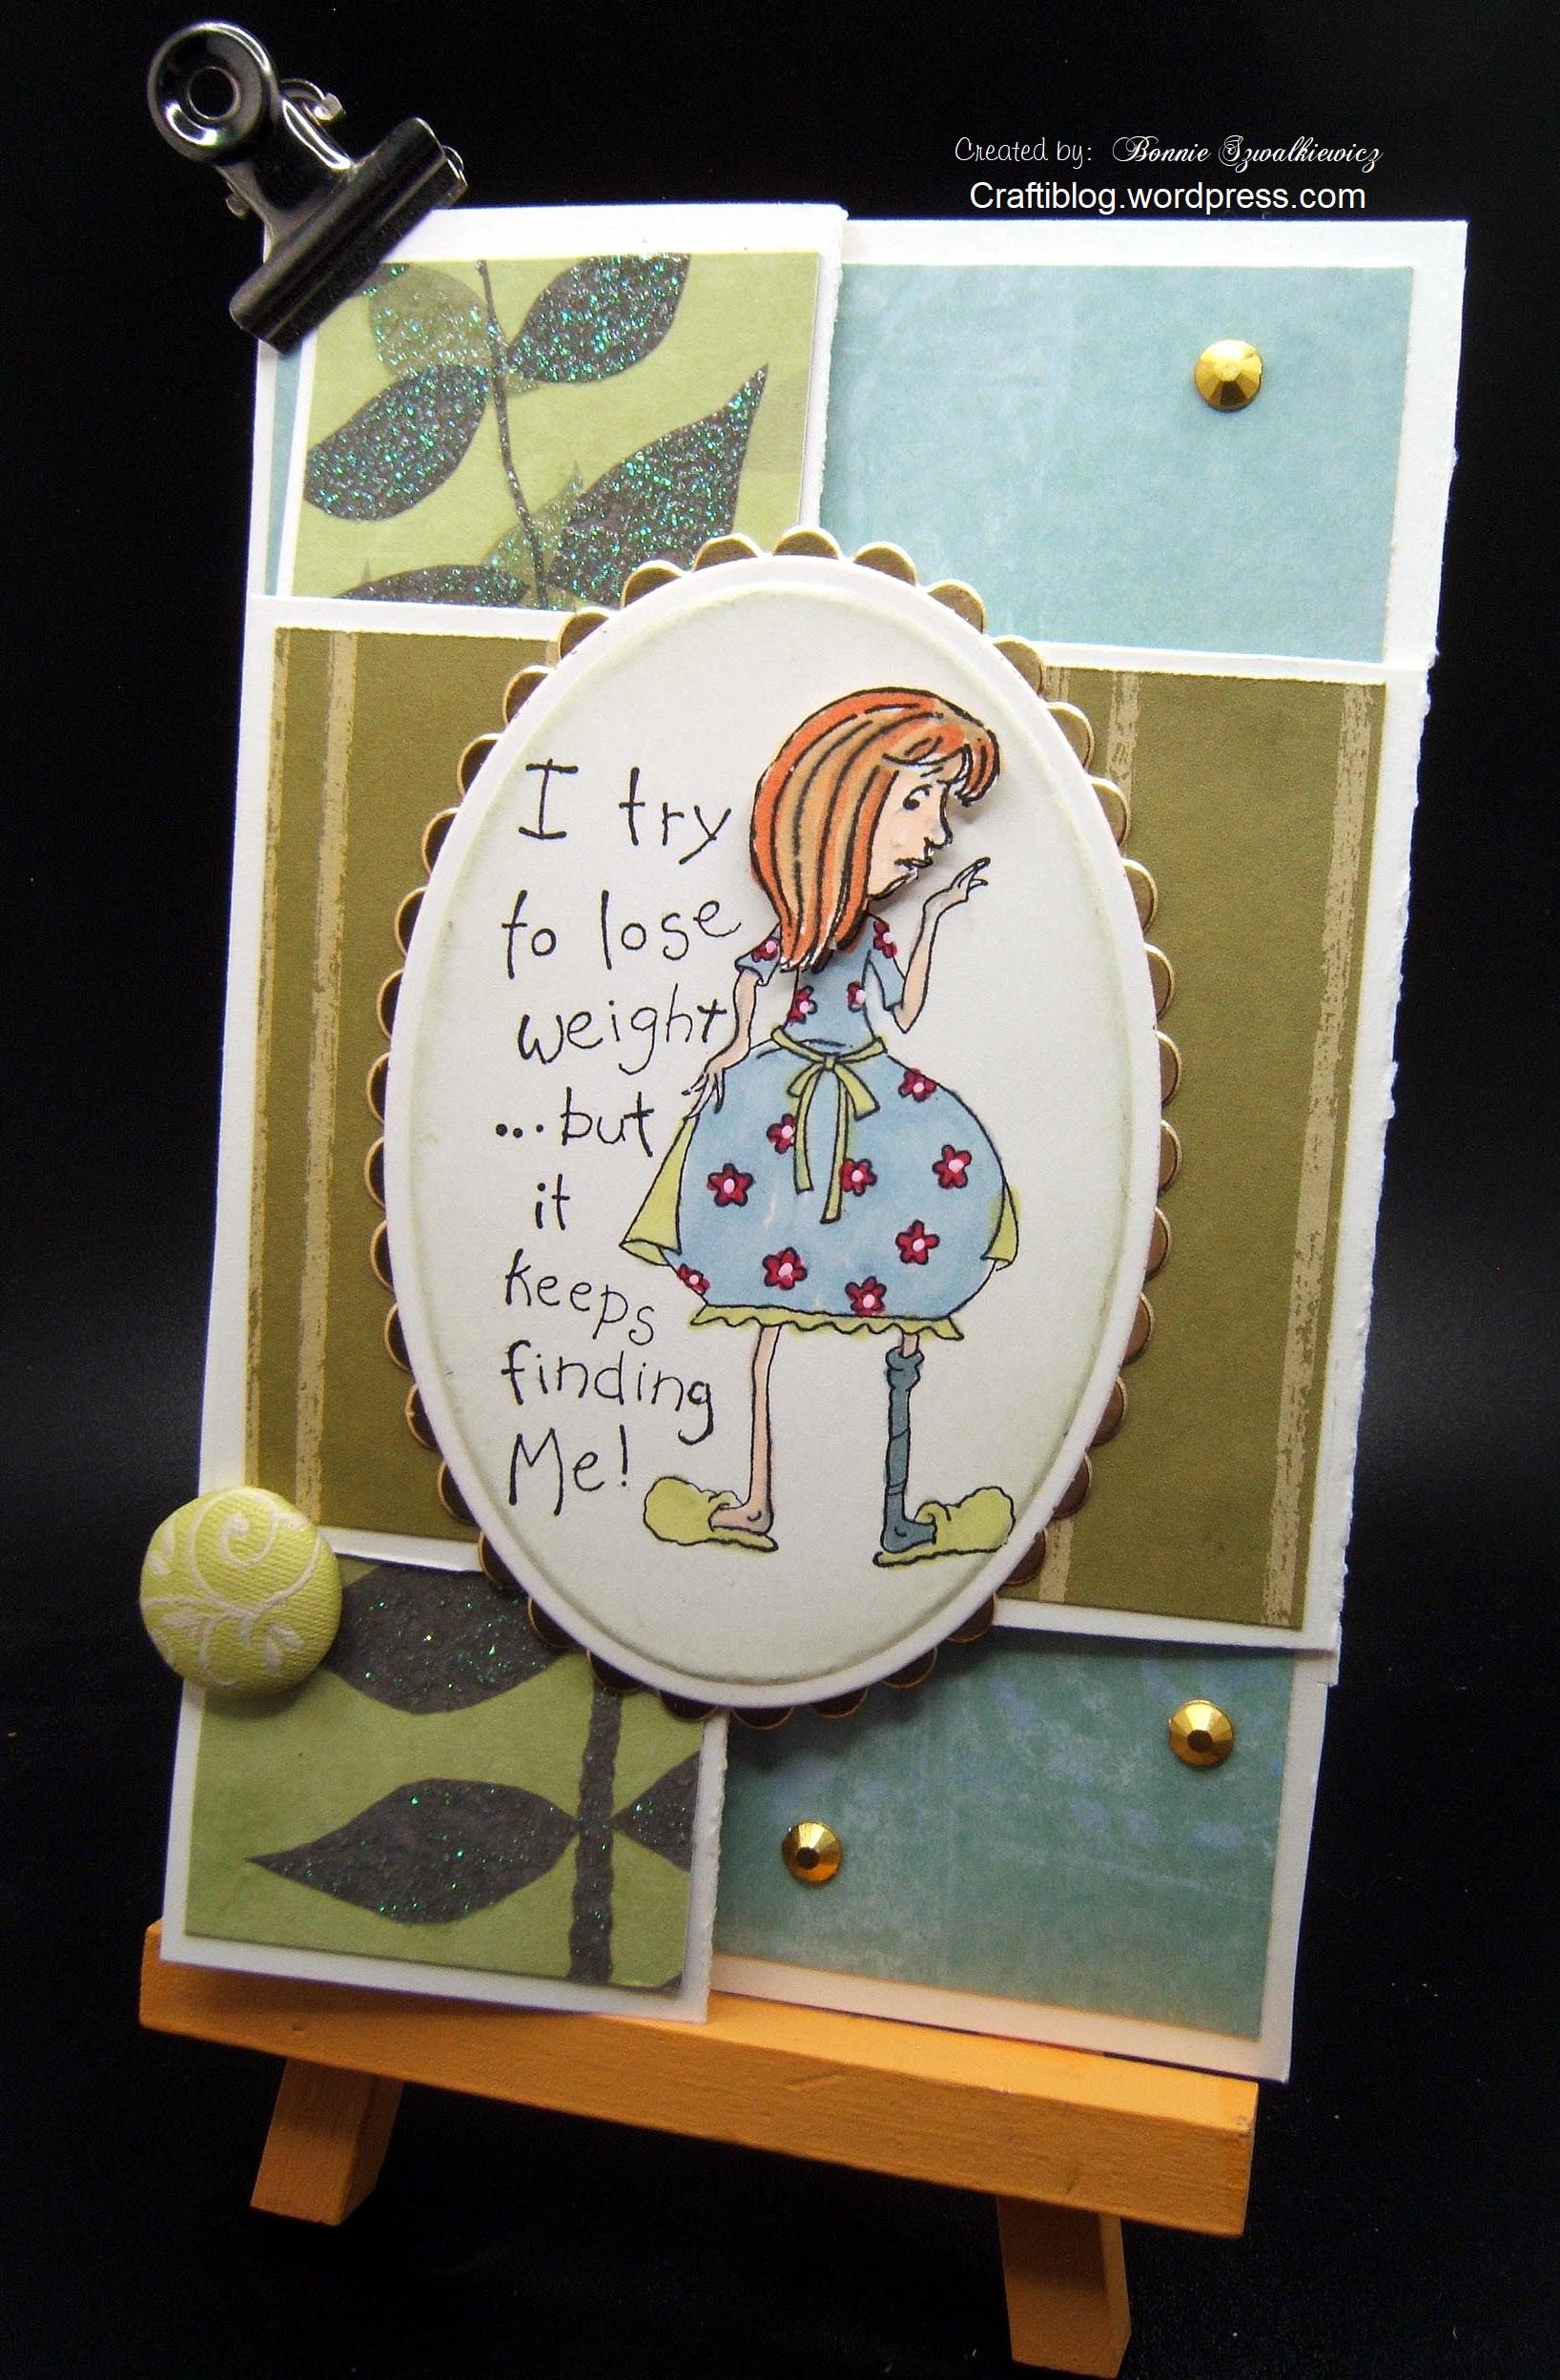
Here is where you can count the folds. I made sure to use a pale colored decorative scrapbook paper for the inside so when you write your message you can read it on the colored paper.
And one more look at the card before you go on about your day…
Thanks for stopping by.
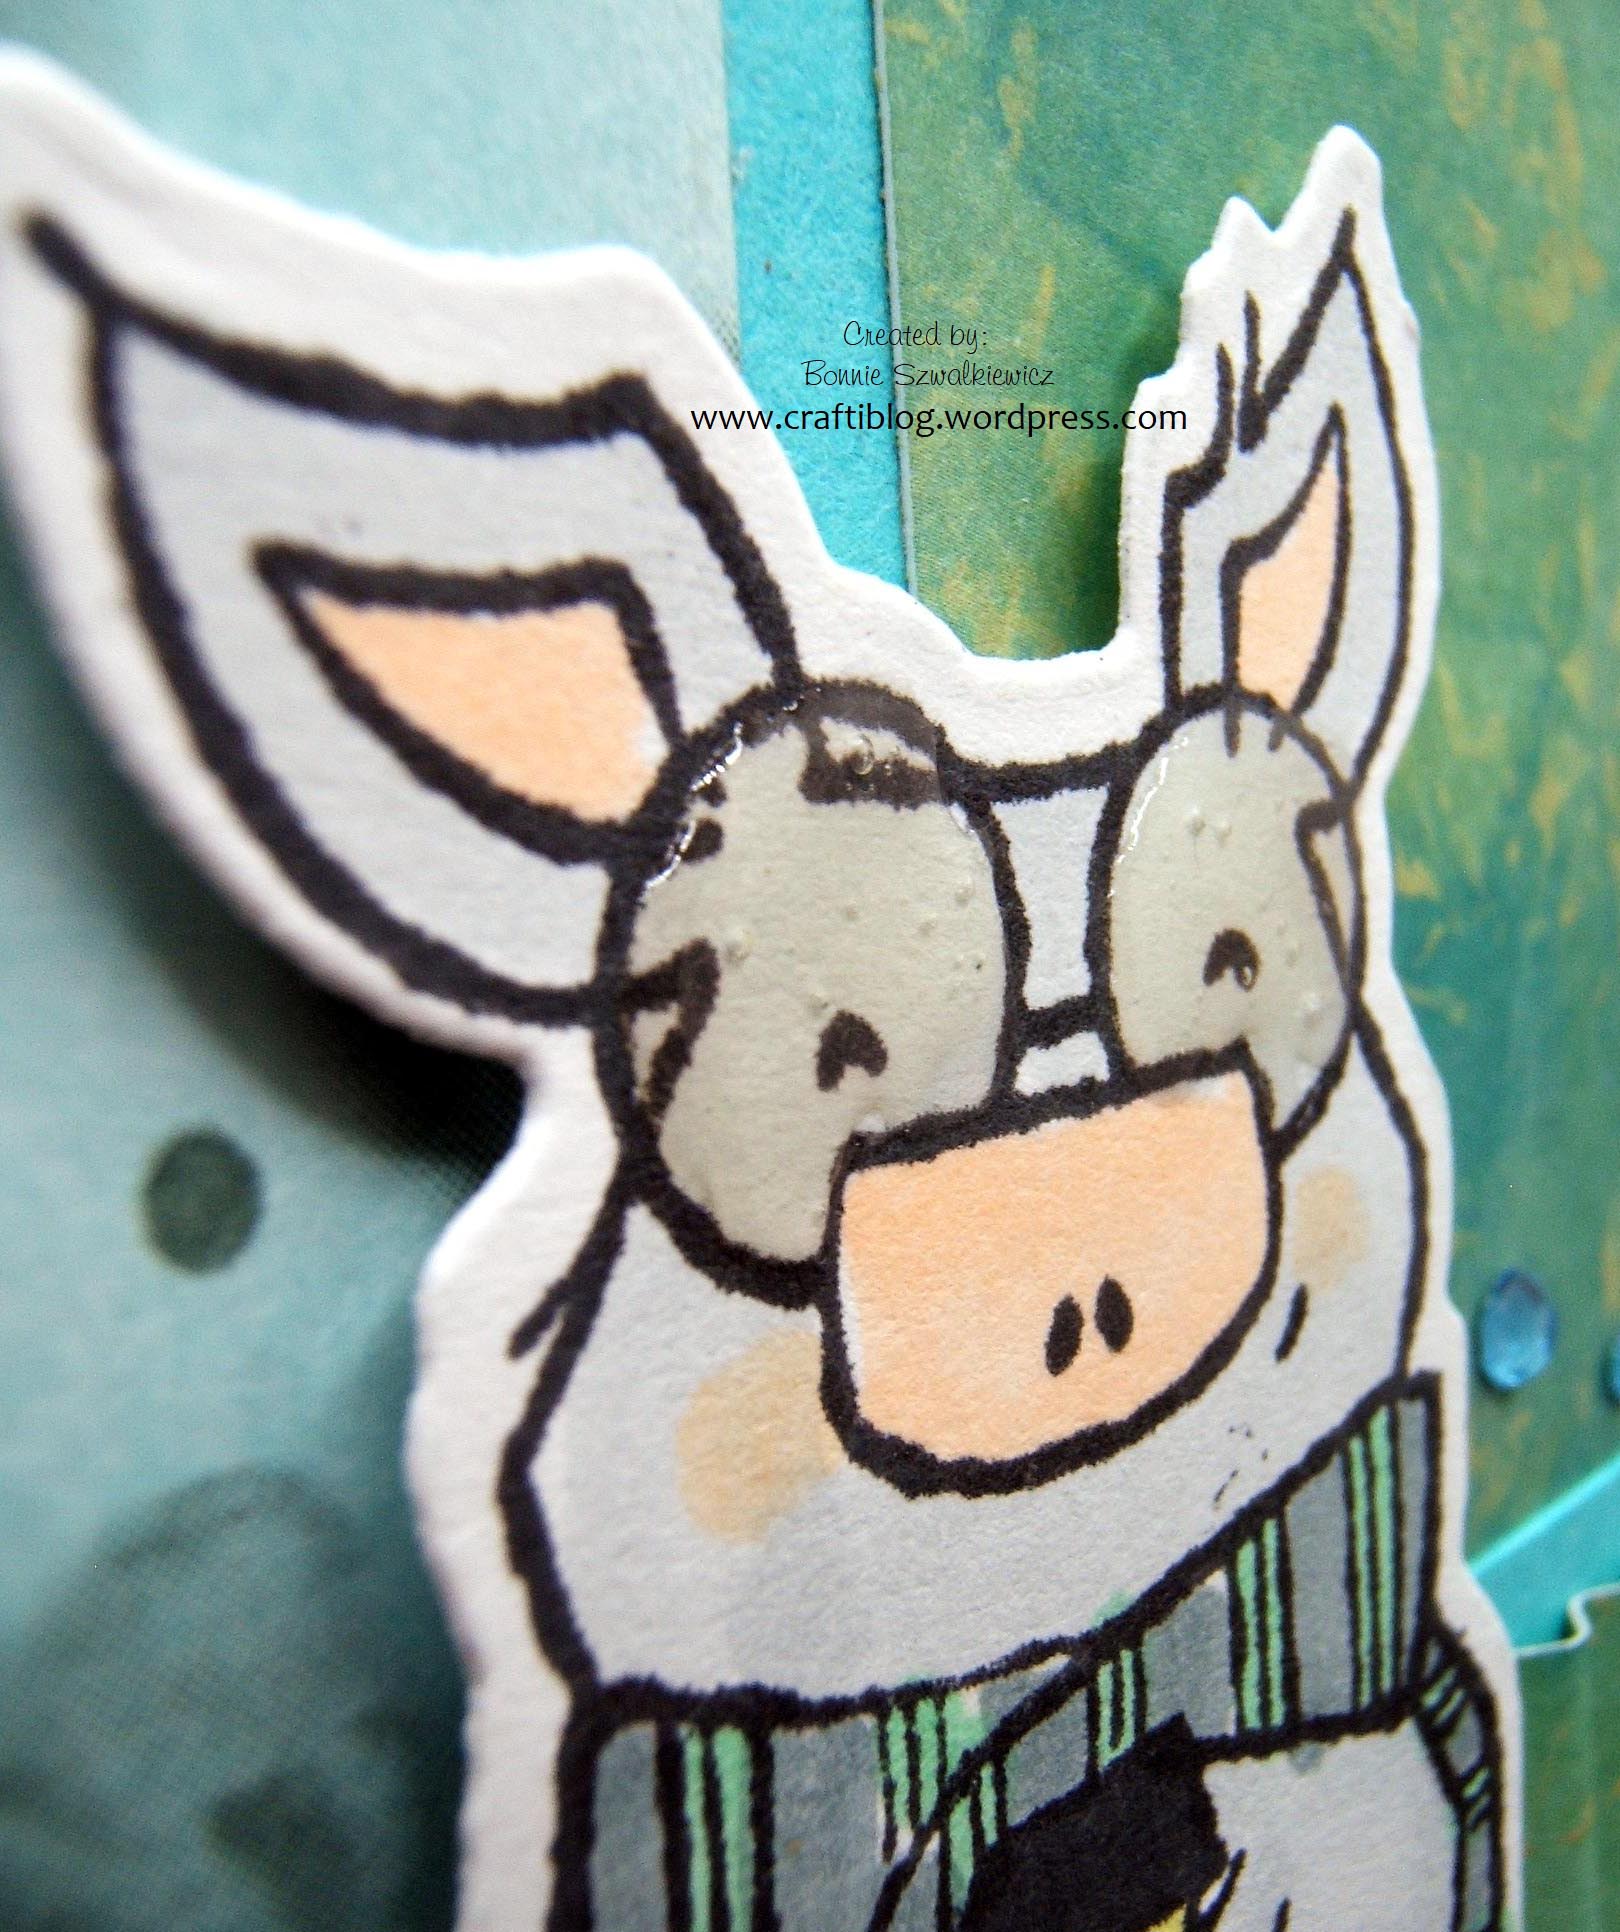
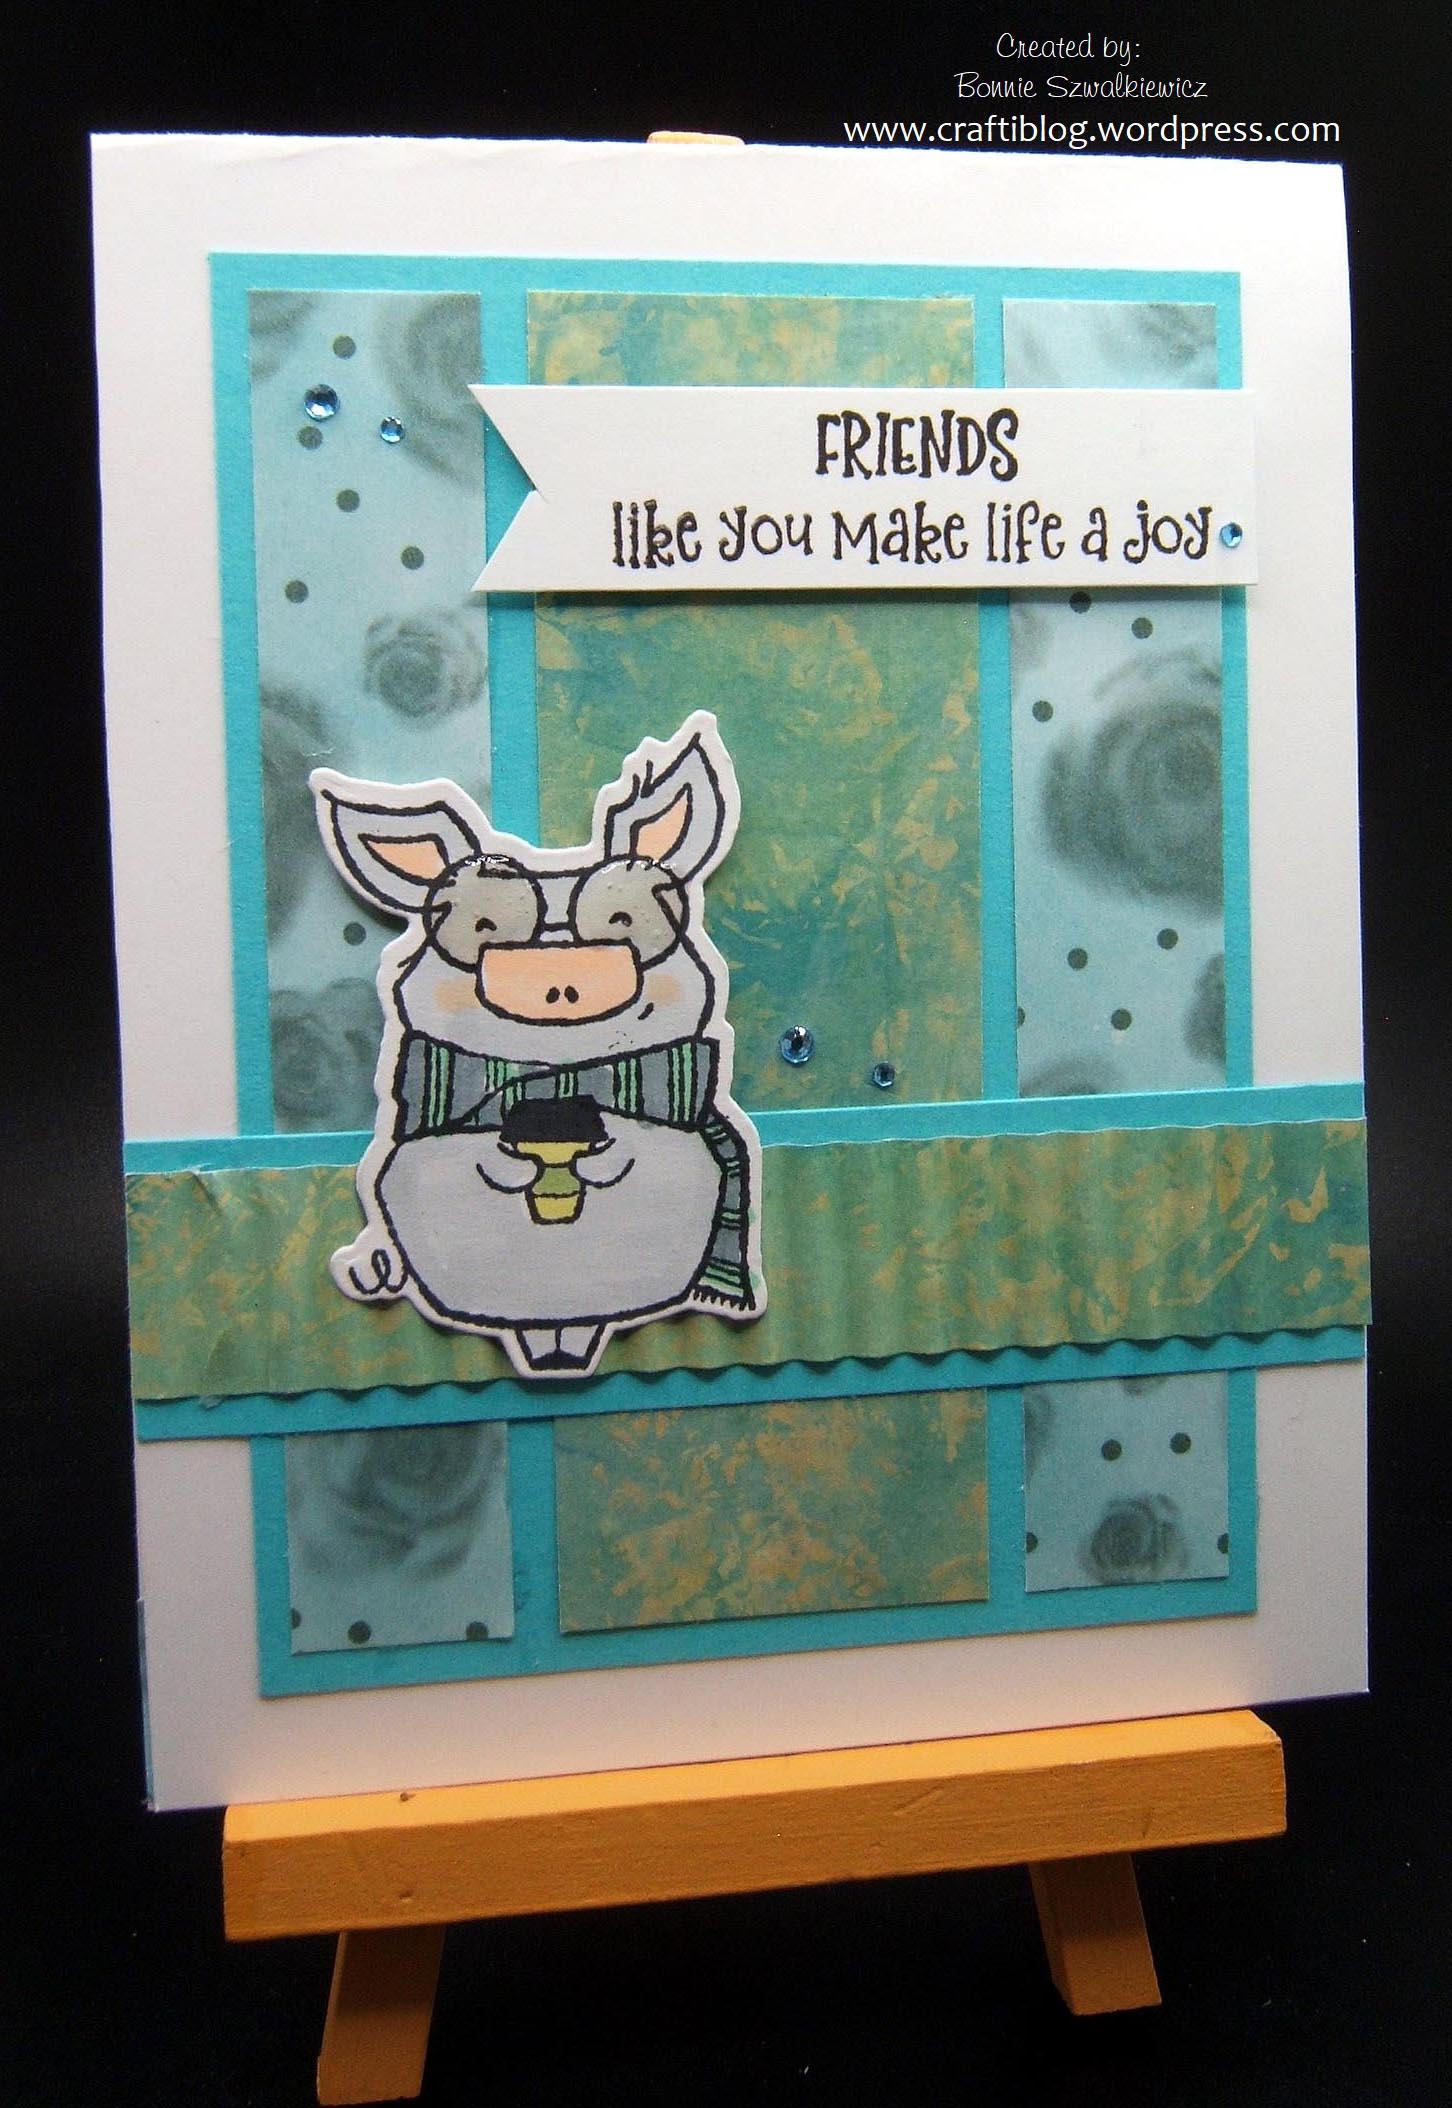
2024-04-23; Coffee toting piglet
Today’s sample started with this sketch:
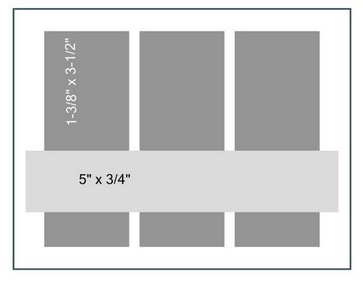
I ended up flipping the sketch to a vertical position and just cutting the paper strips on the sketch to different widths.
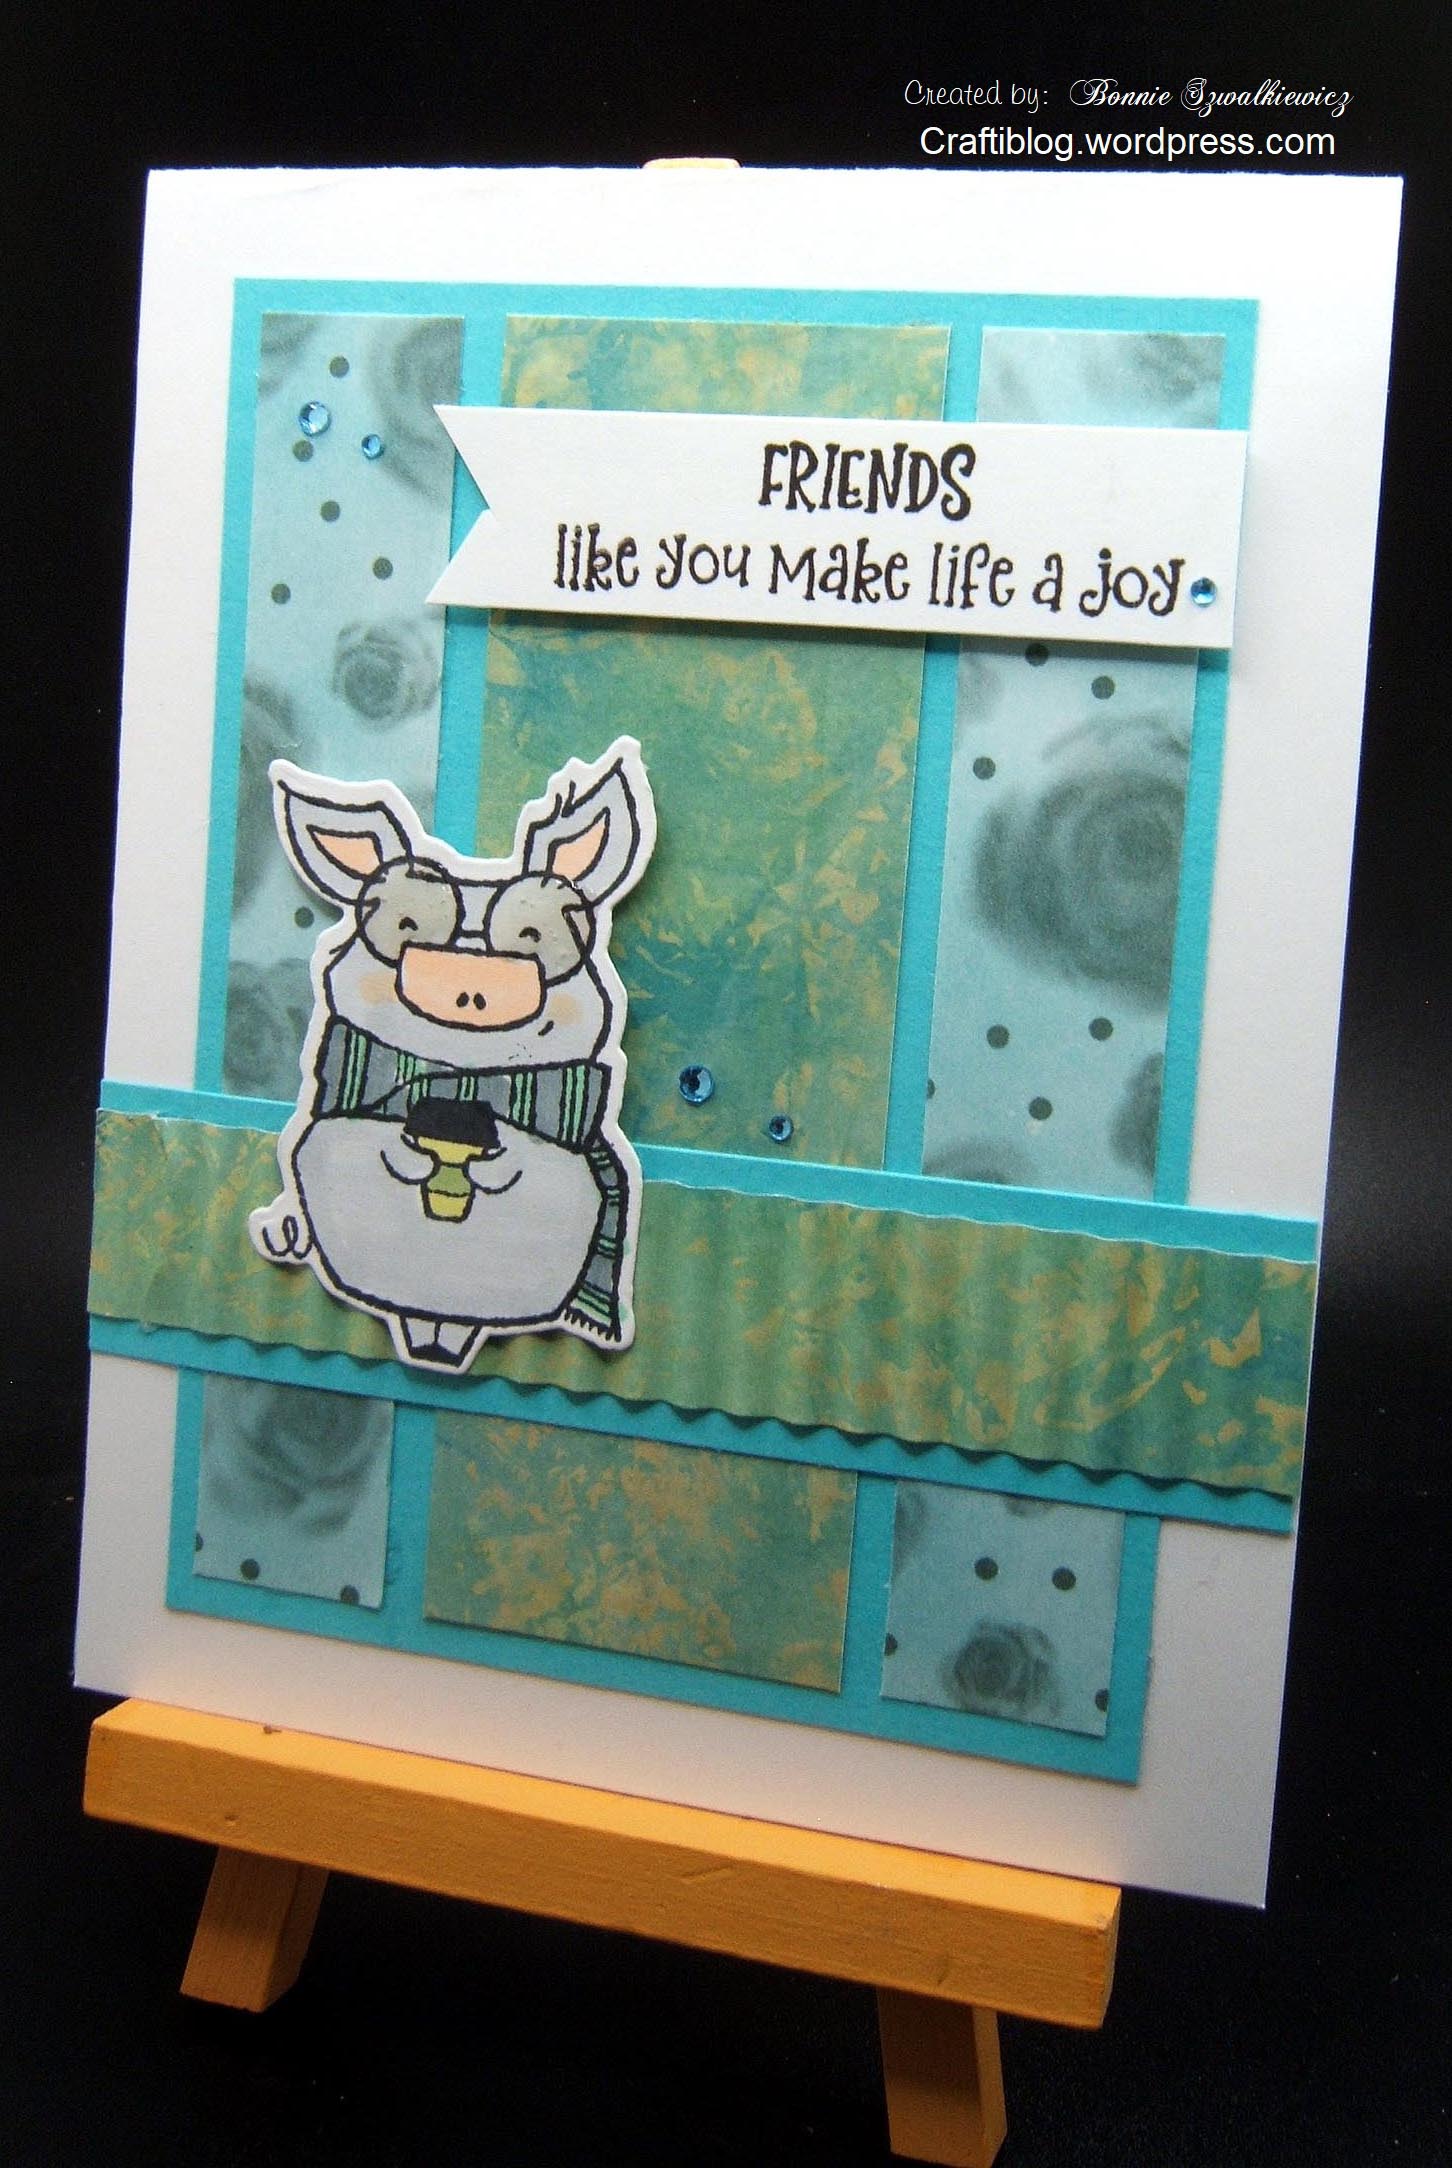
The stamped image & sentiment are from the same Stampin’ Up set called Joyful Life. I added crystal lacquer to the eye glasses.
Are you wondering how I got the texture on the horizontal strip? It was done with an old school tool I have always loved, the Fiskars crimping tool.
Thanks for stopping by.
2024-04-21; Watercolor the rubber
Today’s example was designed by using the April Sheet-Load-of-Cards sketch by Crafty Al. It also uses a piece of decorative scrapbook paper (DSP) that one of my stamping friends sent to me. That would be the cream leafy design in the background.

I used watercolor paint brushes by Arteza to color the rubber and then stamp. I like the variations of the colors.
One more look before you go on about your day…
Thanks for stopping by.
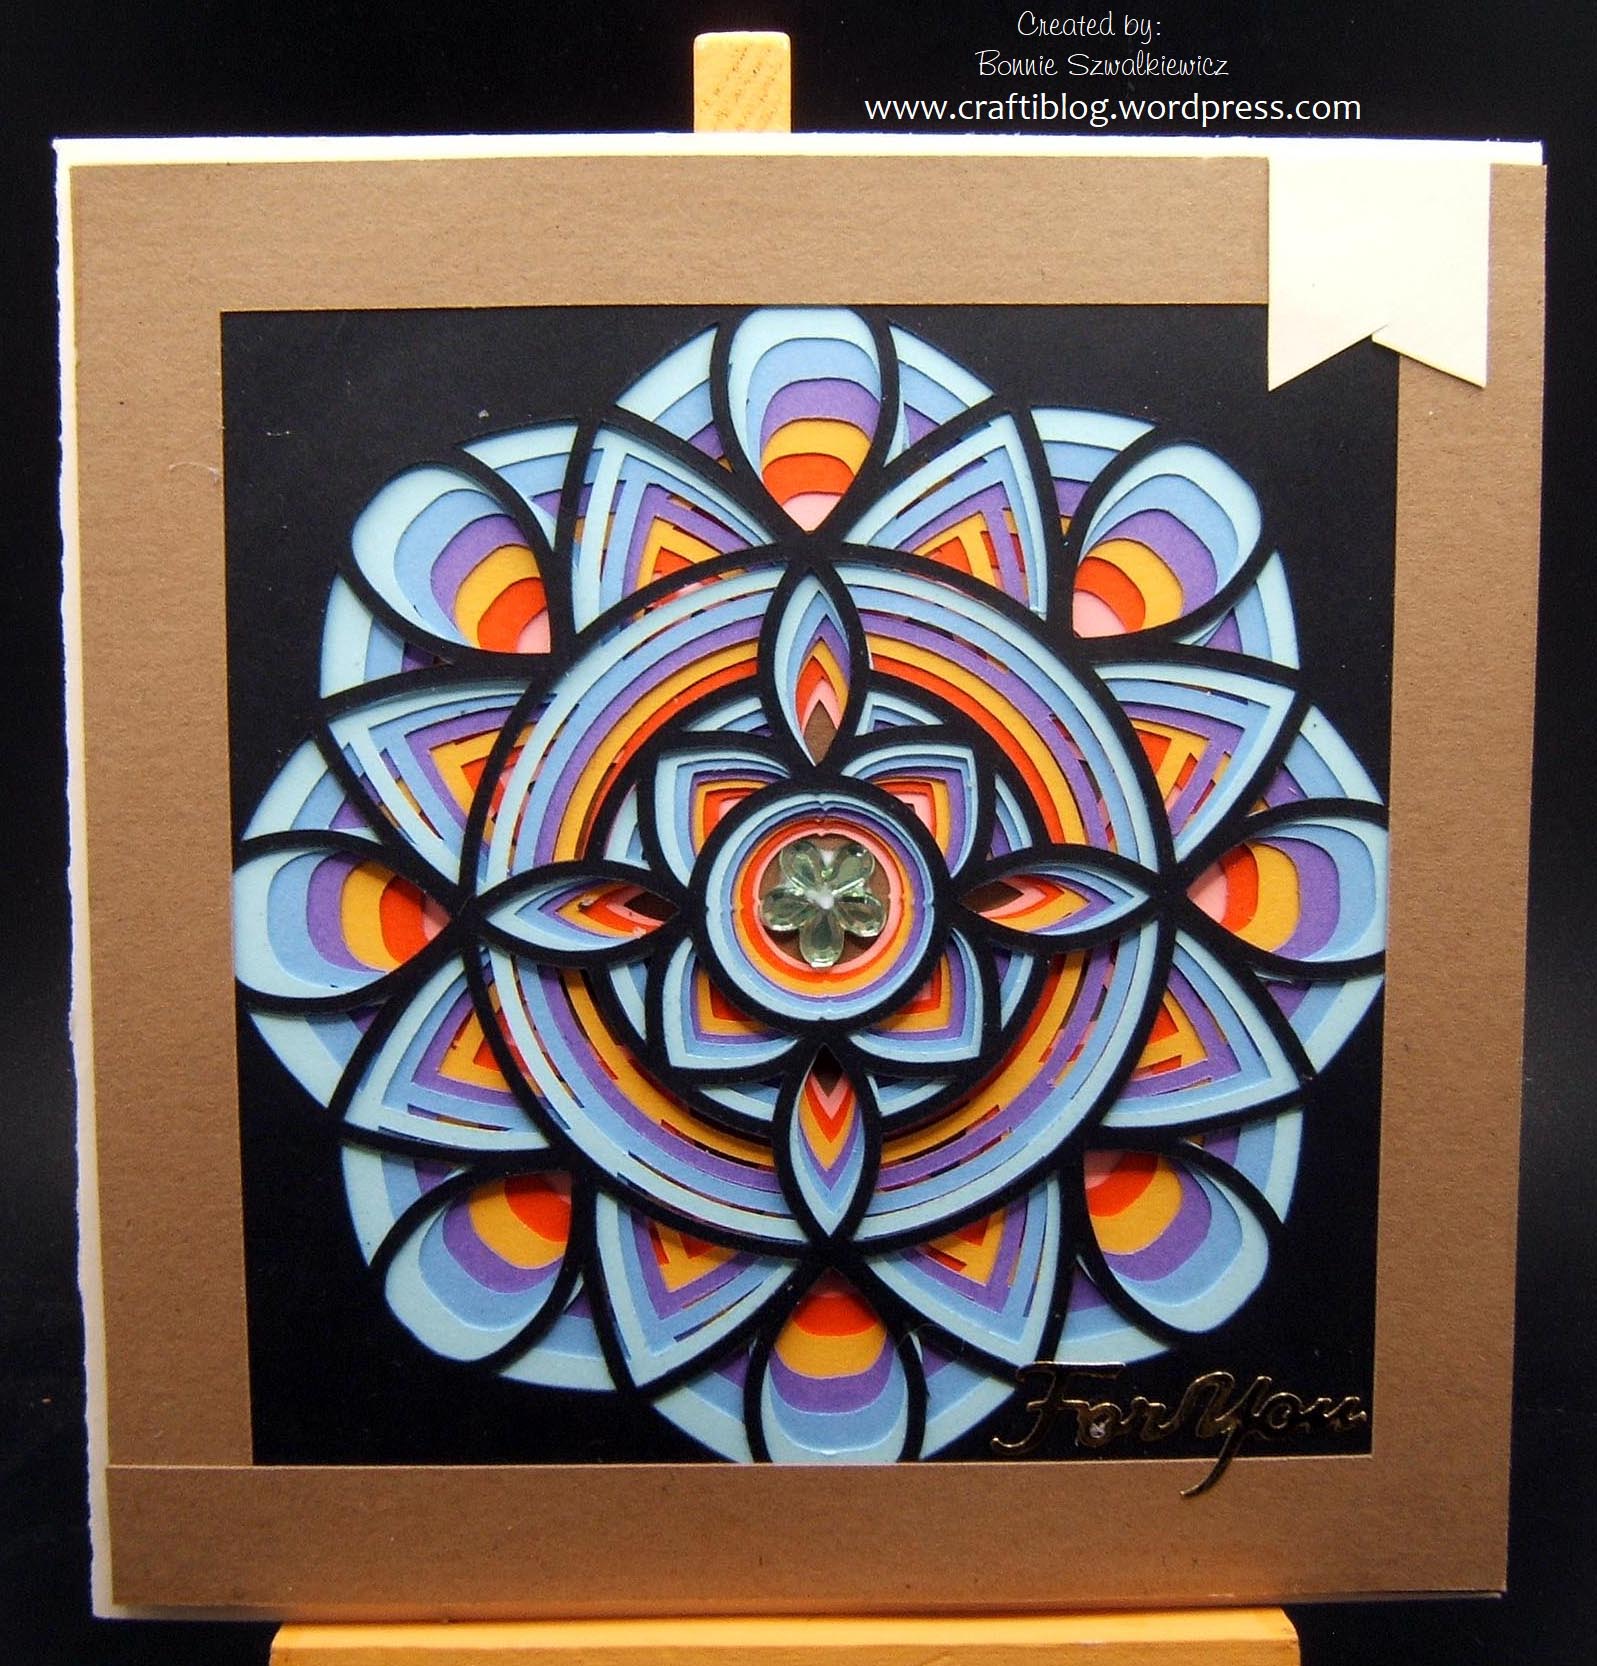
2024-04-19; Cricut cut Mandela
One of my March classes was cutting this mandala with the Cricut machine. The original pattern was a free design found on the Cricut Design Space. The instructor set it up to cut at 6″ and all we needed to do was select colors and cut it out.
The work was made quick by having 8 different cutting mats, having them loaded with the color of card stock and just feeding it into the machine. In my sample there are 7 different layers of color, plus a frame & backing sheet.
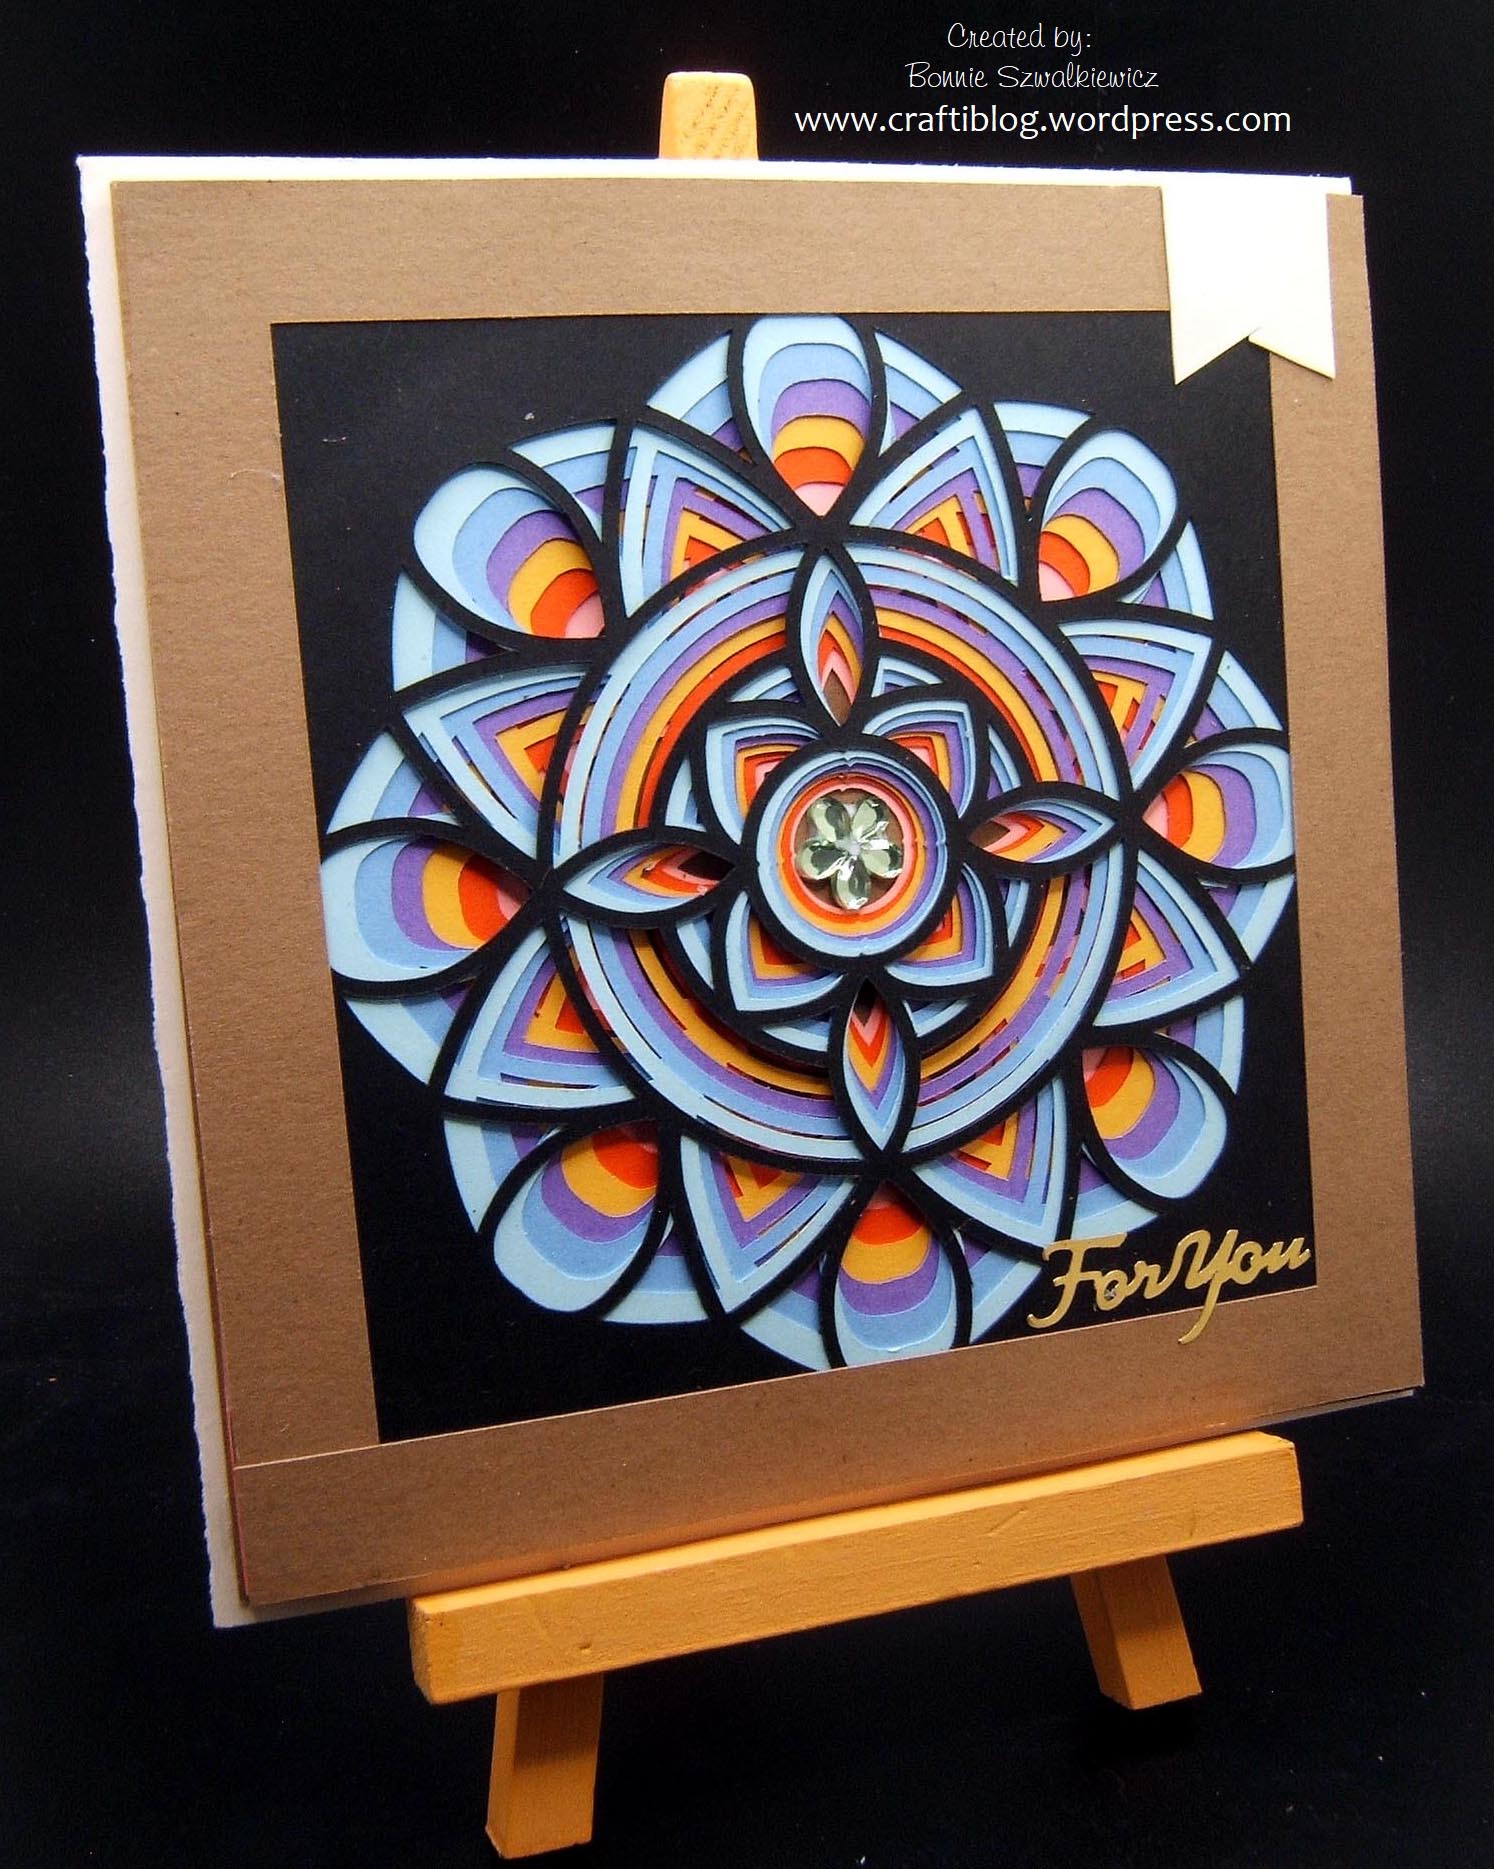
When I got home I cut the 6″ square panel down to 5″ and mounted it on a cream color card base that was 5.25″ square.
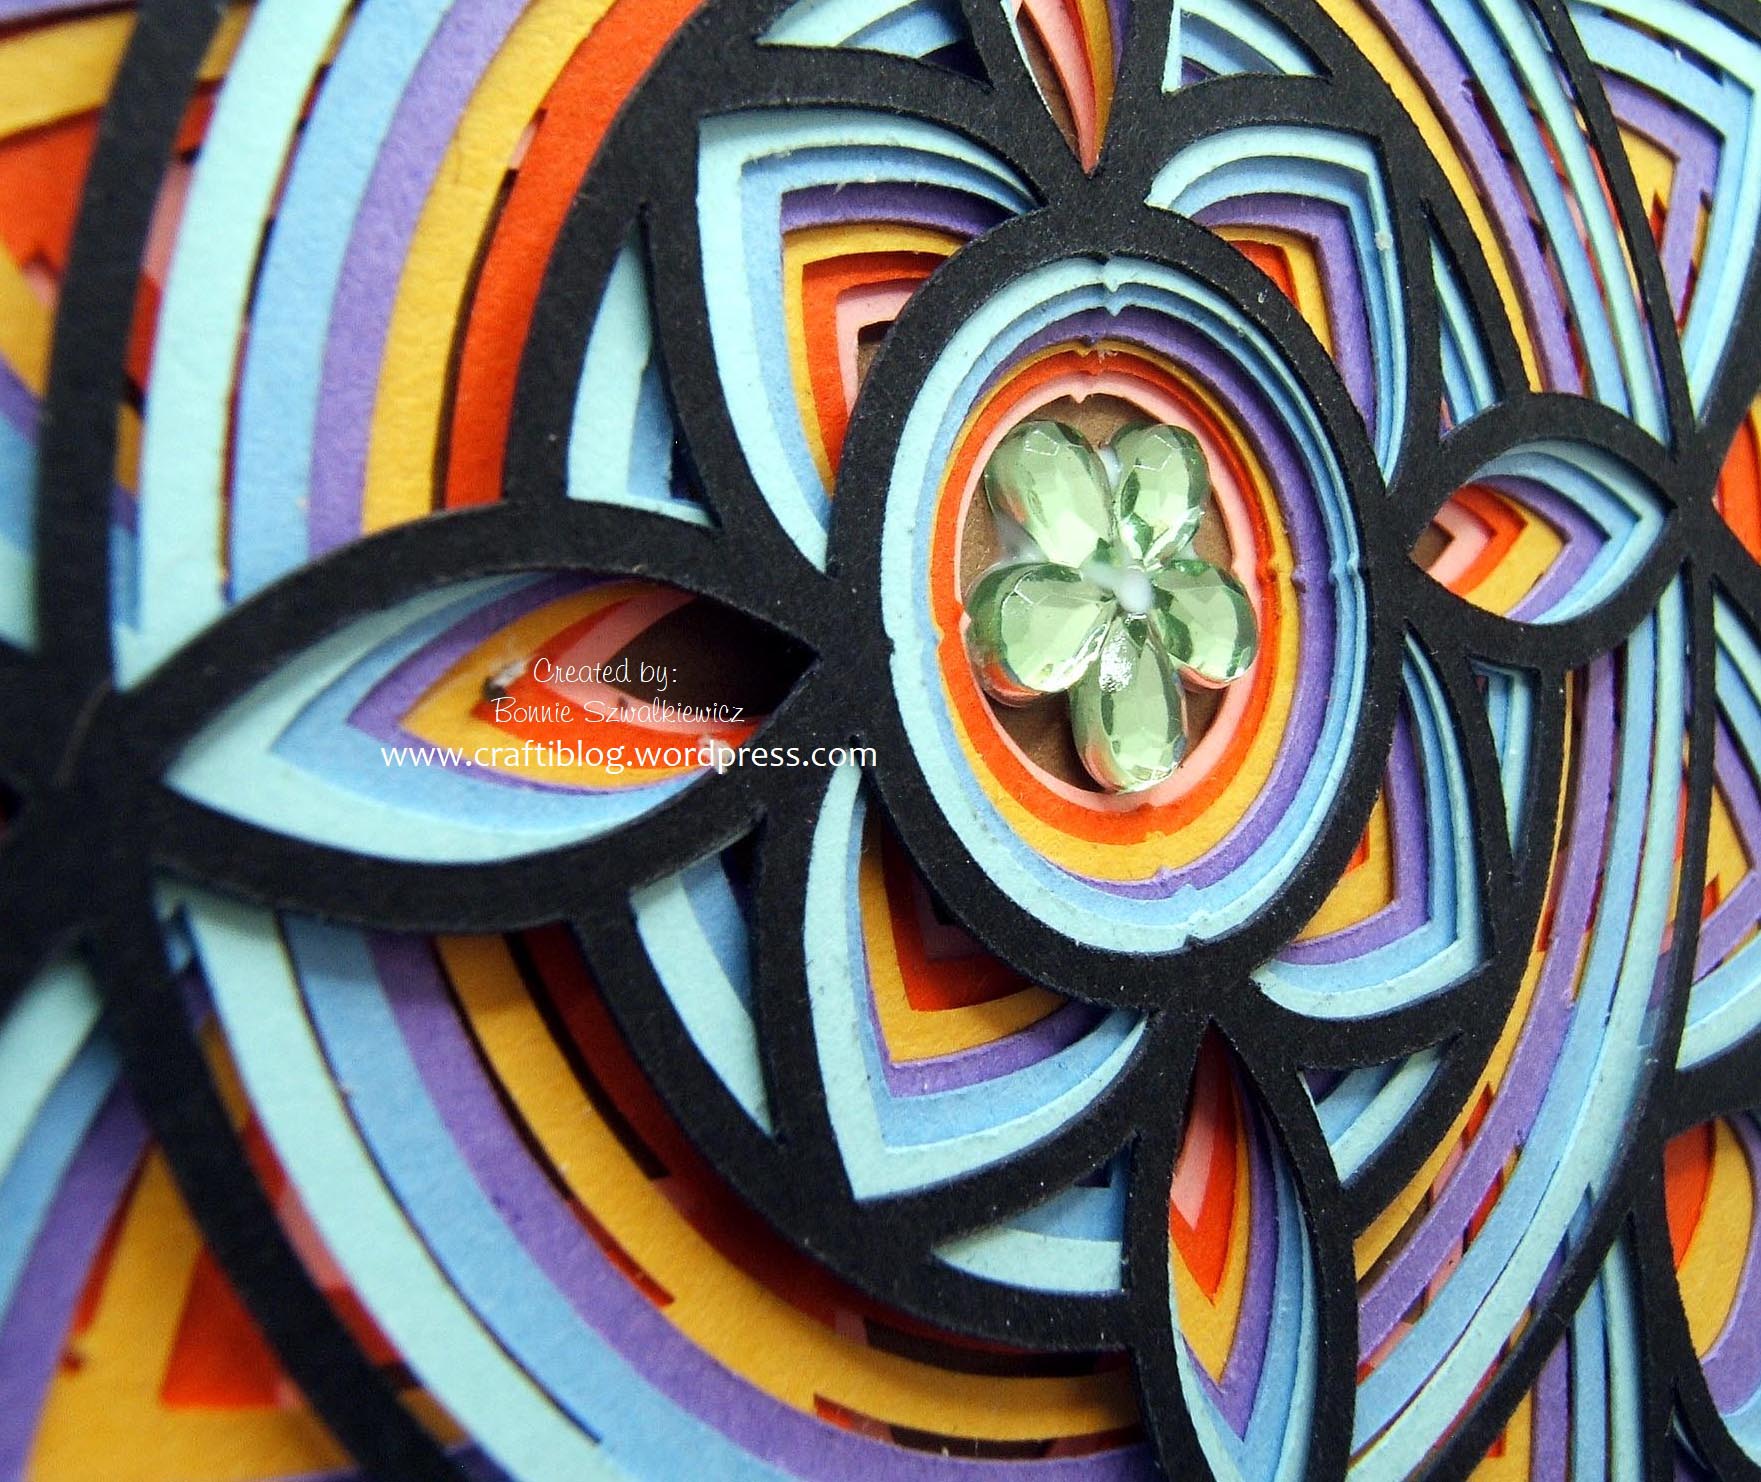
I added a gold foil sentiment, a crystal gem and hand cut flag.
Thanks for stopping by.
2024-04-17; sticks & stones CR208-164
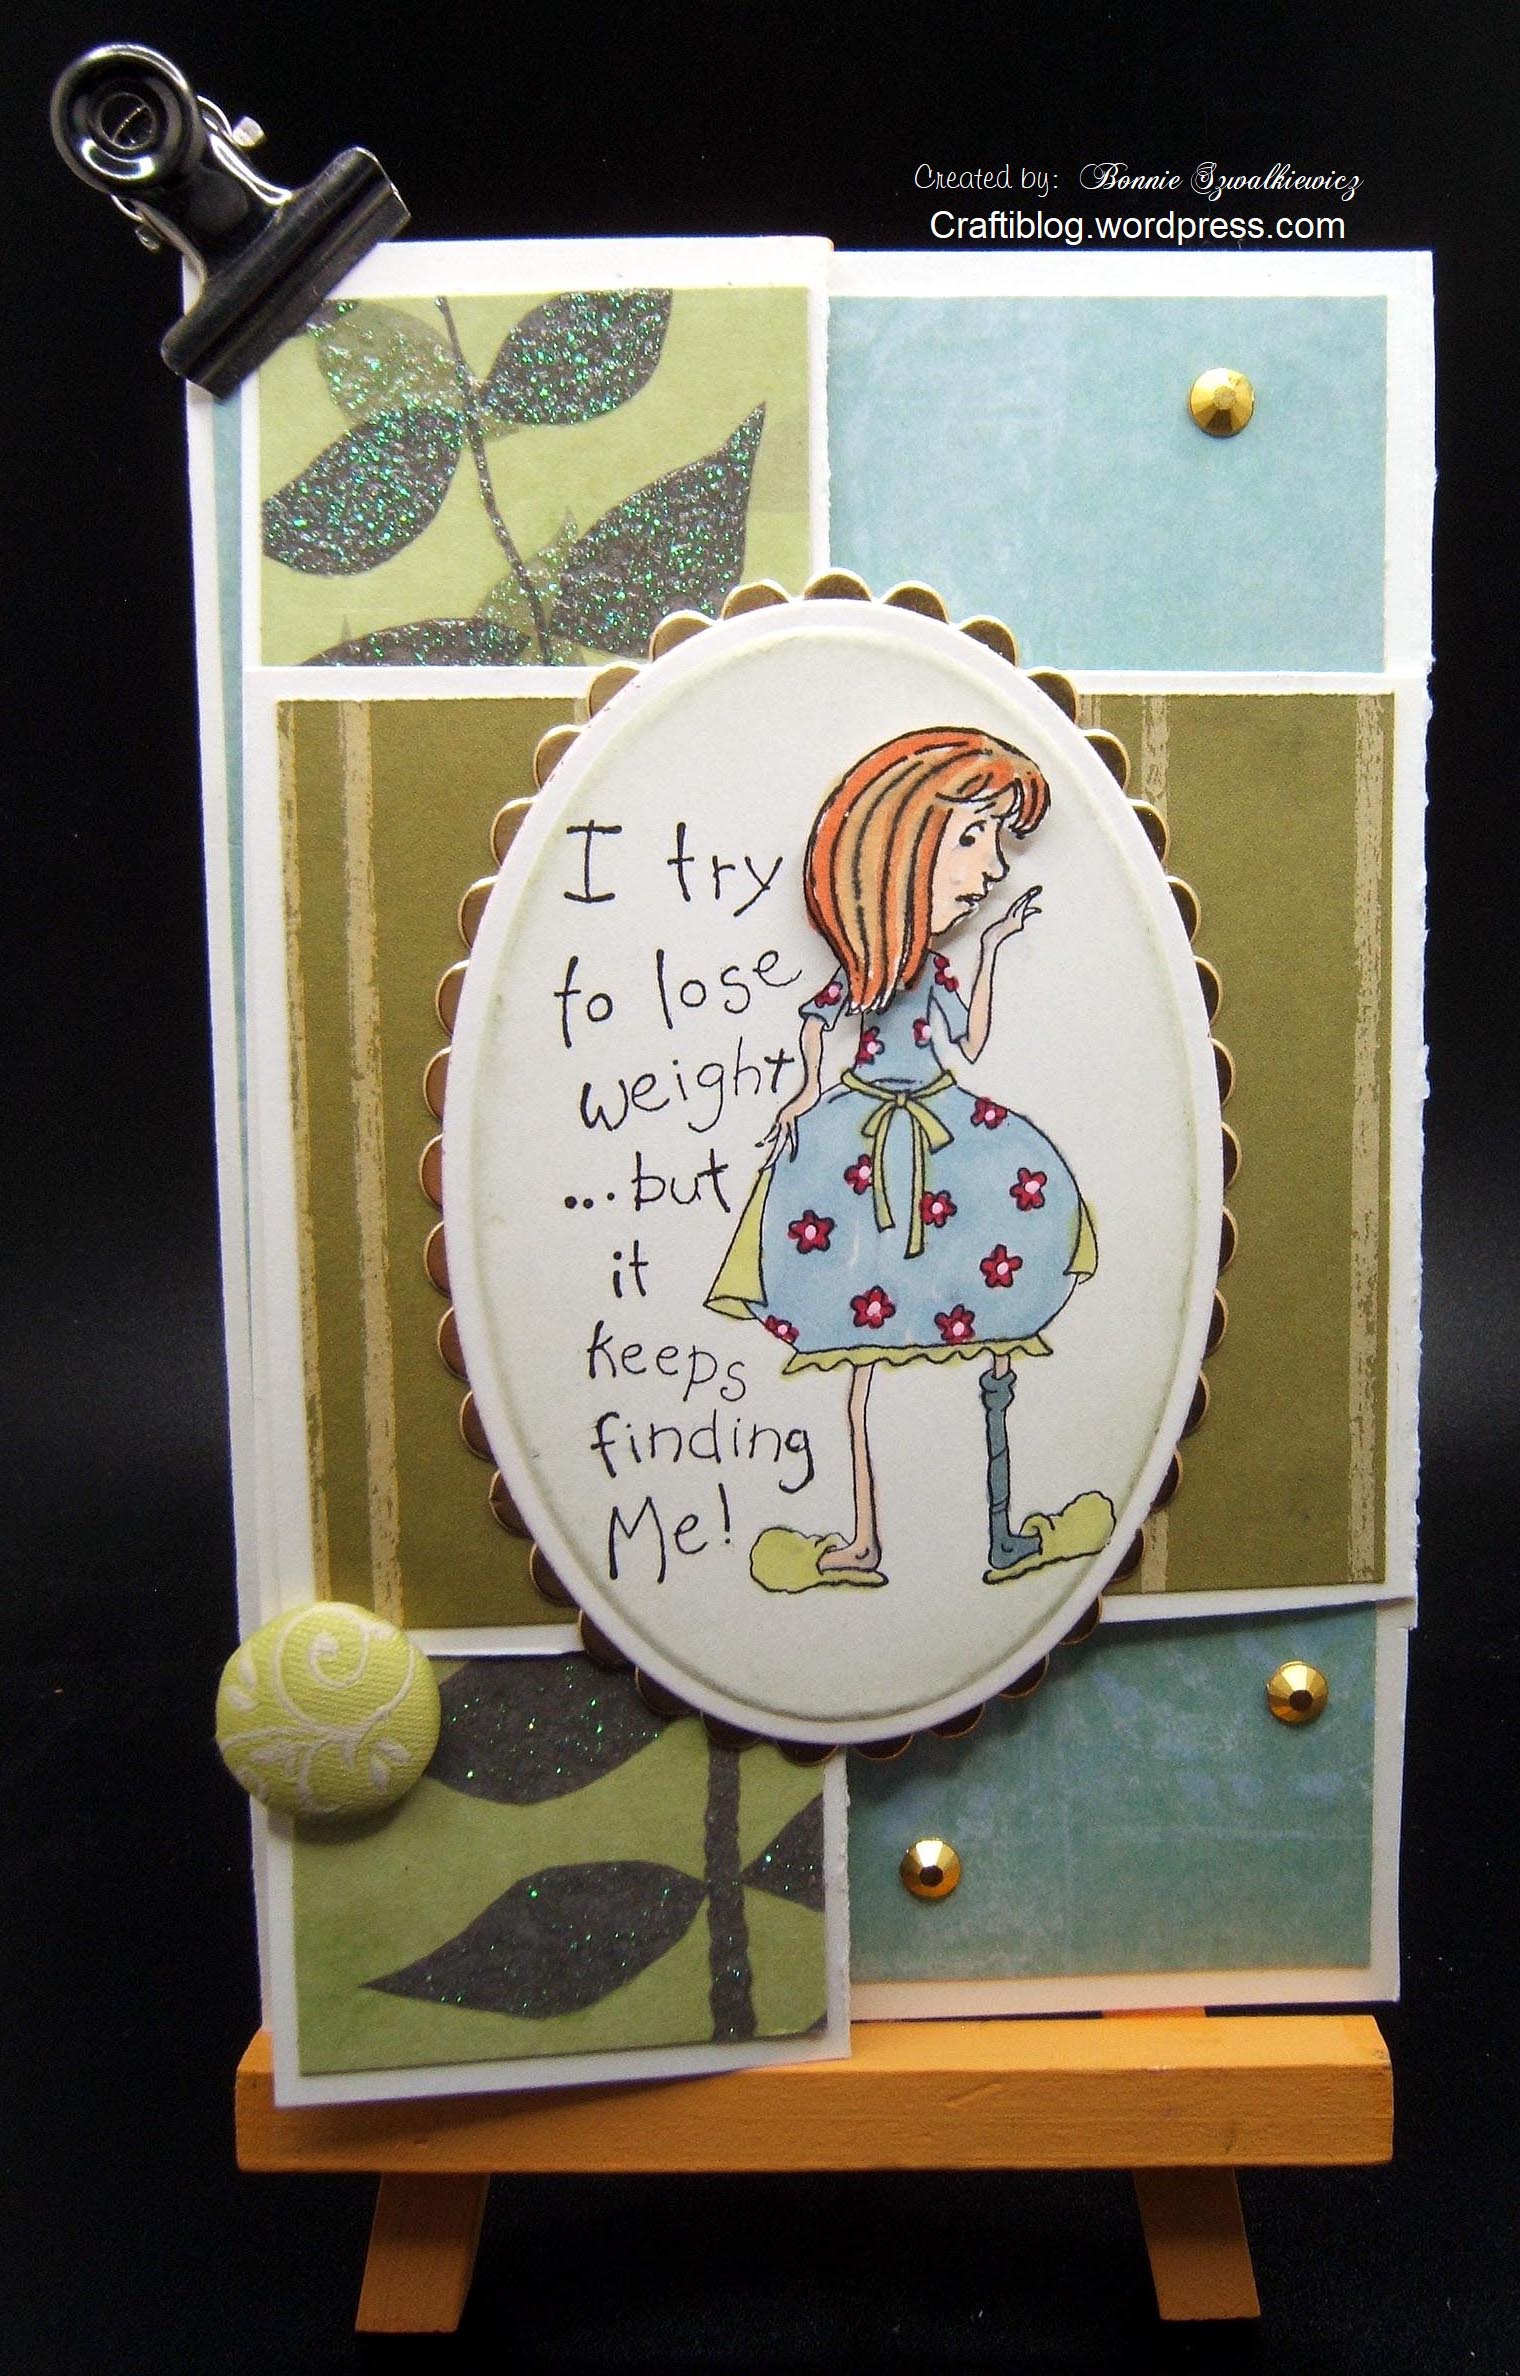
Is this a magnolia or a dogwood? Take your pick.
It is a fun fold card and the stick is the brown twig on the DSP and the stone can be found on the “clasp” in the lower left corner. The punched border tucks under the clasp to hold the card closed.
I stamped the stones from a vintage Stampin’ Up set called scenery.

And one more look at the card before you go on about your day.
Thanks for stopping by.
2024-04-15; paper collage

Subscribe to continue reading
Subscribe to get access to the rest of this post and other subscriber-only content.
2024-04-13; Vintage supplies, as usual.
Today’s sample uses a Stampin’ Up die set that I don’t think I ever got around to using before. I say that because the dies were so very stuck down on the display sheet I could hardly get it off.
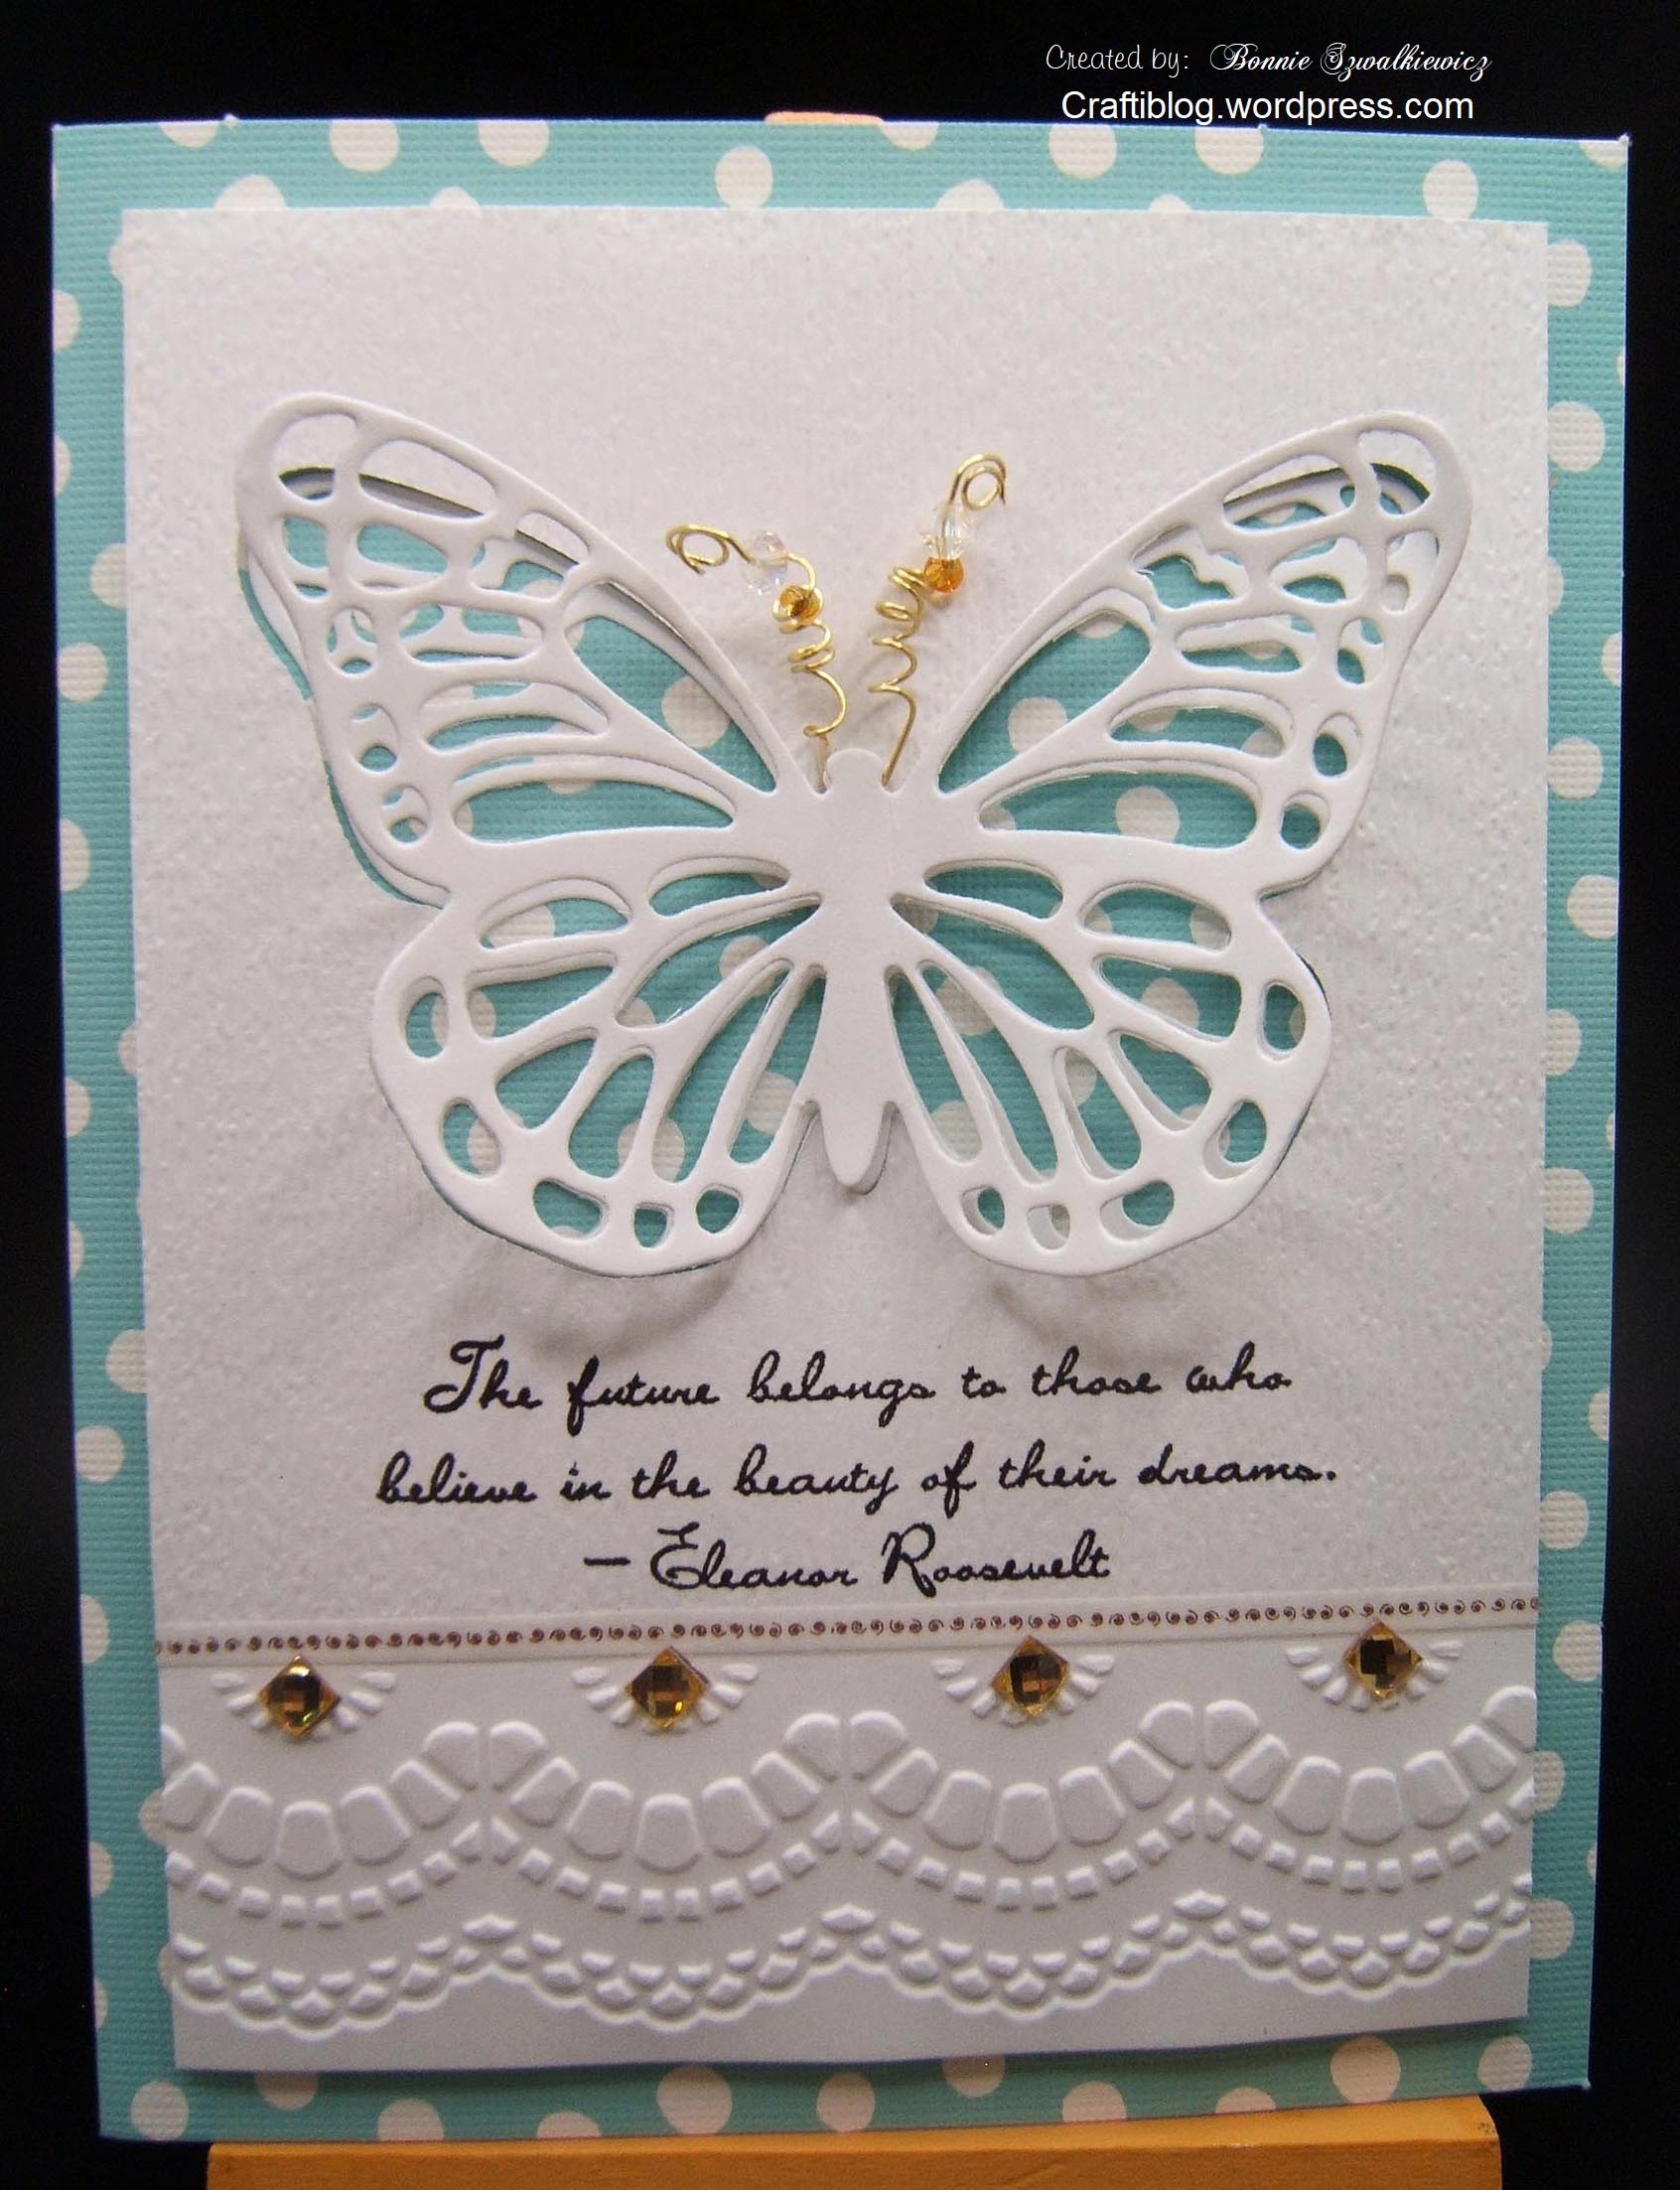
I die cut the butterfly first in the center of a piece of white card stock. Next I embossed the bottom border. I stamped the sentiment and finally I added all over embossing with a 3-d subtle texture embossing folder.
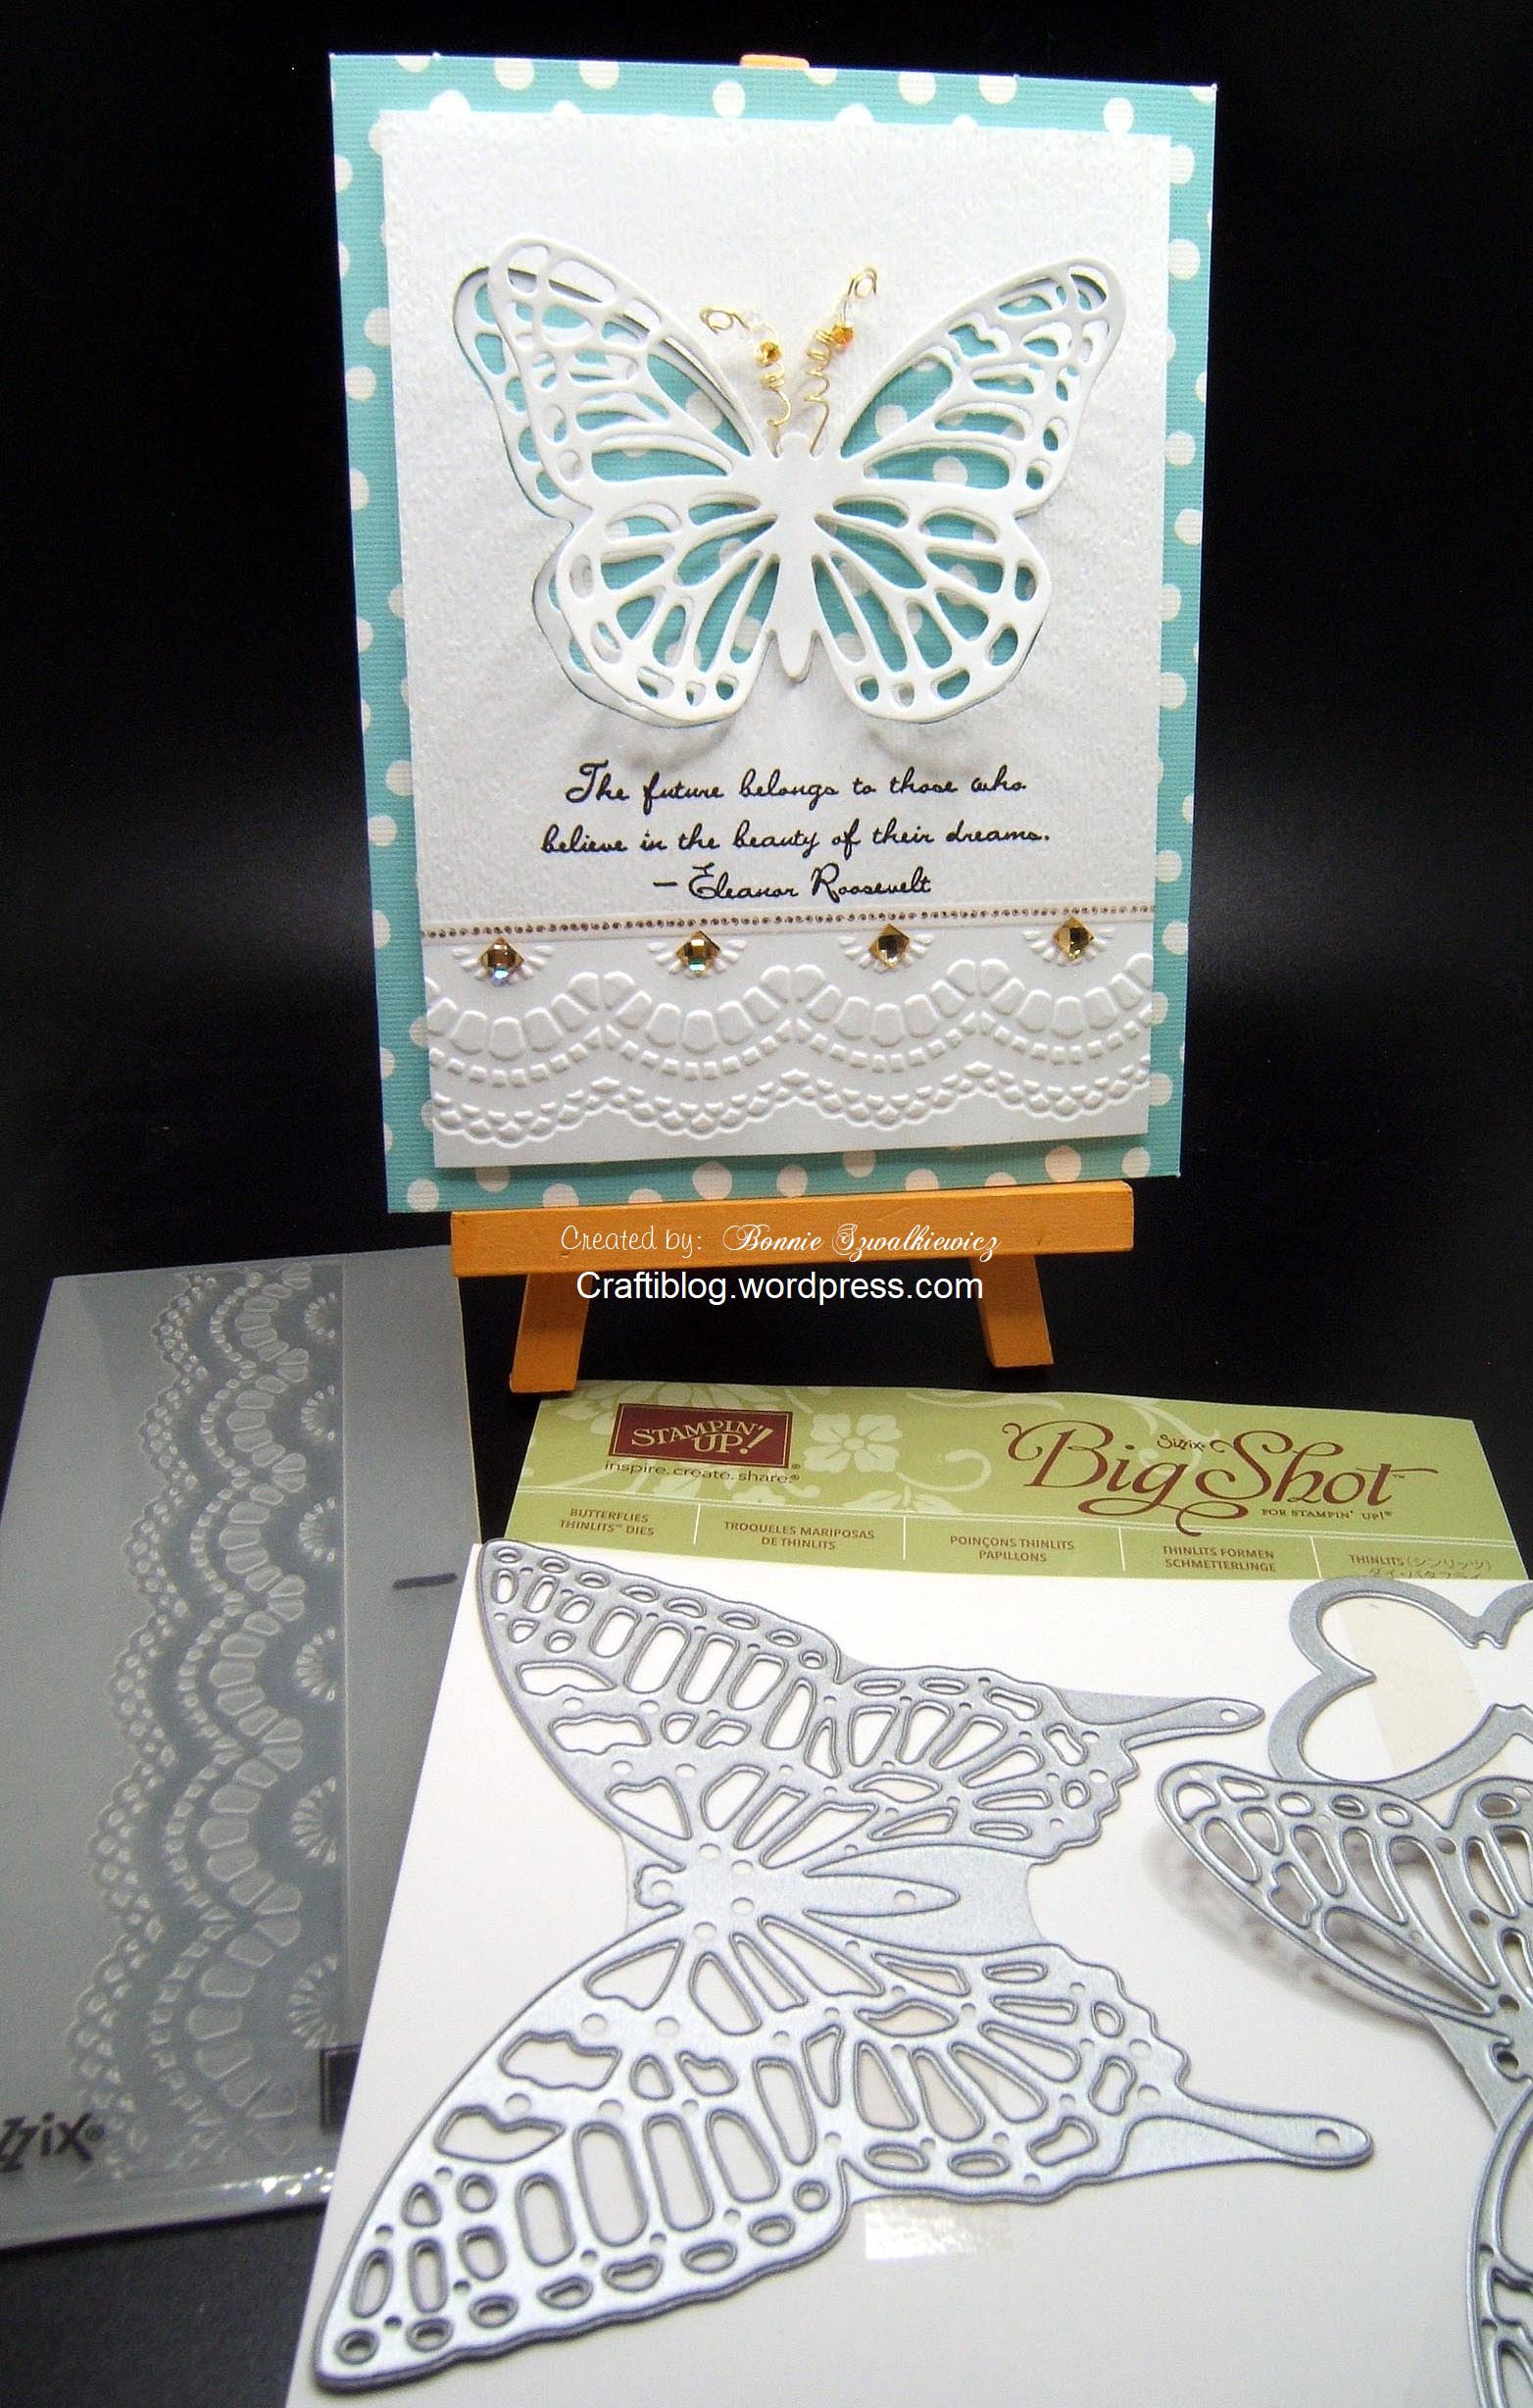
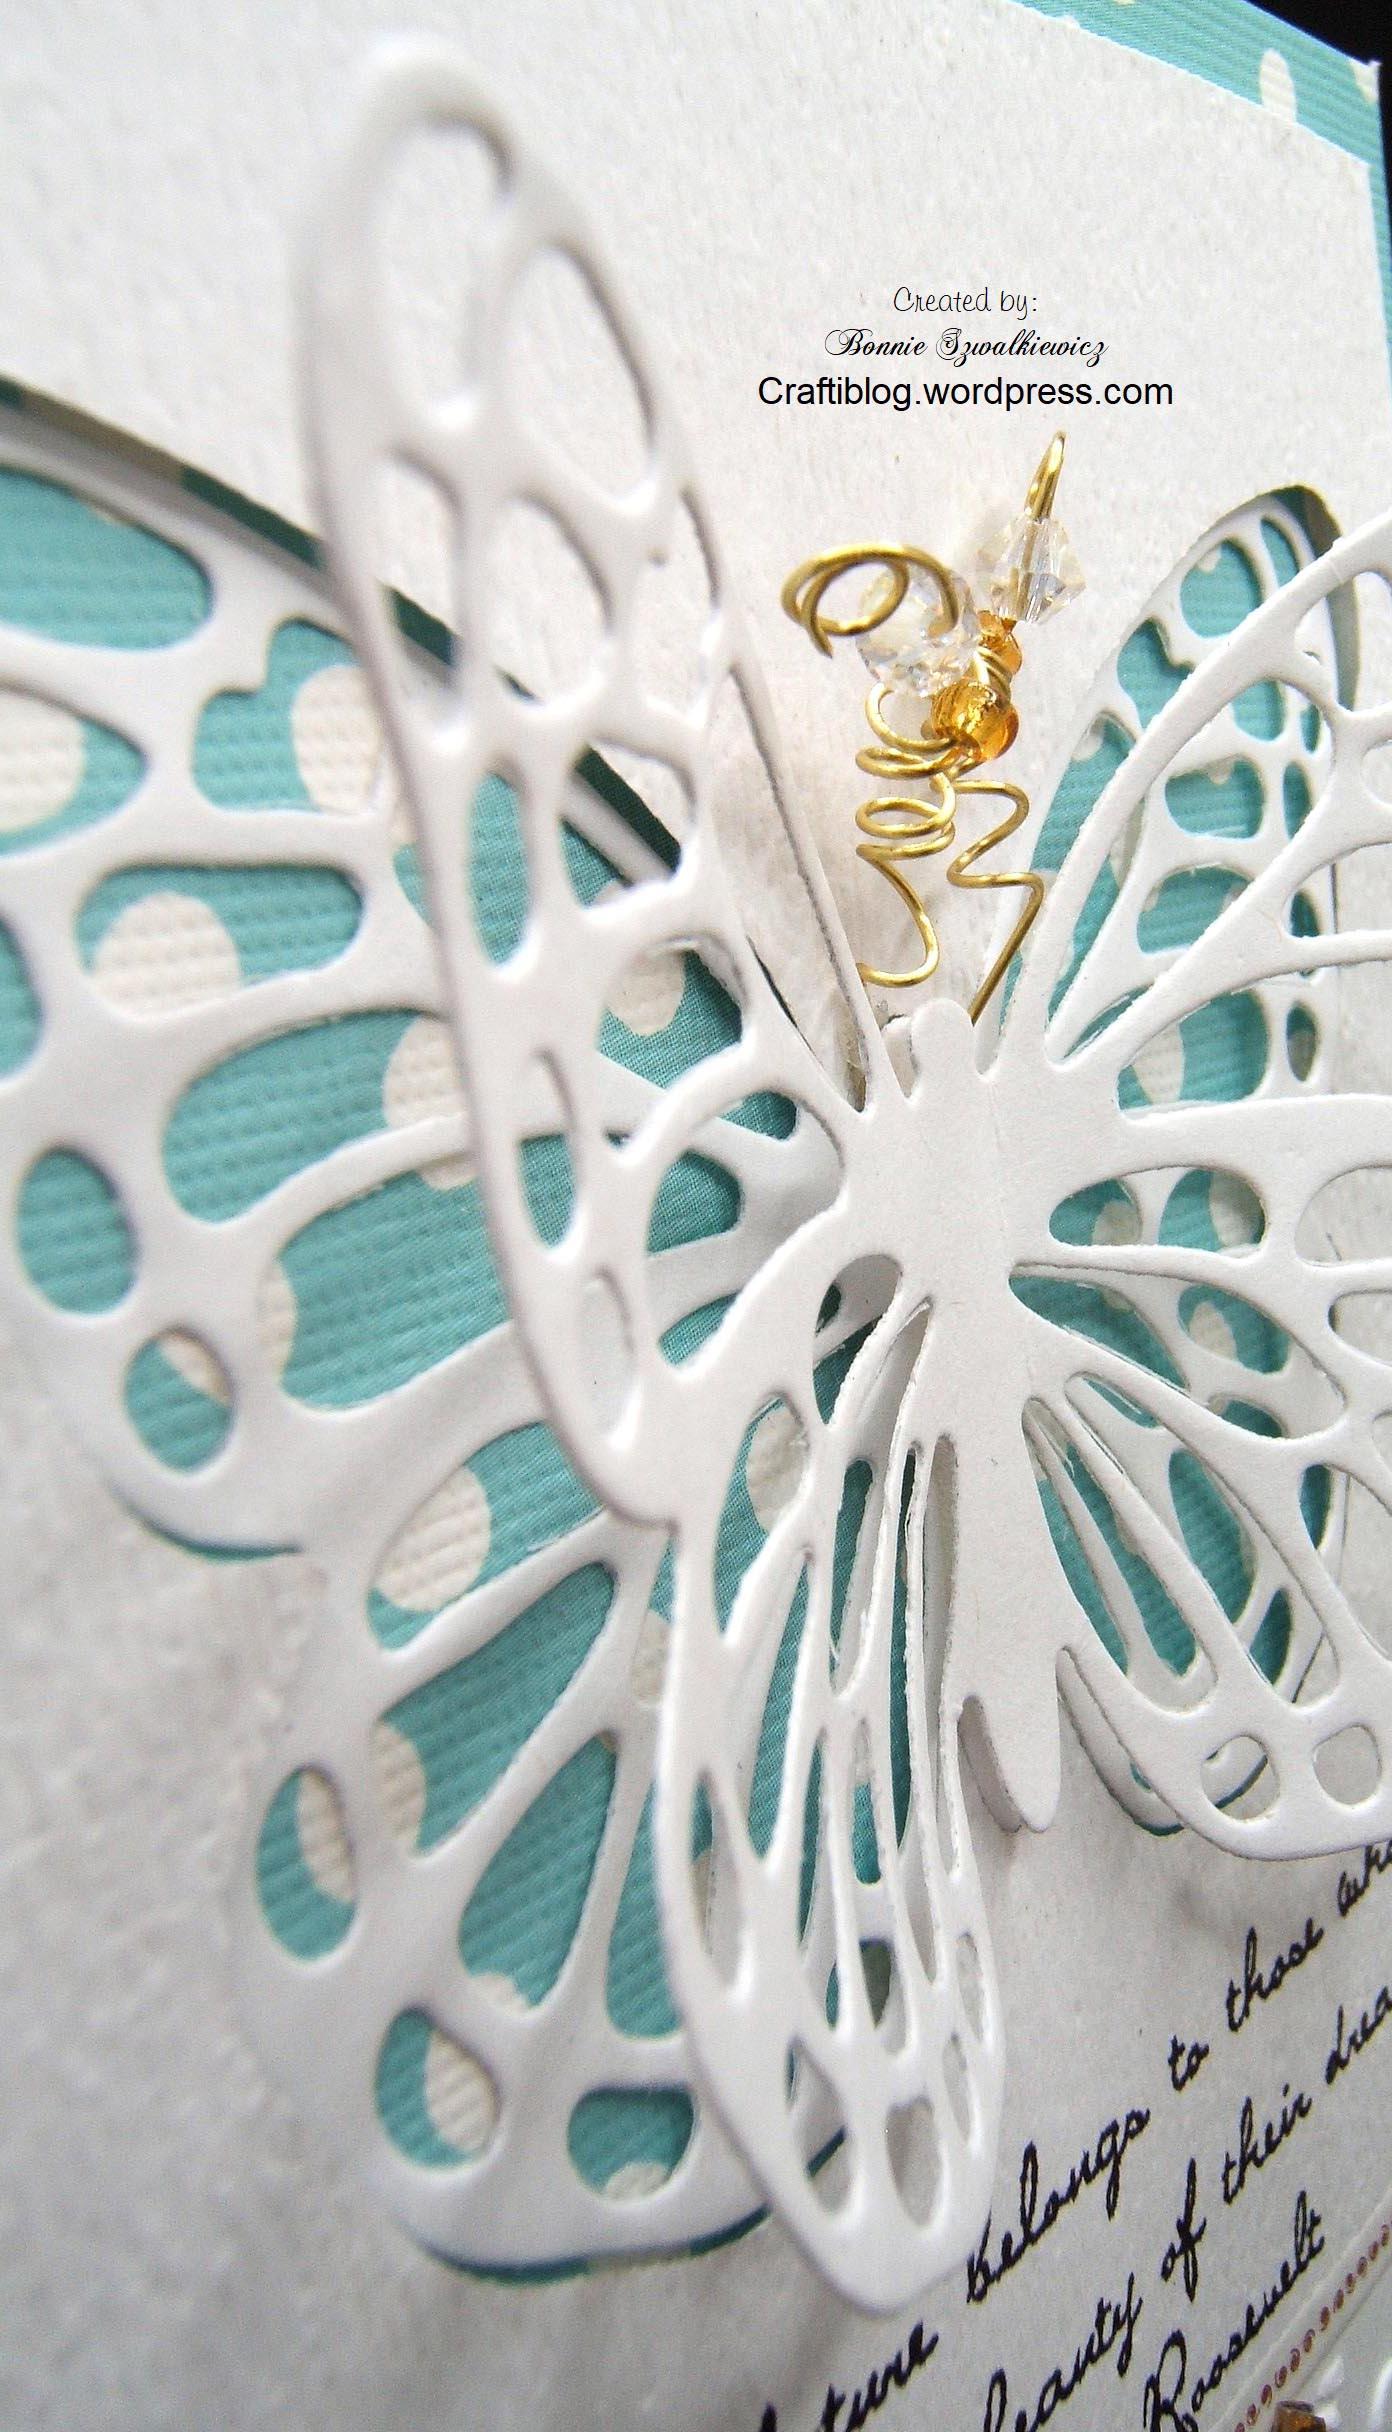
I found some pliable wire and bent them into antenna.
And one last look…I should mention that the base card is actually a pre-printed note card. Ever so slowly, I will try to put the hundreds of these that I have on hand to use.
Thanks for stopping by.
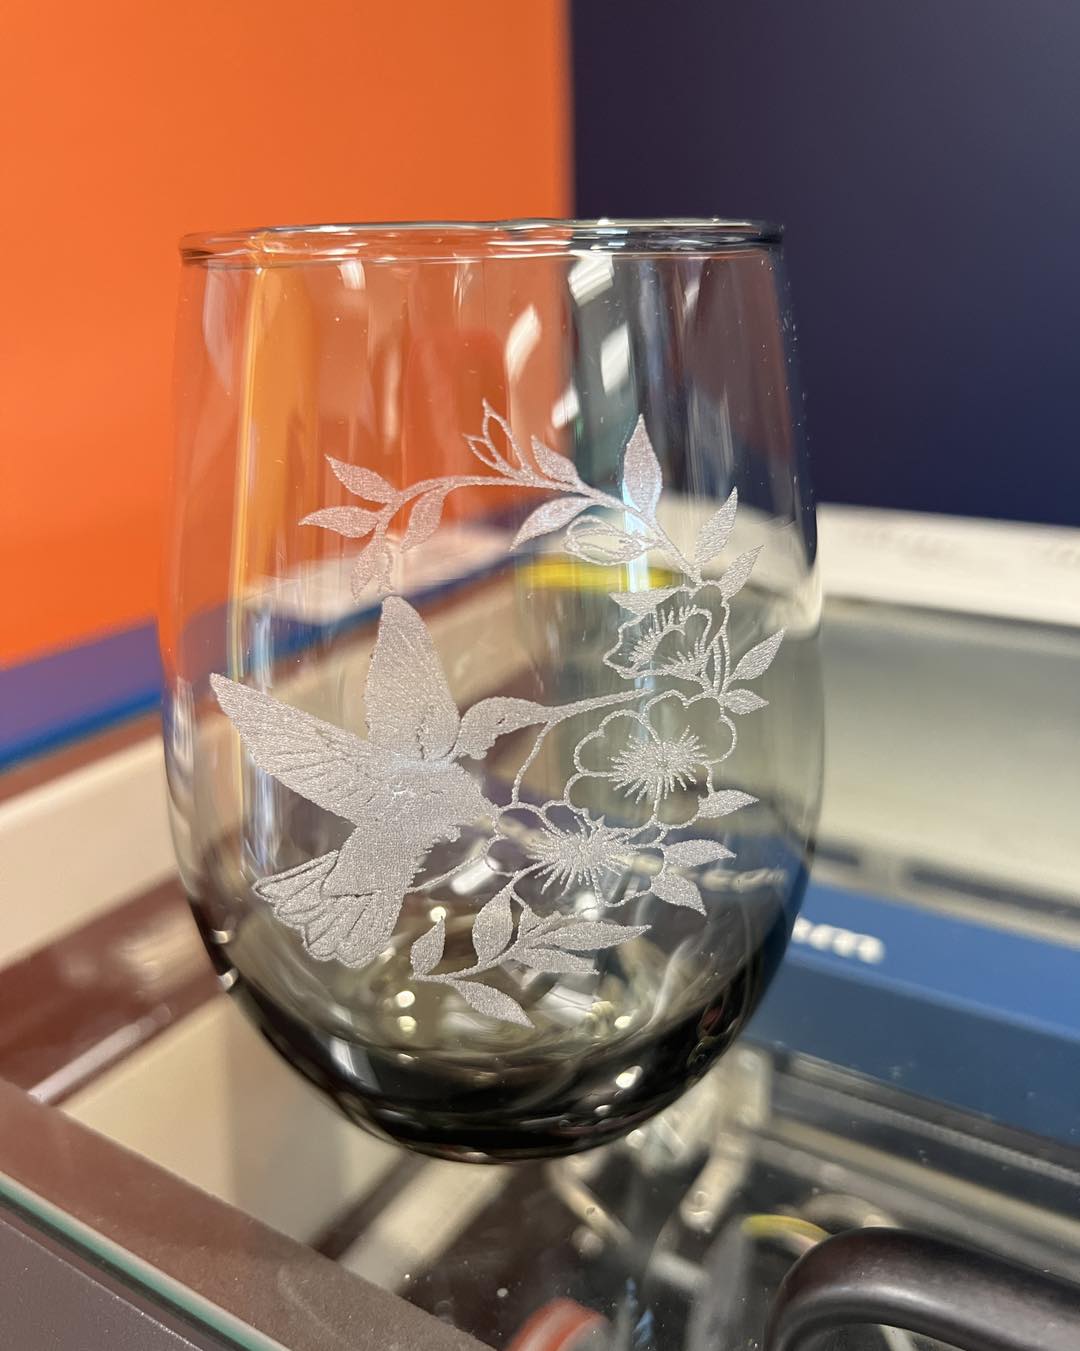
2024-04-12; glass etching
Normally when I think of glass etching, I think of a chemical process. Not so in today’s laser etching class. Here you see the laser machine in action. The glass is sitting on a special cradle that allows the glass to roll under the laser.
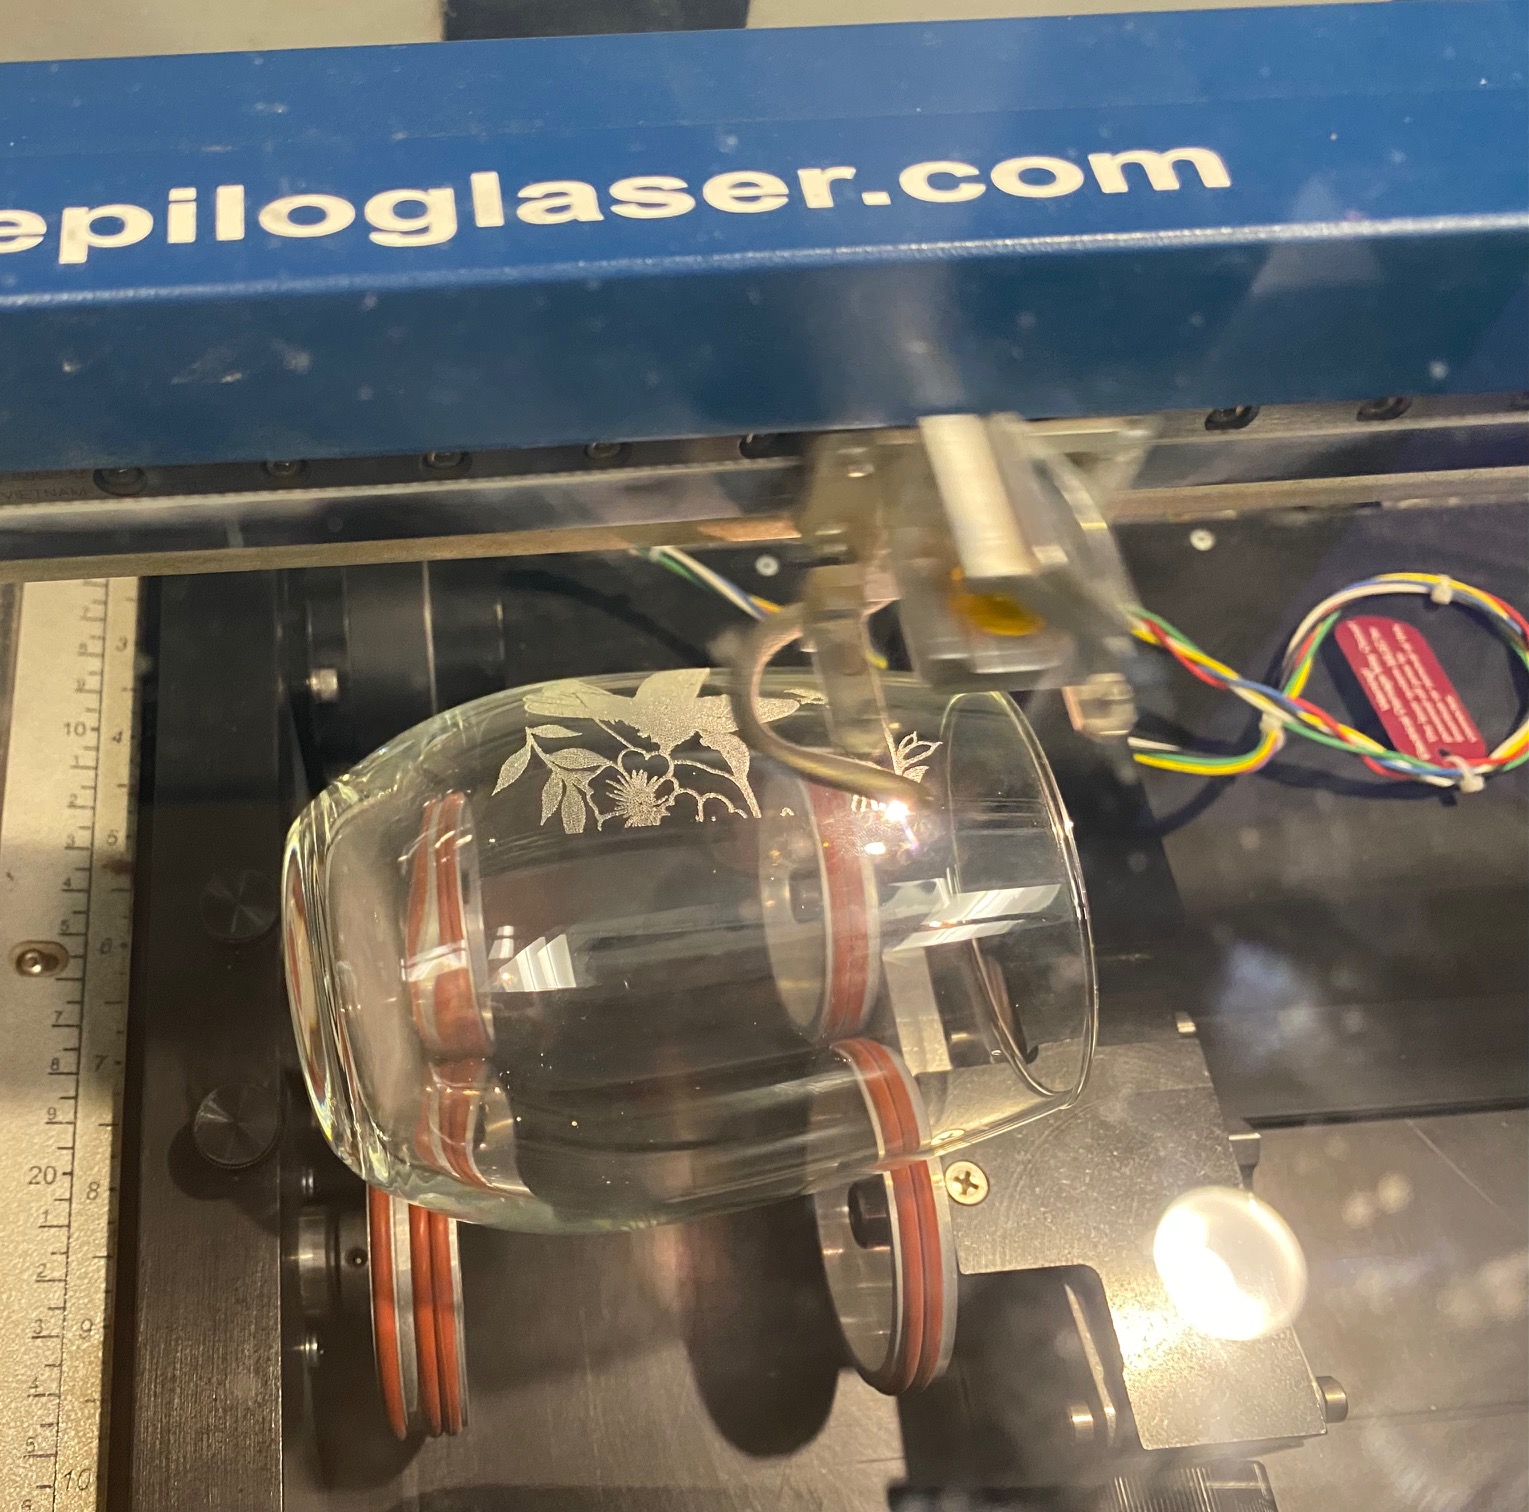
All of the calculations to centering the image on the glass were done for us. Each of us were able to choose what image (from a selection provided) we wanted on our glass. We had the enjoyment of walking away with a fun project.
Thanks for stopping by.
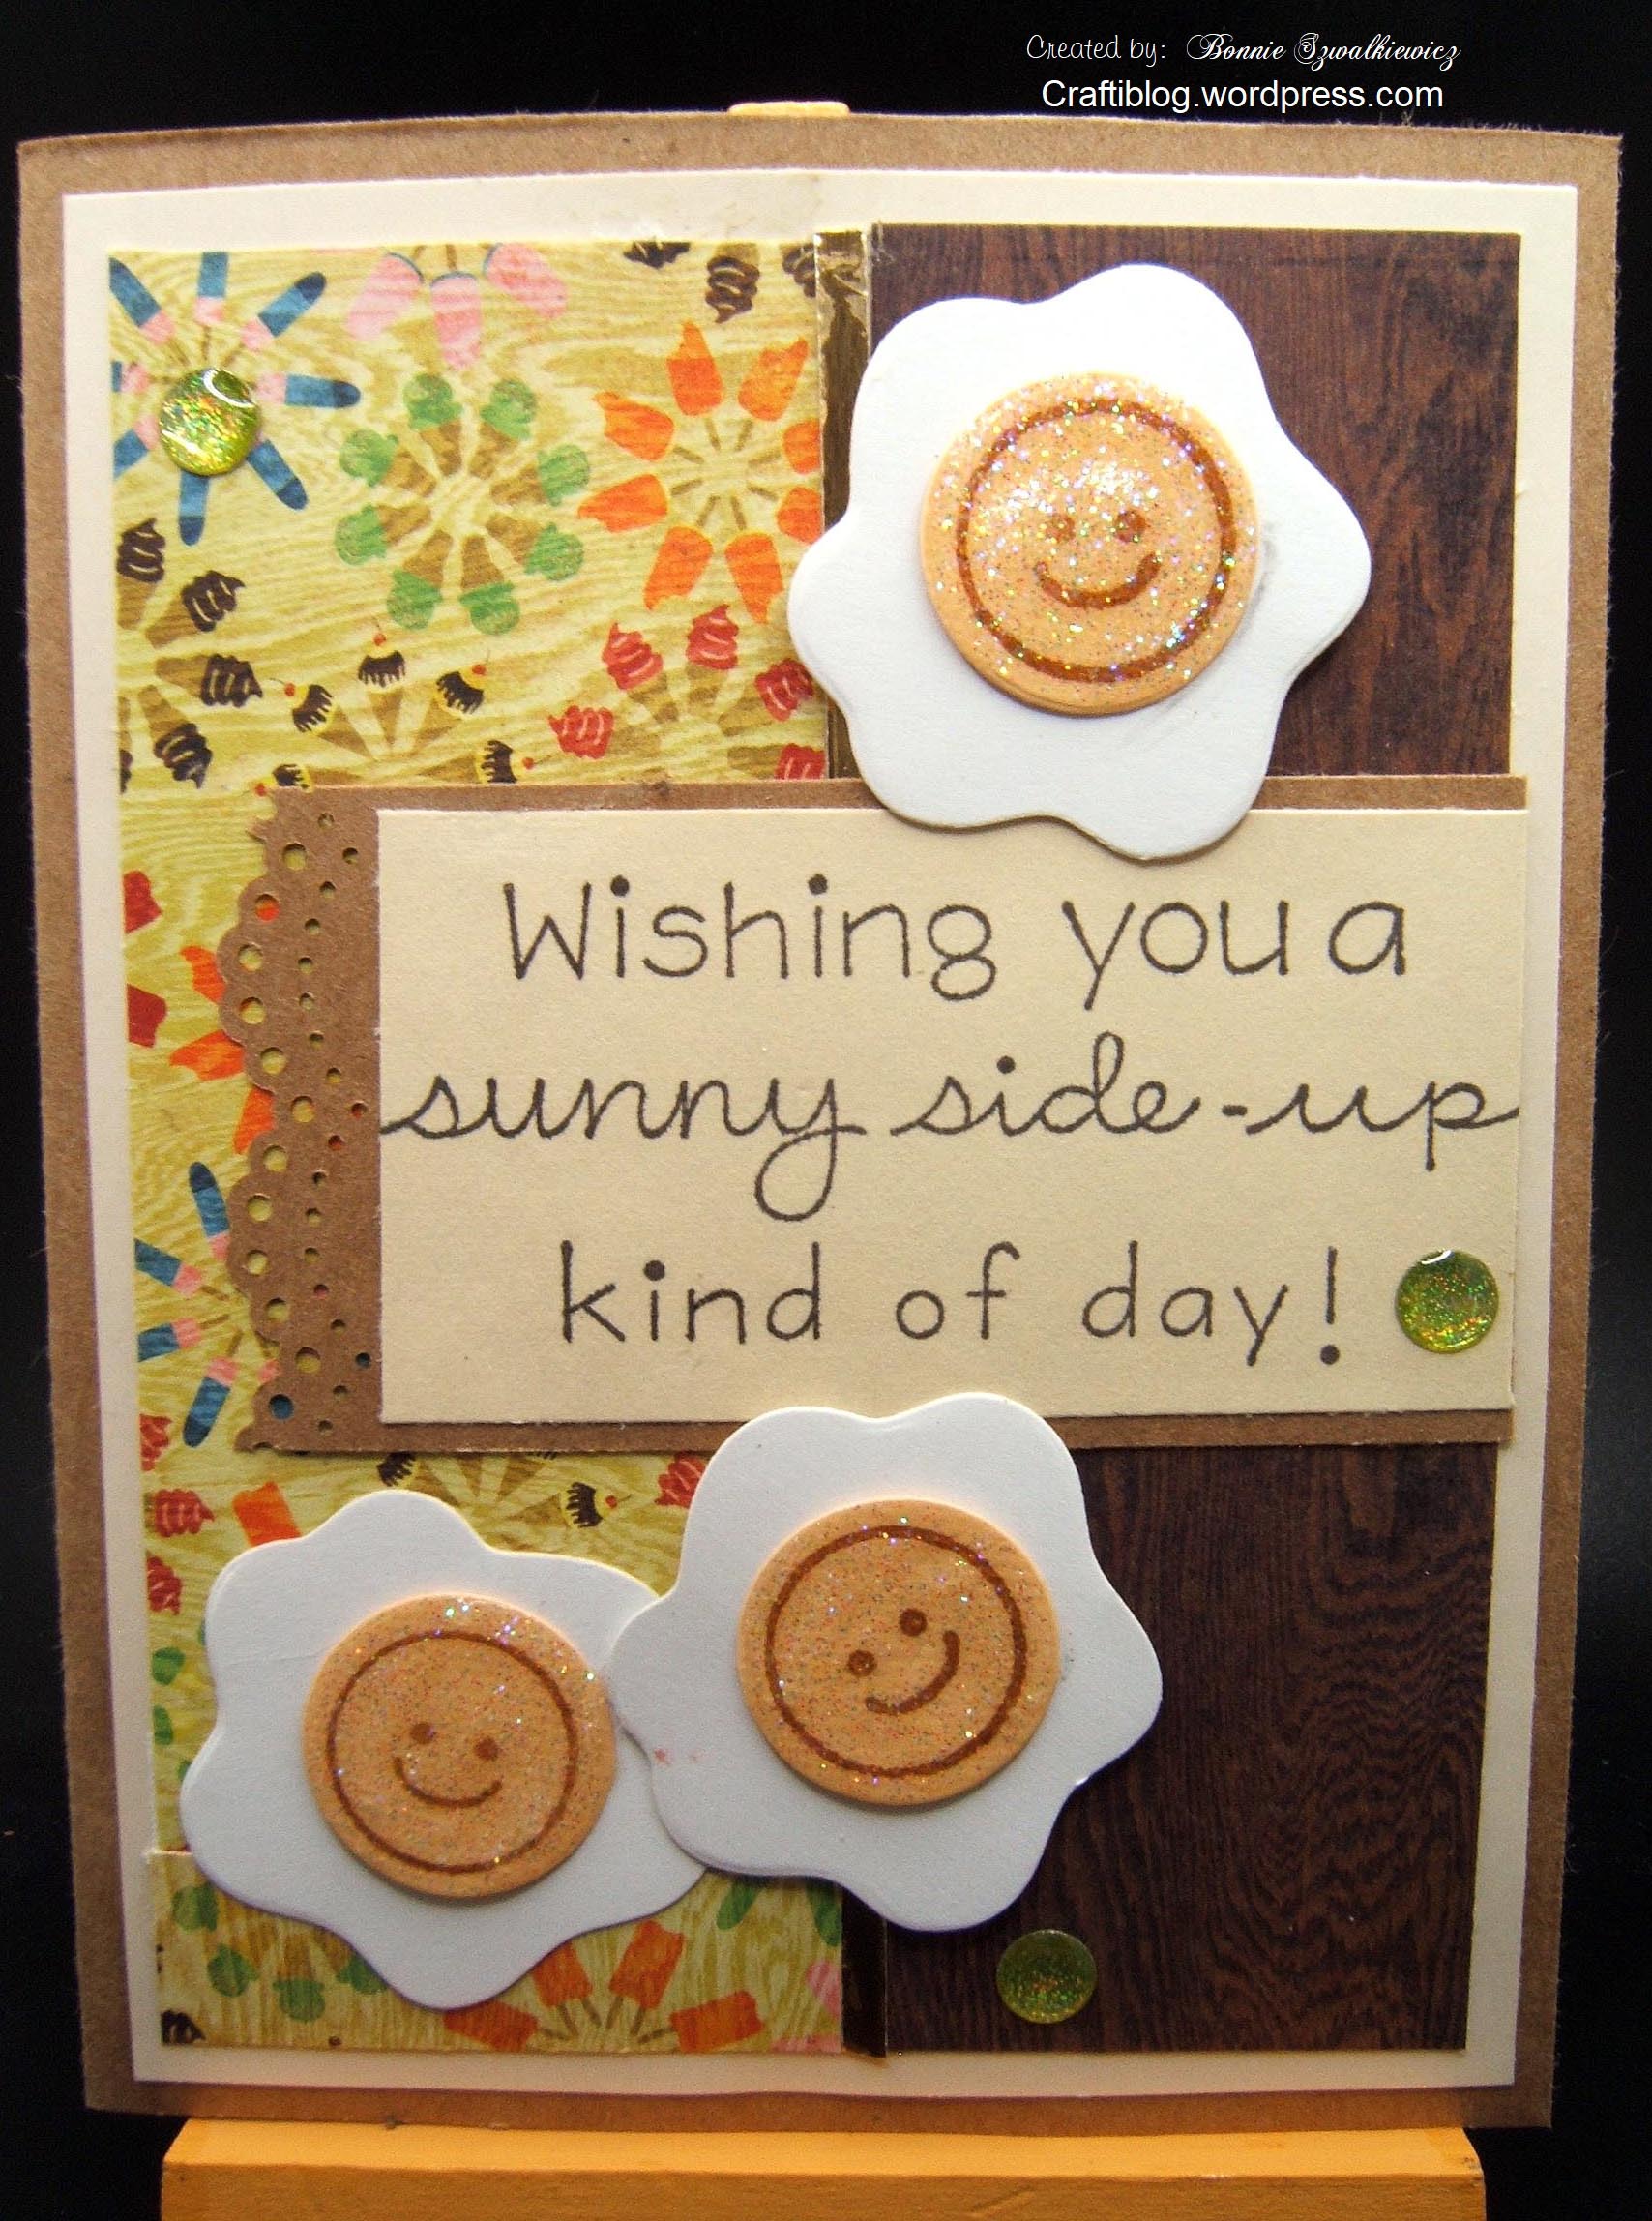
2024-04-11; sunny side-up
I had brought out a stamp/die set (Spellbinders-Breakfast Club) last week. I hadn’t played with this for a few years so I stamped/cut a few more pieces and put together a 2nd card. I don’t think I’ve ever used the bacon in the set so I may have to give that a try.
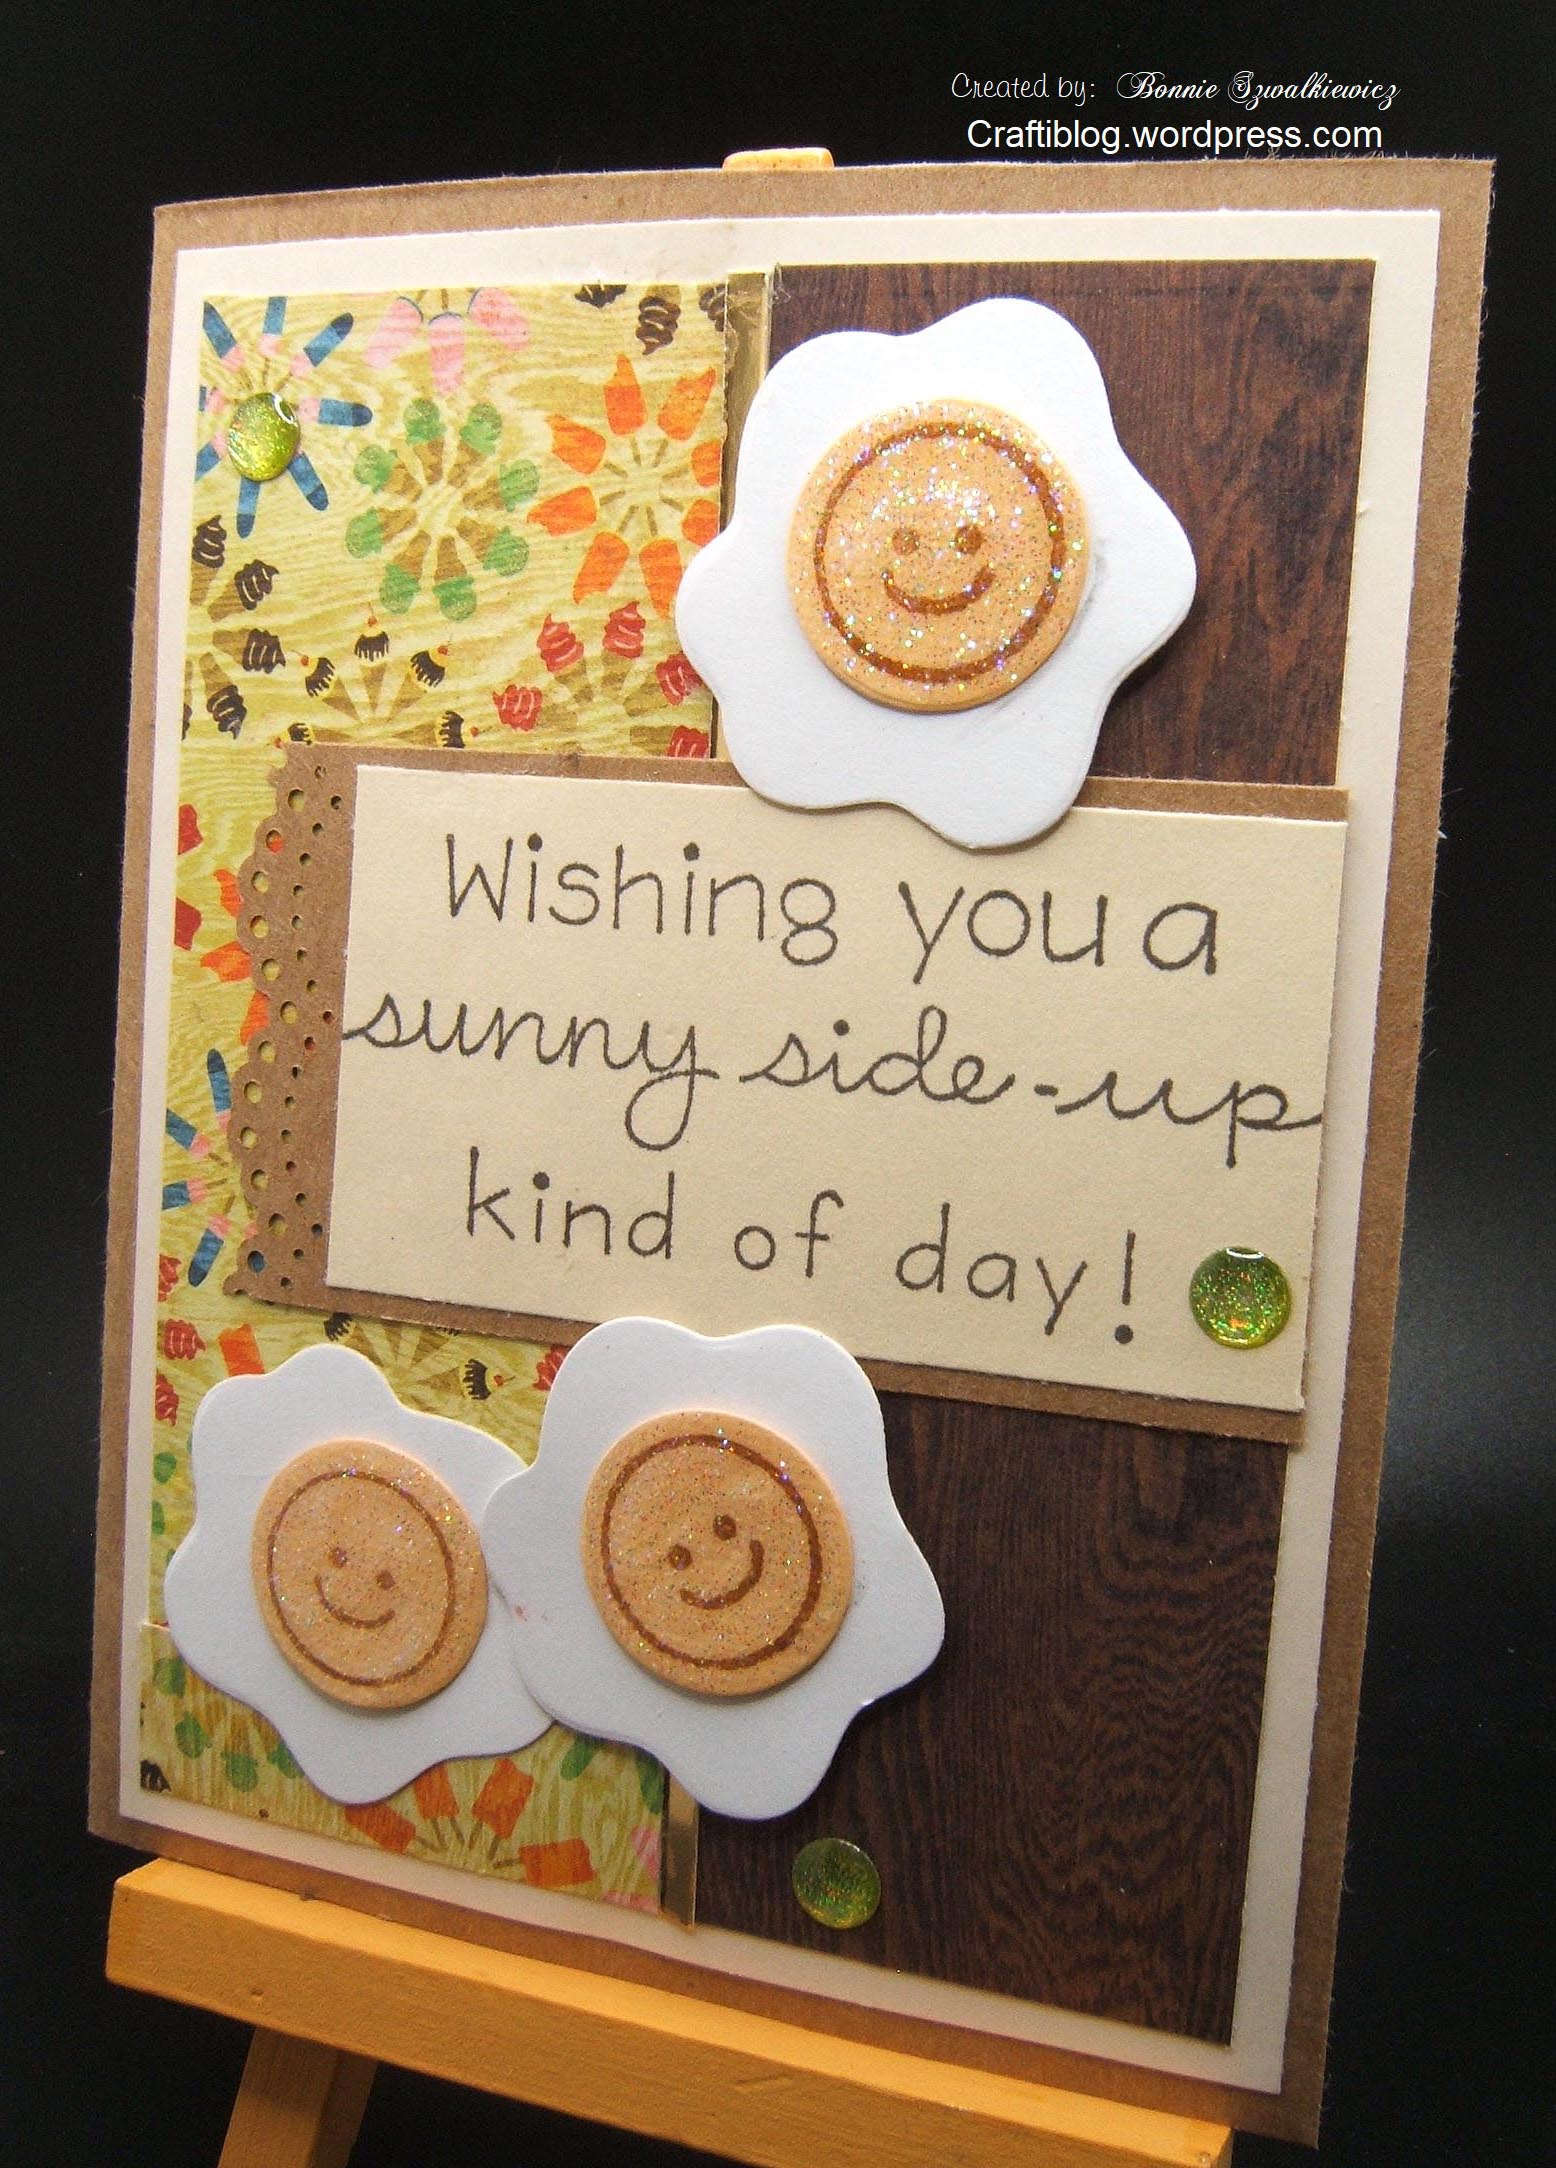
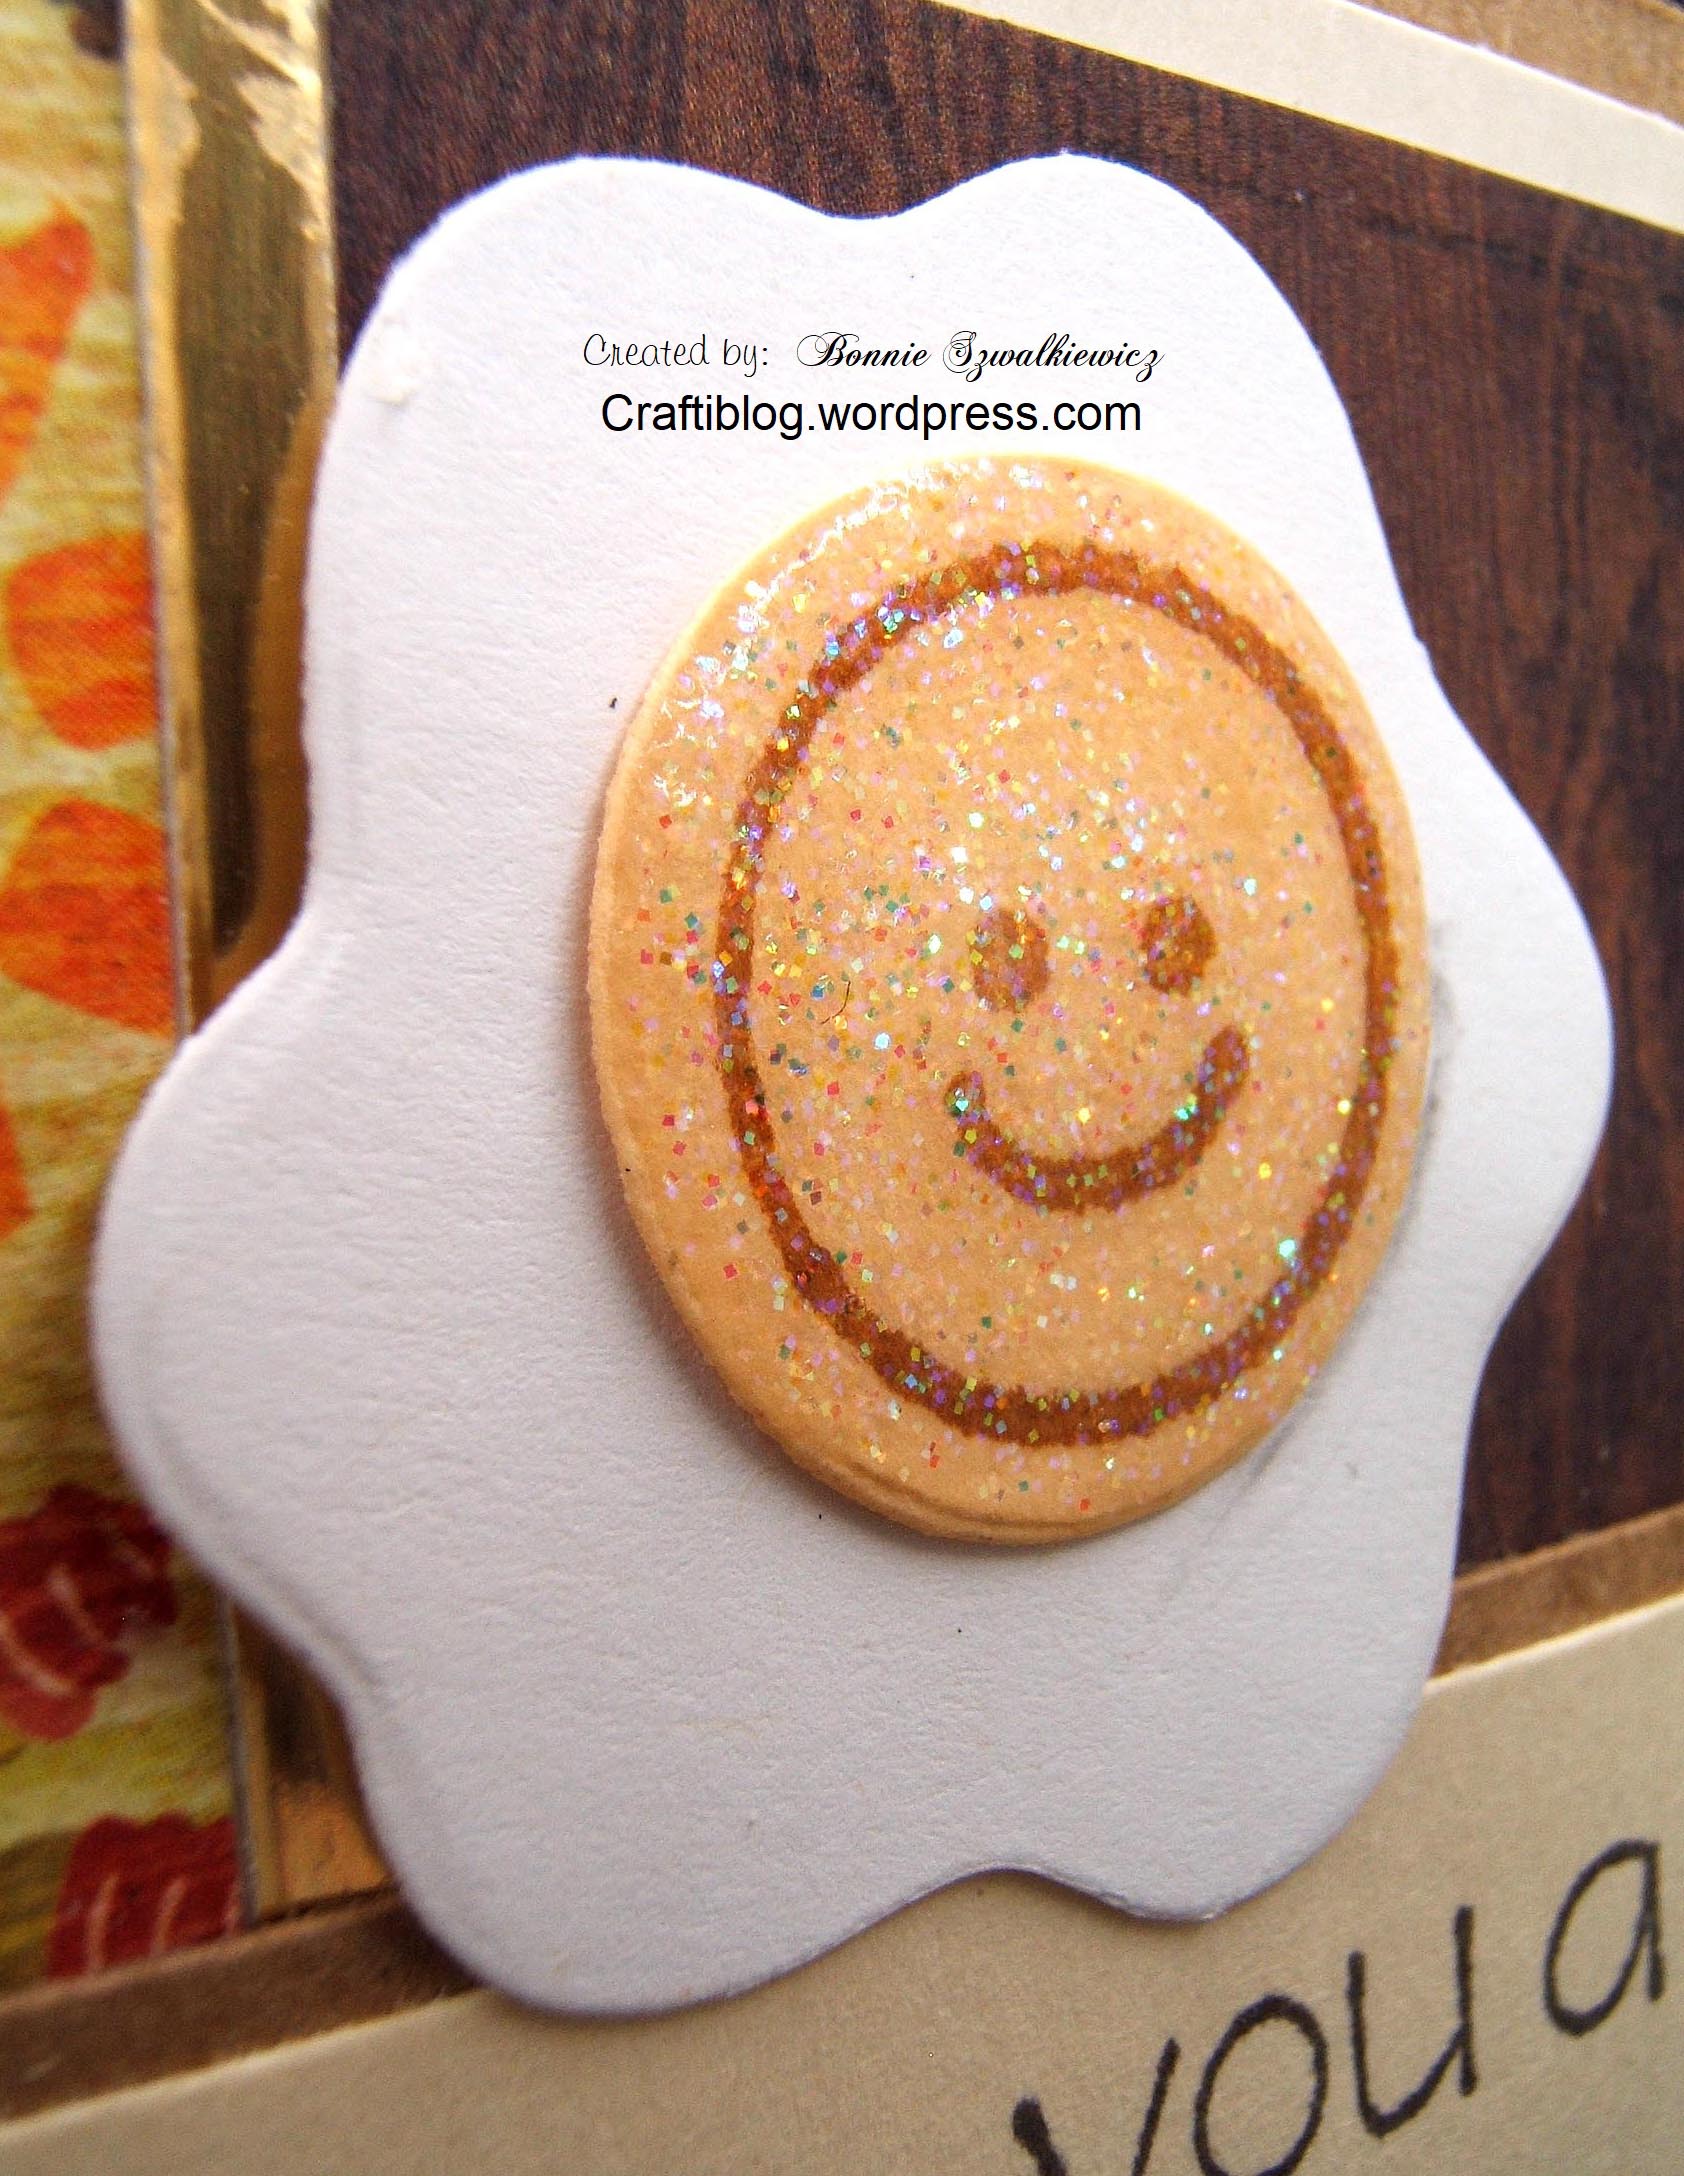
The design looked a little plain to my eye so I popped up a couple of the eggs and then added glitter glue to the centers.
And one last look before you go on about your day…
Thanks for stopping by.
